P.S. this post does include a couple of affiliate links to products I not only use but highly recommend and can stand behind!
Last week I shared how to use Shopify Buy Buttons on your site as explained in my New Shop Pages in my Templates HERE. Today I thought I would share with you how to use SendOwl Buy Buttons to sell products, subscriptions, and digital items on your Showit website. They both do very similar things and would definitely recommend SendOwl if you plan to create your own page design and use just a simple ‘buy-button’ on it.
SendOwl is actually what I use through Shopify (as an add-on app) to send my digital items to the customer. In the next month or so I’ll actually be moving my cart and checkout process from Shopify over to just SendOwl for a few reasons.
SendOwl allows you to have affiliates, upsells offers, ‘PDF Stamping’, license keys, Drip functionality, subscriptions, etc!
AKA: if you want to just use a ‘buy-button’ like seen below and do not want to embed full product items or collections (like I showed in my last post HERE with Shopify). I would highly recommend SendOwl. They also analytics, customized checkouts, fraud filtering, VAT rules, etc.
01
Setup Your SendOwl Account
First things first, you’ll need to set up your account HERE and add all of your business information (taxes, payment gateway, etc). When you are done with that, you can start adding your products.
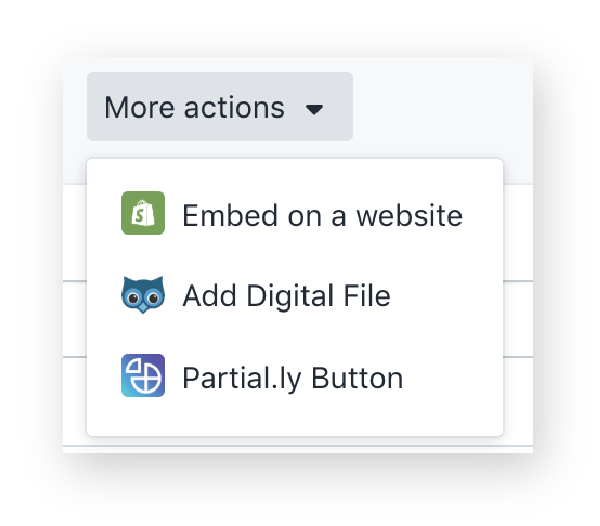
If you are using Shopify + SendOwl you will have to install the SendOwl app in Shopify, create the product and then within that product at the top you’ll choose ‘More Action’ and ‘Add Digital File’
This will direct you over to your SendOwl account where you can easily create a product based on the one you just made on Shopify and upload your digital item, create the price, etc..
SendOwl PRODUCT SETUP
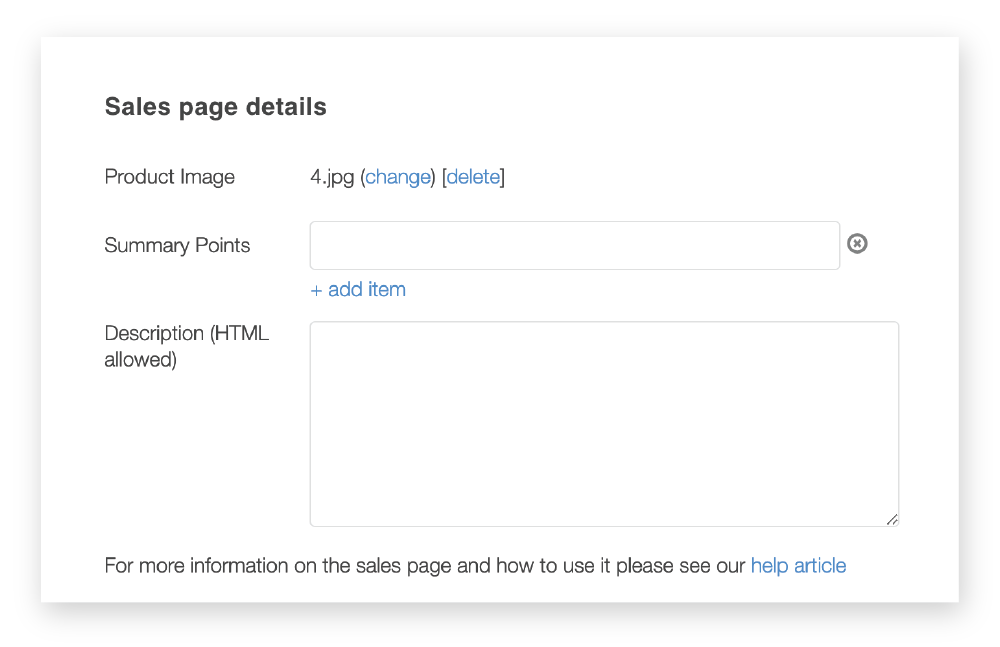
If you are just using SendOwl you can create your product/item yourself (from the navigation bar on the left) and go through the process of adding the Product title, price, file, etc. When done make sure to click the ‘Sales Page Details’ (as seen below) to fill out the remaining information about that item.
Even though you are not ‘displaying’ these details on your site in full, you’ll want to have this information and image created because this is what they will see when they add the product to the cart and go through the checkout process.

02
Create the Buy-Button Code
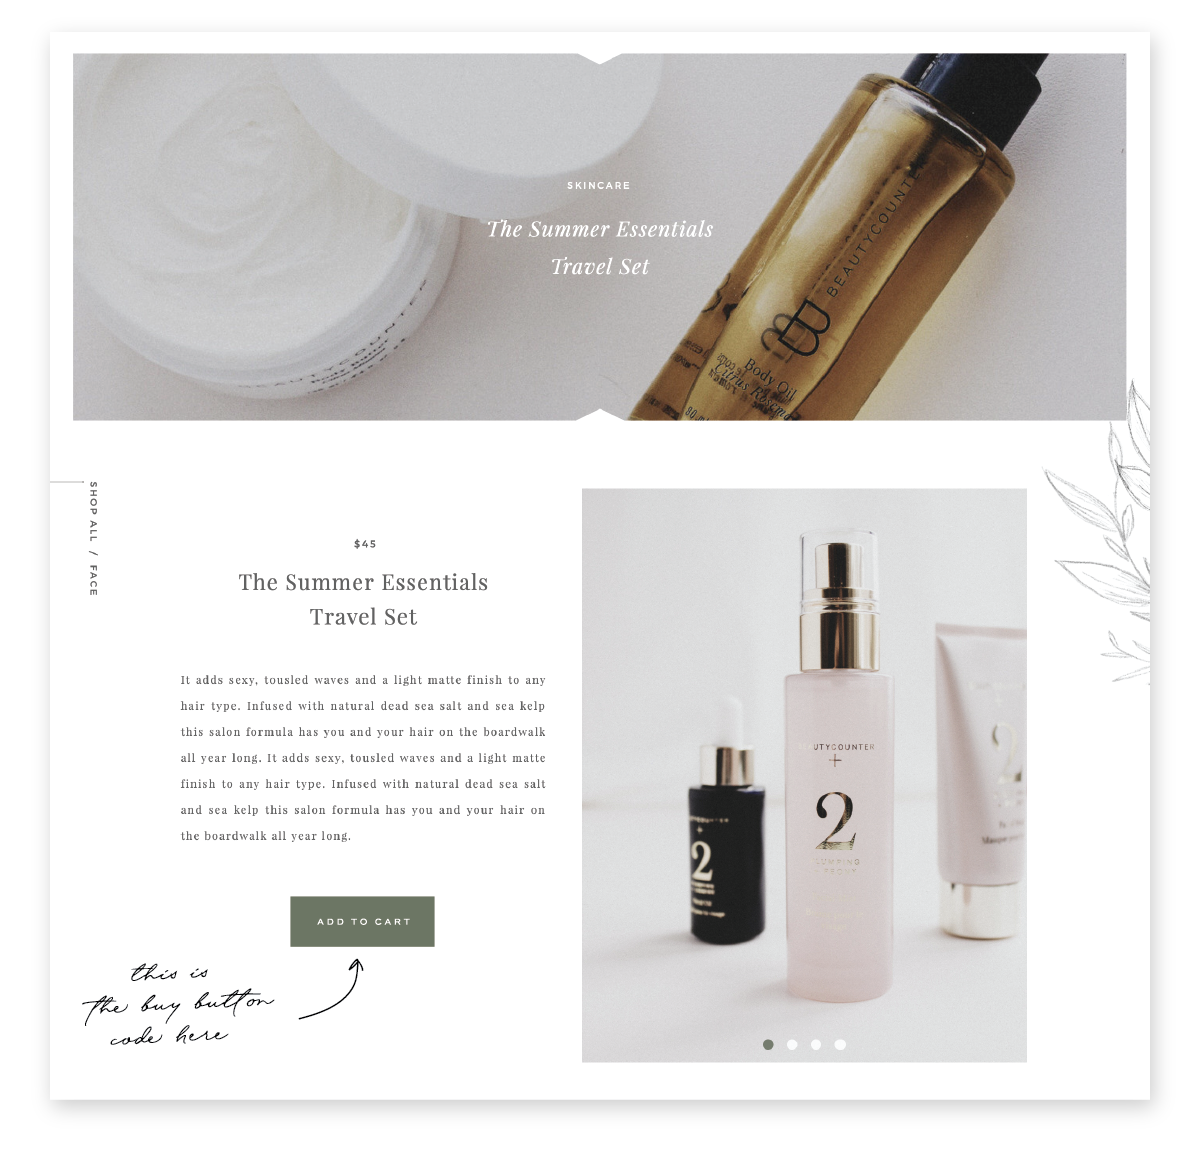
When you are done with the product you can now add it to your Showit Site. On my NEW Shop page templates, I actually created a buy button and cart checkout so you can see how it works.
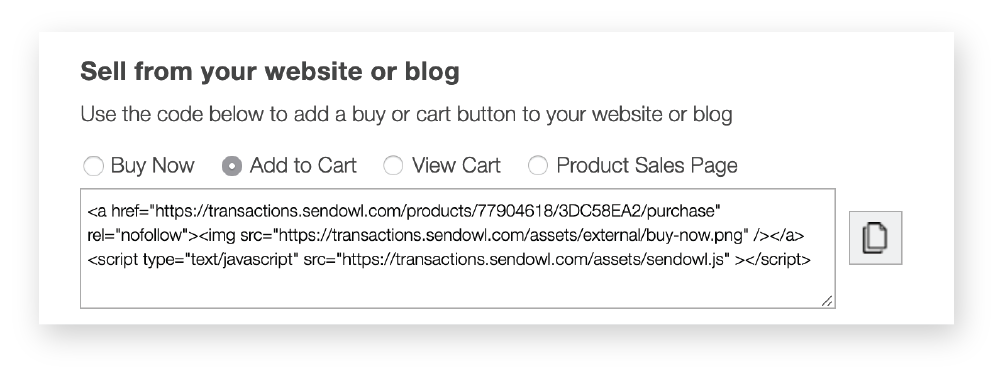
On your SendOwl Product page go to ‘VIEW BUTTON CODE‘ at the bottom of that product page. You’ll then see a page that says “Sell from your website or blog” and below that, you can select the ‘Add to Cart‘ button and copy the code. You can paste that code into a text document as I’ll now show you how to add a custom button and style the size ;)
03
Customizing Your SendOwl Buy Button
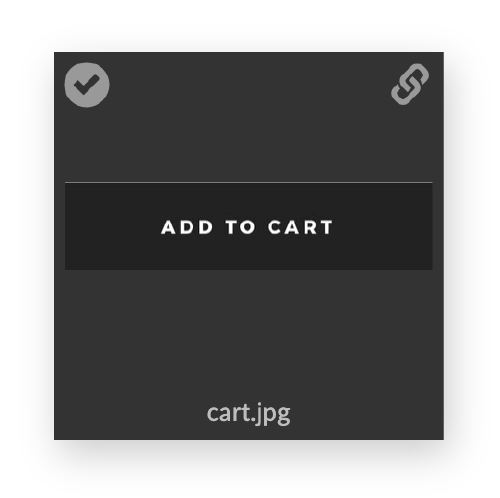
Because the buy button is red and not very attractive, they make it easy for you to add your own button image, you’ll just have to create that image first. You can right click and save the one below or you can create your own image in photoshop, illustrator or even Canva.com. I recommend making the button size around 400px wide.

When you have your button ready, head into your Showit account and upload that image to your media library. Once you do that, hover over that image and click the link icon to copy that link URL.
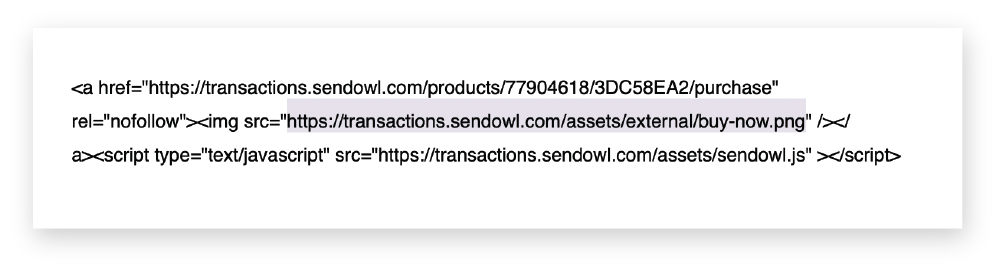
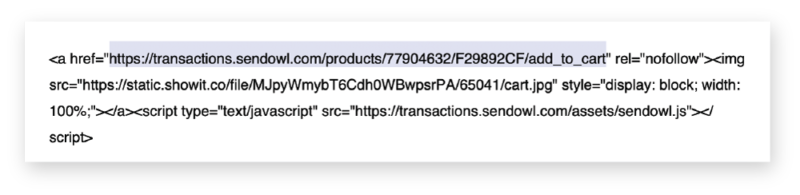
Now open that text doc with your SendOwl code and replace their image link with yours that you just copied from Showit (see the highlighted section below). This will replace that big red button with your own ‘on brand’ button ;)
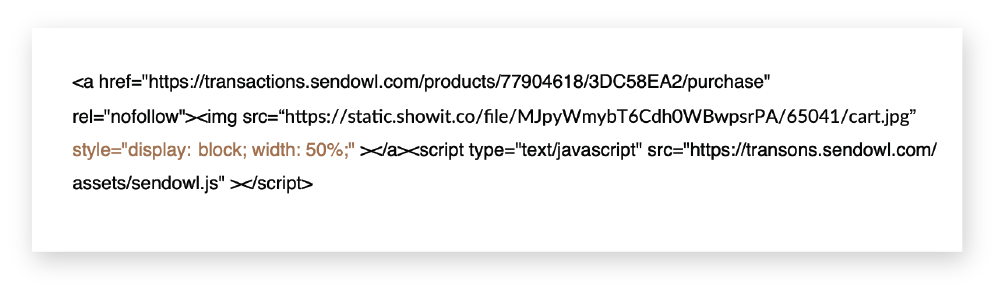
You’ll notice quickly that the button is huge and won’t resize..but I got you! You’ll want to add the below line of code right after that image URL link you just added (see where I placed it below after the quotation “ and before the closing bracket >
P.S. This line of code will allow you to easily re-size that embed box in step 04 to your liking!
style=”display: block; width: 100%;”
04
Adding the Embed Code to Showit
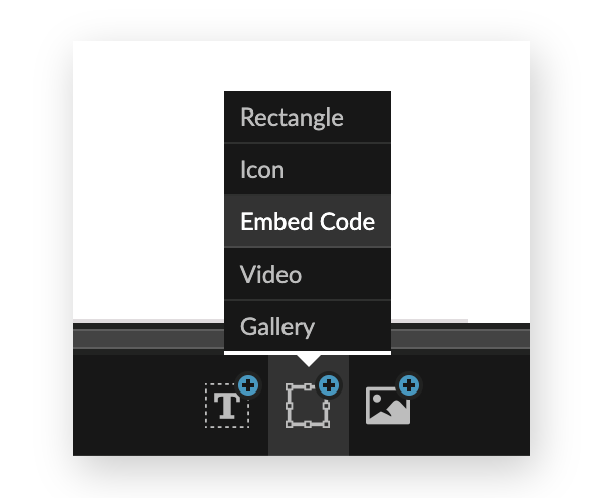
Now that you have the product created and the embed code styled, we just need to add it to Showit. In my Shop Templates, I already have a full product page design and the iFrame embed box ready for you. Or you can simply choose the ‘EMBED CODE’ option on the bottom of your Showit site and paste the code you just created right into the box.
Since you’ll have other items and products to add you can go through the process in STEP 02 and just replace that first link URL in the code you have in your text doc with your new product link (see below). AKA: keeping the styling as is and just swapping out the product reference URL.
05
Adding a Cart Icon and Checkout
Since you’ll be providing an option to ‘add to cart’ you’ll want to make sure you have checkout or cart links for your customers to access on every page. This will be the exact same setup as the button, but instead of clicking ‘add to cart’ checkbox you’ll select “VIEW CART”
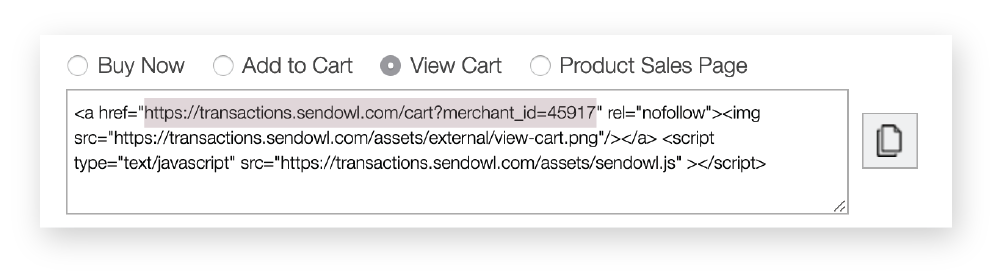
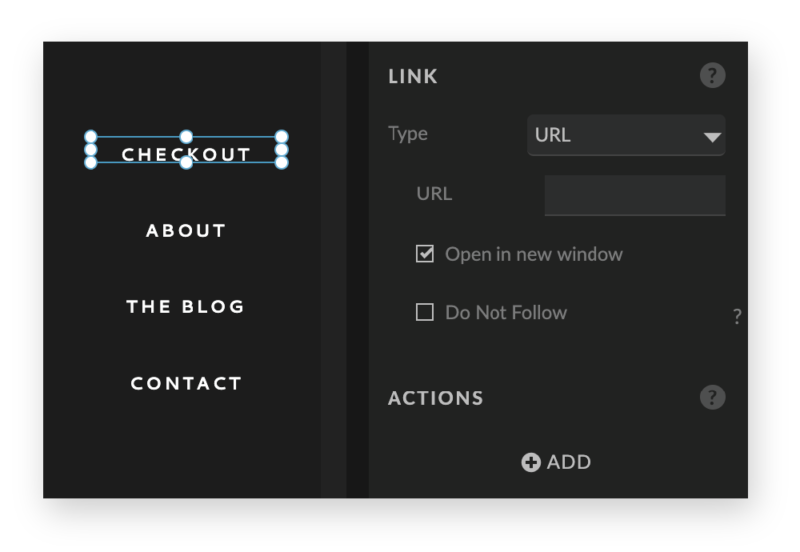
Follow the same steps in number 03 but instead of uploading a ‘buy button’ to your Showit media library you’ll want to add a cart icon. You can use the one below or find and create one yourself. You can also just grab that link highlighted below and use plain text “checkout” or “cart” within your site and link directly to that URL through Showit ‘Click Actions’

JUST A NOTE
I include extra tutorial videos (how to customize and brand your checkout and cart) as other goodies in my new Shop page designs included in my Site templates below.
If you click on my affiliates/products/advertisers links, I may receive a tiny commission. P.S. the products that I share are the ones I believe in.


