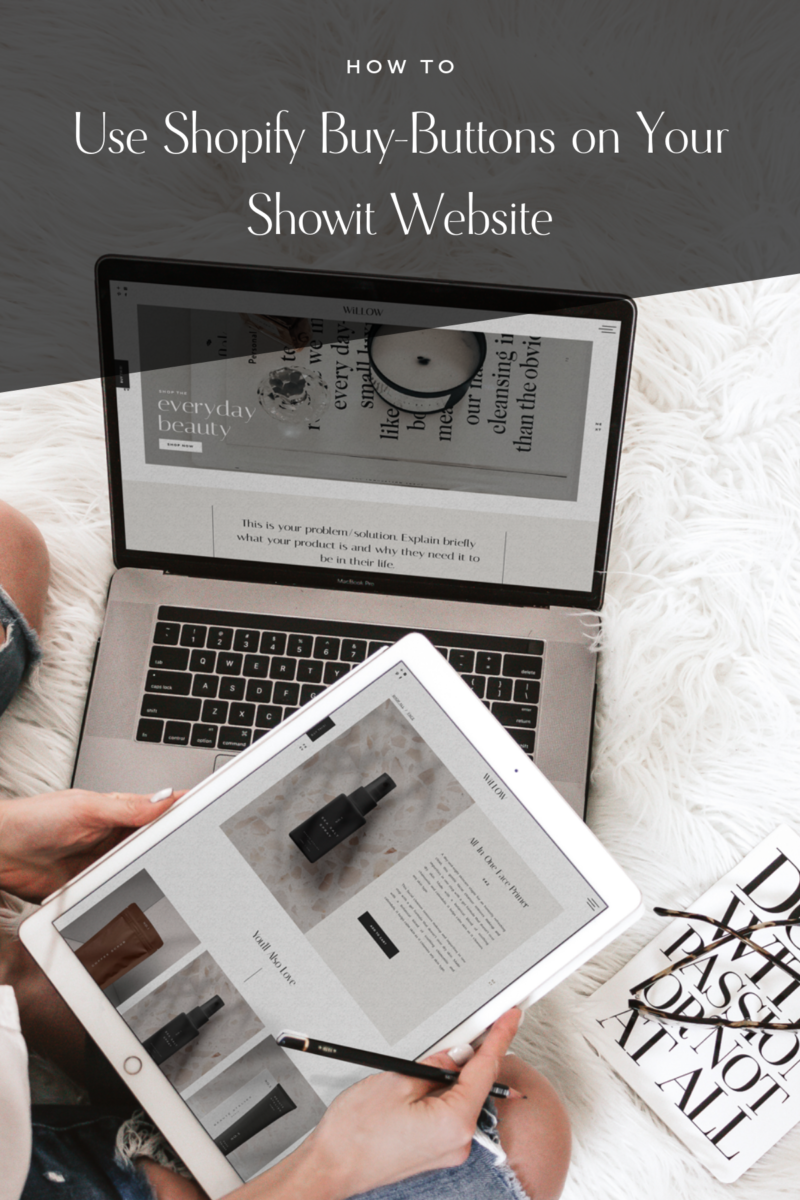
I wanted to kick off my ‘Shop’ tutorial series this week with a simple, but helpful one! I’m going to take you step-by-step and show you how to add a shop to your Showit website using Shopify Buy Buttons! Which I now include Shop designs in my Website Templates HERE!
P.S. this post does include a couple of affiliate links to products I not only use but highly recommend and can stand behind!
01
Shopify Lite Account
Here’s the thing, Showit is not currently E-Commerce ready (not yet anyway ;) but they do allow you to EASILY add some code into an ‘Embed Code Box’ which can display your products from a 3rd party site (like Shopify, etc). With that, Shopify Lite is absolutely perfect and only $9 a month.
Shopify does have some good templates, but when comparing the design and ease of design to Showit, it just doesn’t relate. BUT, they do allow you to use ‘Buy-Buttons’ which is an embed code to place into your site. By doing this is simply tells showit to pull that product and display it within that ‘embed box’.
So, the first thing you want to do is get a Shopify Lite account and start adding your products, create collections if you want (aka: calligraphy brushes, planners, etc), and simply set up your account.
02
Add Shopify Buy-Button Sales Channel
Within your account on the left side if you don’t see ‘Buy Button’ under your SALES CHANNELS, you can hit the (+) and add it manually. This is going to be your go-to in Shopify when adding those products to Showit.
03
Adding a simple Buy-Button to your page
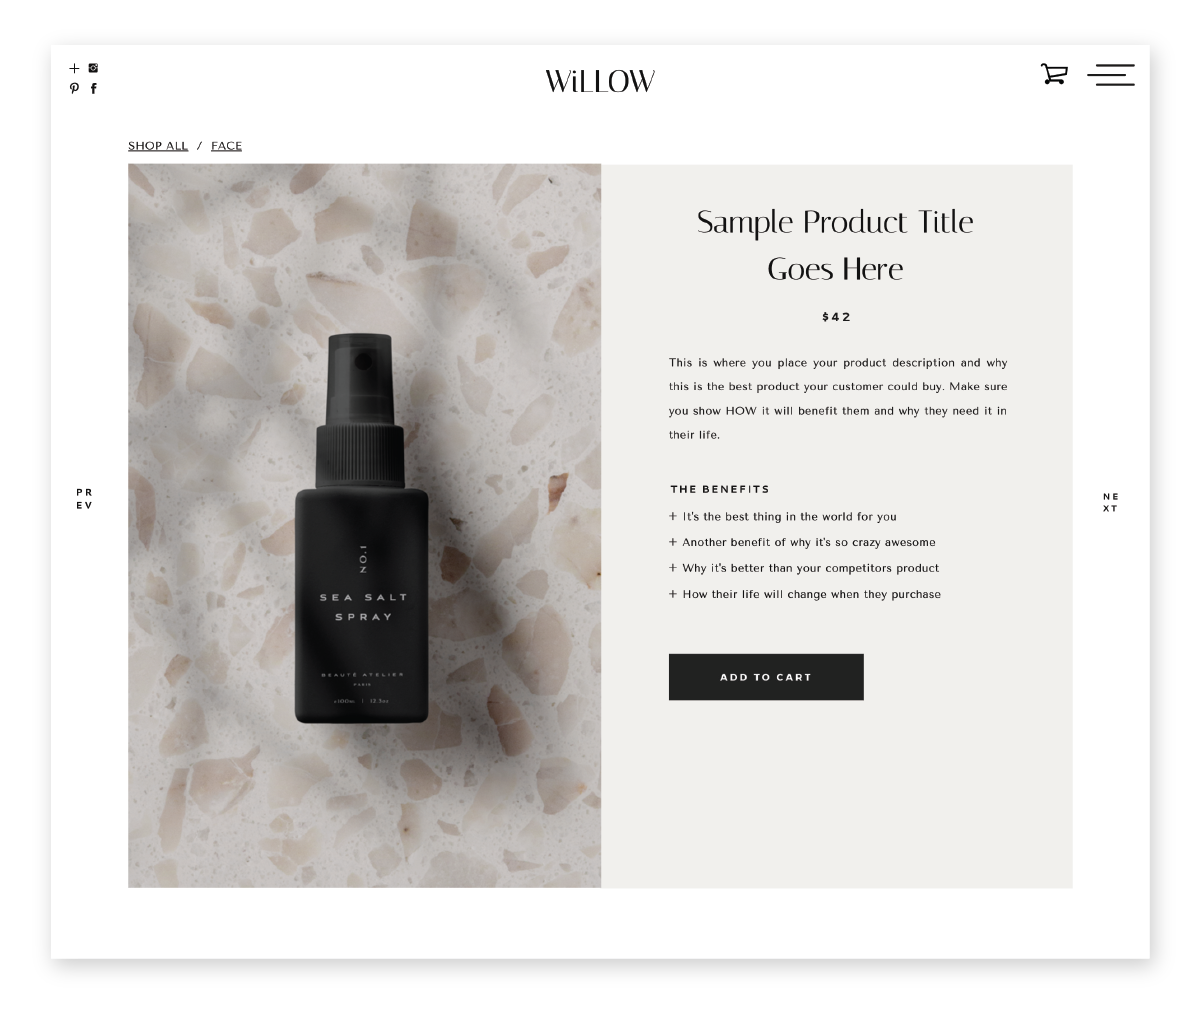
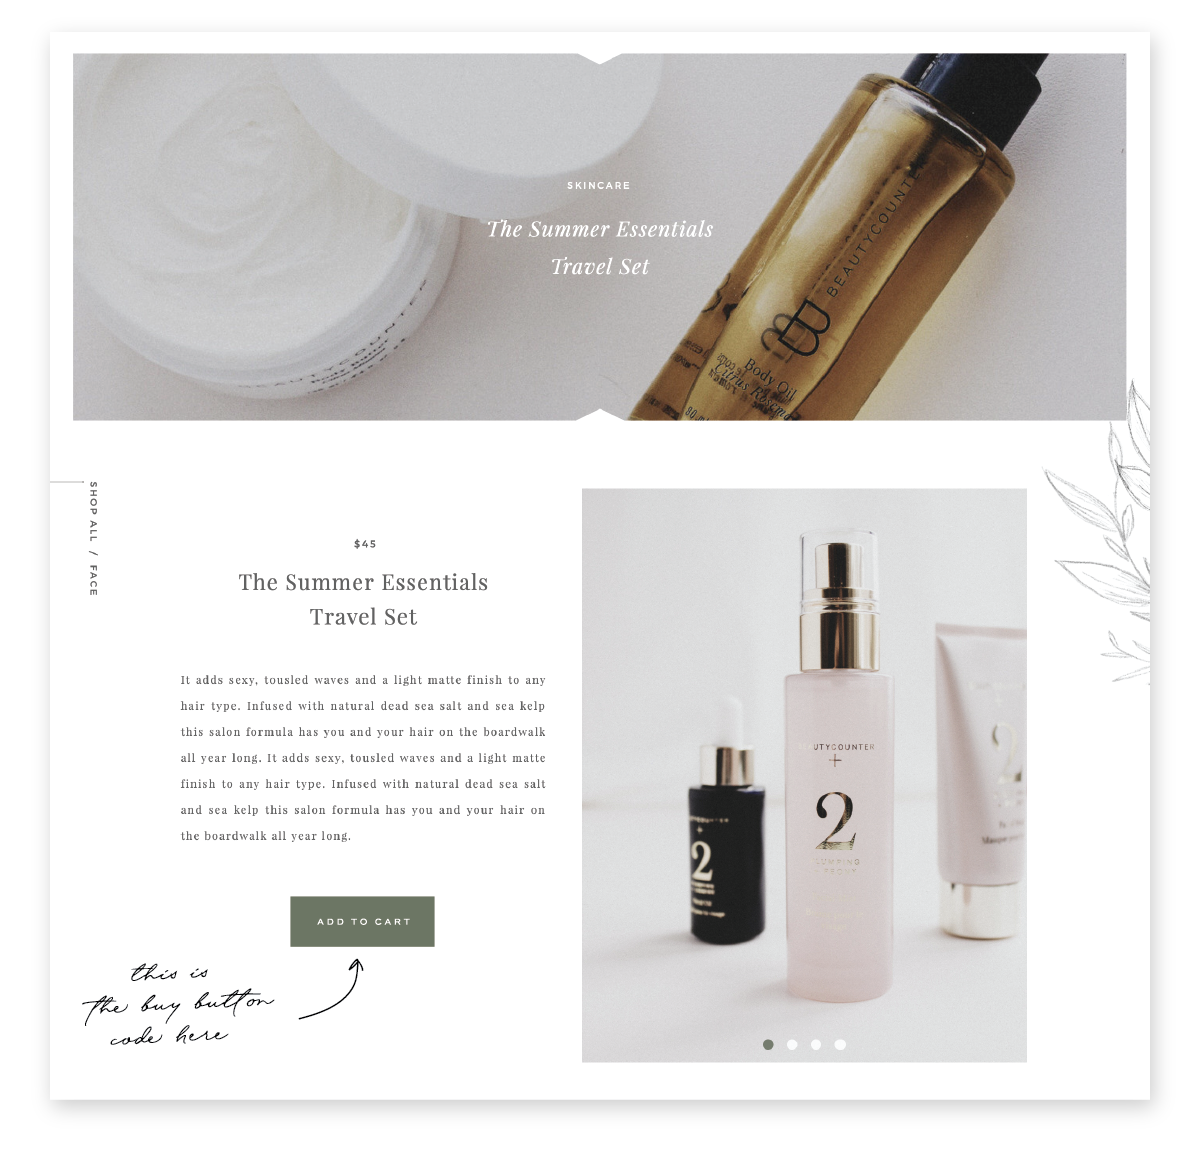
Take a peek at an example of this below in my New Shop Templates that are included in my Showit website templates. I designed 2 product page templates, one that is completely custom with a simple buy-button and another for step 04 ;)
Within Shopify
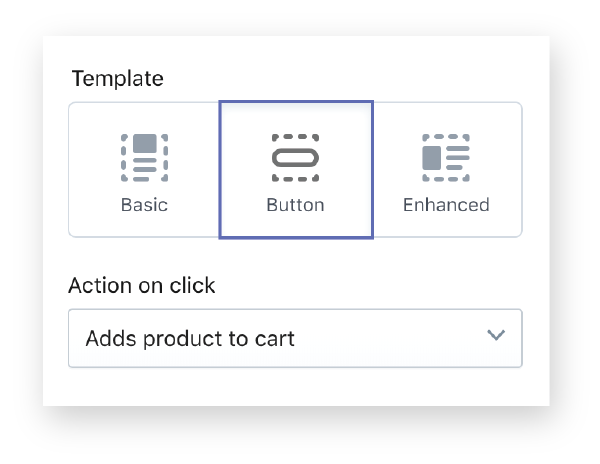
Once you added the channel, click it and then choose a product you want to add, when done hit the ‘Select Product’ near the bottom. In this step, we are just going to create a simple ‘Button’ so select that in the middle and recommend having the action ‘add product to cart’ right below.
Don’t forget to choose your button style and text, the font styles, and then the shopping cart colors (very simply try to match your brand palette / style ;)
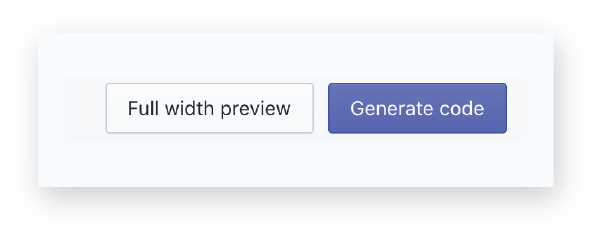
Once you are done and happy, select the ‘GENERATE CODE’ in the top right and make sure to copy the entire code provided.
Within Showit
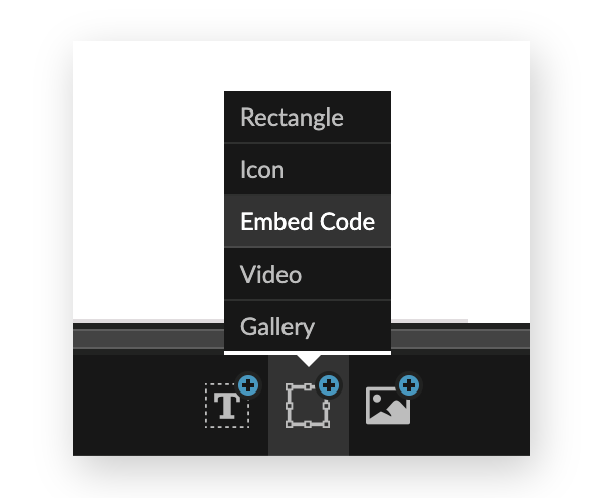
Now that you have the code copied you want to now head to Showit and decide where you want to place this Buy-Button. I would recommend that you create a full product page (best for SEO) and just choose ‘Embed Code’ on the bottom of your Showit screen.
This will add a box to your canvas, and all you have to do is double-click on the box, paste your code from Shopify, and then hit ‘save’. You can then re-size the box and move it to where you want it placed! See an example HERE.
JUST A NOTE: Although this route is a bit more time consuming, you will have much more design control and it is much better for SEO purposes. Simply because you will have your titles, price, descriptions, keywords, and images on that page.
04
Adding an Enhanced Product Buy-Button
A quick, more efficient way to create product pages within Showit is to use the “Enhanced” buy-button option. Take a peek HERE to see another shop page I created for my Showit Templates Here. You basically just need a large embed box in the middle of your page and place the ‘Enhanced’ buy-button code within to display all the product details.
You’ll want to repeat the same exact steps from the last step, but instead of creating the description, images, title, etc on your Showit page, you’ll just use this instead.
NOTE: Although this is easier and more efficient. It might not be as great for SEO (since it’ just embedding code). If you take this route, I would recommend that BEHIND that embed code box in Showit (where you placed your item) to add ‘hidden text’.
Basically, create a Product Heading text box(H1 or H2), a subtitle, price, and even some description or keywords about the product. Make the text the same color as your background (aka: white) so it will be hidden. That way, the text can still be crawled and could possibly help a bit more with your SEO.
05
Adding a Shopify Collection Embed Code
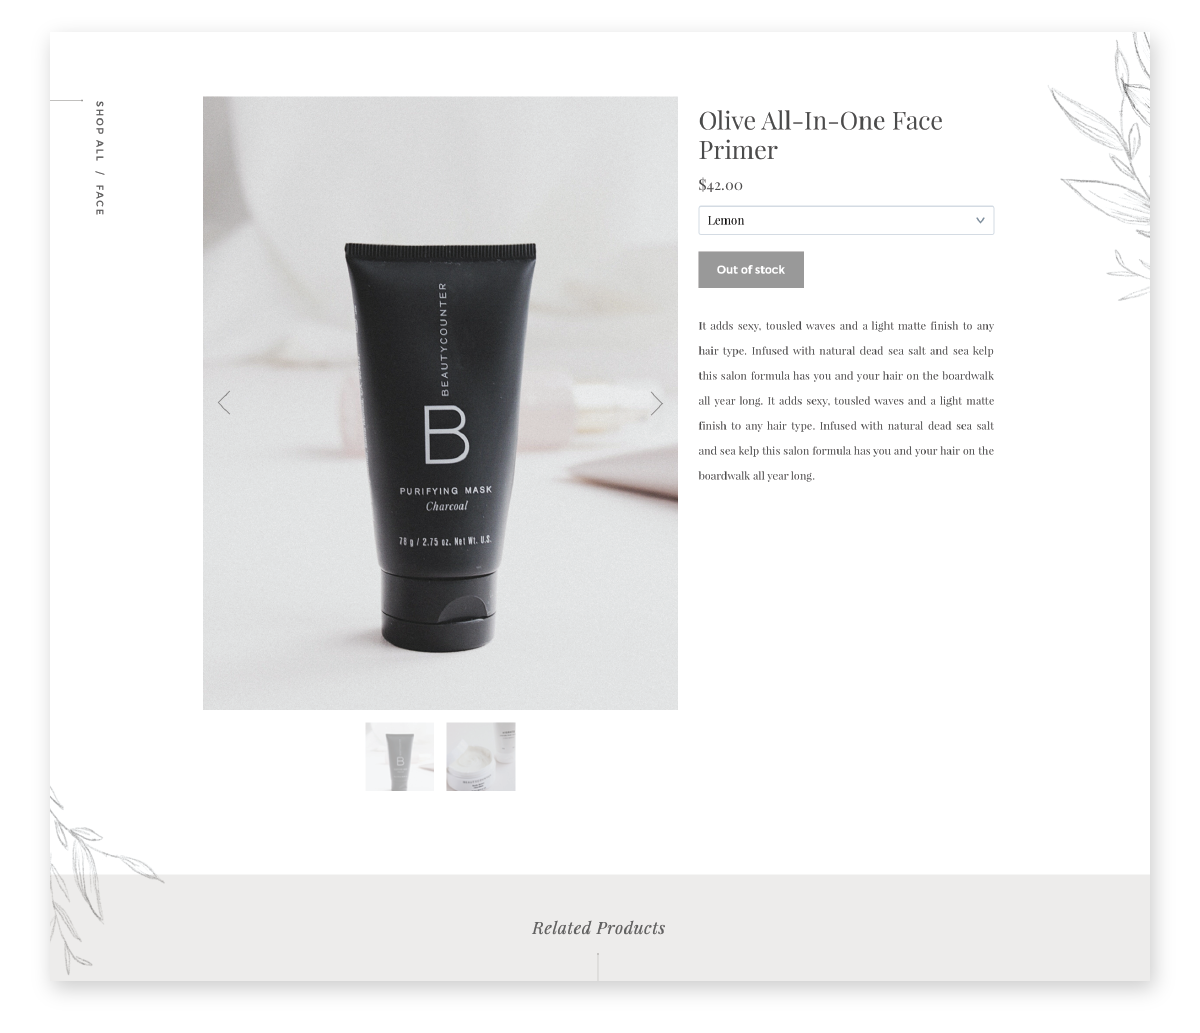
Another great option you have within the ‘Buy-Button’ channel is embedding a full collection. This will display 3 products in a row and when clicked it can open the product description in a pop-up. You can take a peek at my live example HERE from my Shop page template and the pic below to see how it works.
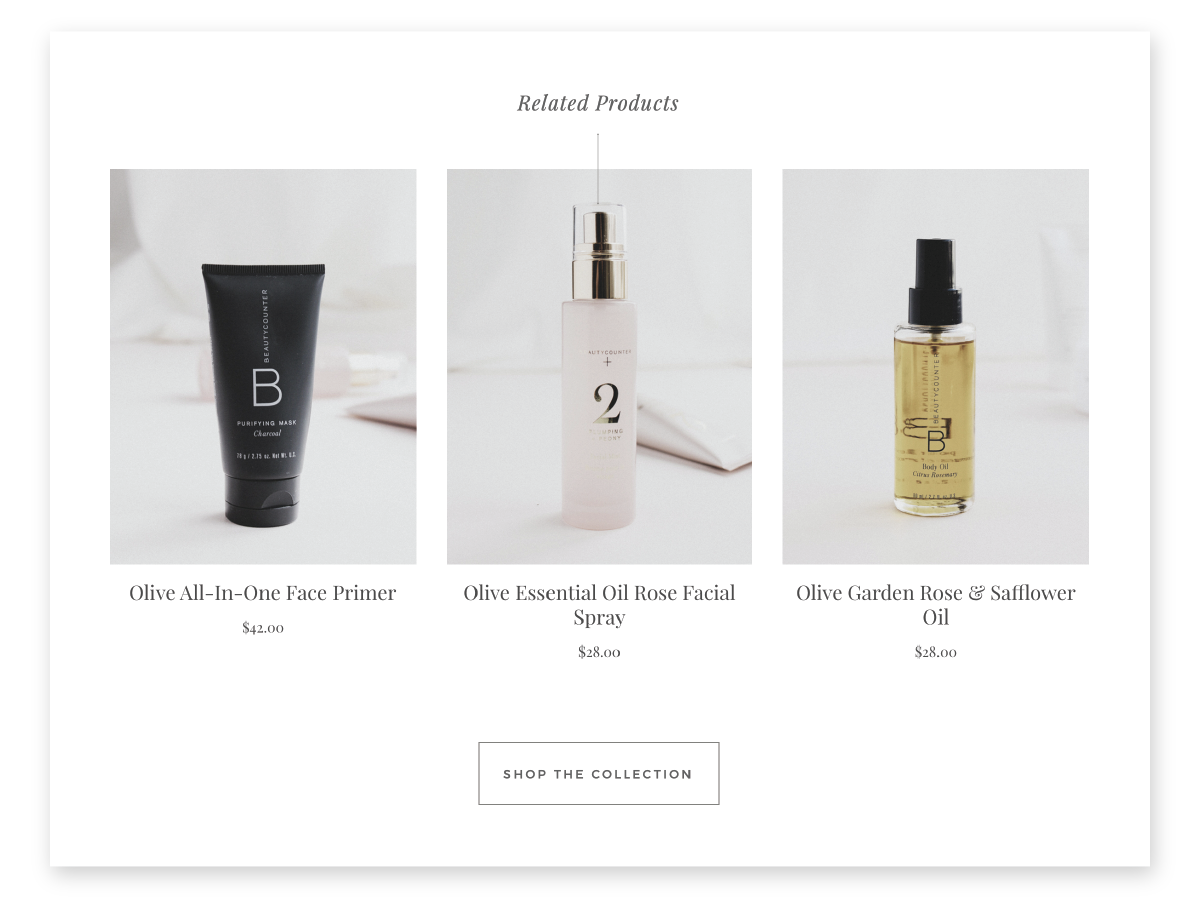
Keep in mind, this again is great for efficiency, but also not going to be as good for SEO if you want people to search for a specific product. BUT, I do recommend it for ‘related products’ like the bottom HERE or even showcasing it on the homepage like in my new Shop pages.
First: You’ll have to create your products first and then under ‘PRODUCTS’ on the left side, choose ‘Collections’ and then ‘Create Collection’.
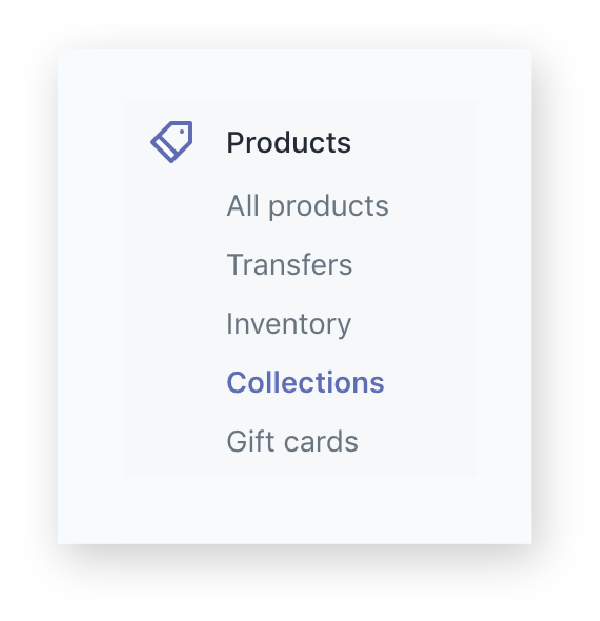
Here you can add whatever products you want, since you can actually embed this collection into Showit. Once you create a collection and arrange it however you want (manually, price, etc). Go back to the ‘Buy Button’ sales channel.
When you click ‘Create Buy Button’ you’ll notice at the top of the pop up a ‘Collections’ tab. Click that and choose the collection you want. From here you can choose your style and settings and decide how you want it to look on your site.
Repeat the same steps as above to add it into your Showit page canvas, you’ll just need to make sure to expand the embed box AND the actual canvas length to fit all of your products.
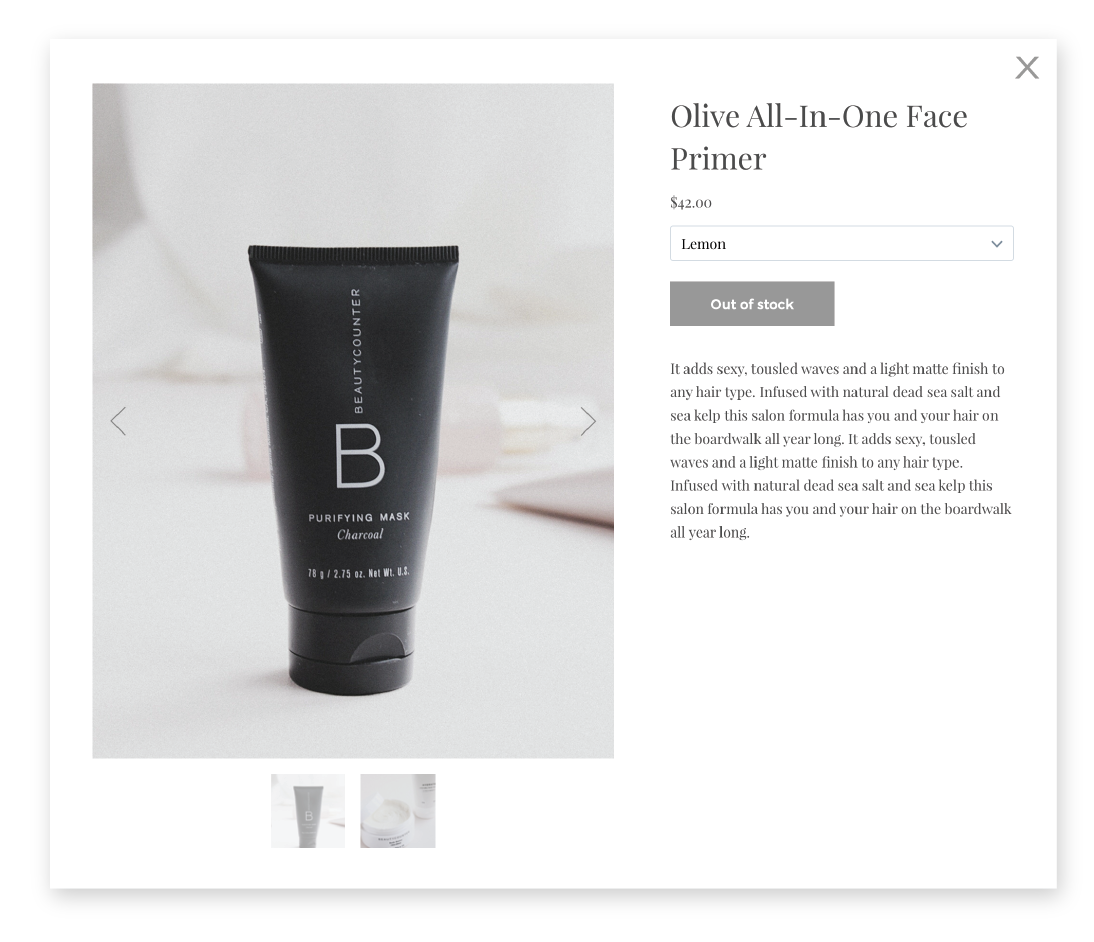
Pop Up Image Size
You’ll also notice that the pop-up product image size is quite small and low res, so again if you go this route I would recommend it for certain areas. You might see in my new SHOP templates that the image is full size, that is my own code and the tutorial is included in my Resource Help Site when you purchase a template of mine! hooray!

HELPFUL TIPS
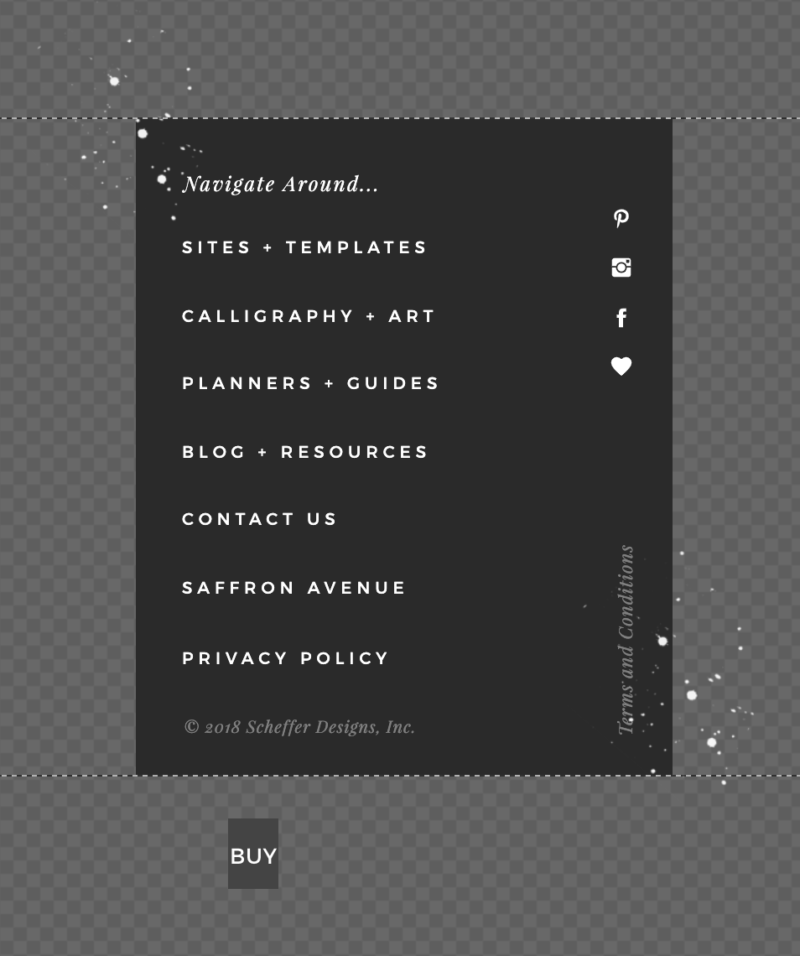
- With Shopify, if you add a product to your cart you will notice a little ‘cart’ icon appear on the right side of your site. This will only show on the pages that have an embed code on them. For any page that doesn’t have a buy-button code (like a homepage, etc) you can pop a ‘hidden’ embed box in your footer or to the side of your page/site on showit (like seen below in my footer), so it appears on all pages.
- You can add your own custom fonts and styling to your embed codes to match your site. I’ll share that tutorial in my next post! I use different google fonts in order to match the look of my own templates and will highly recommend it!
- Make sure you have your shop Policies, Terms, Refund, etc listed on each page and even on each product. If you are selling a digital product (like mine) I HIGHLY RECOMMEND you bold or call out that All Sales are Final. — You can peek below at the Terms & Conditions I use on my site and highly recommend. Use code: SAFFRONAVENUE10 for 10% off too.
- I also use 2 ‘apps’ for my shop: Klaviyo.com to customize and send the product emails (and ‘abandoned cart’ emails). As well as SendOwl.com to attach and send the digital files.
Keep your eye out for my next post, I’ll share how to actually add custom fonts to the buy button to make it cohesive with your site!
PEEK AT MY SITE TEMPLATES
If you click on my affiliates/products/advertisers links, I may receive a tiny commission. P.S. the products that I share are the ones I believe in.


