Hi friends, and all of you recently engaged ladies who may be reading this. Today over at Style Me Pretty I am sharing with you my process of how I branded my own wedding. From the color palette, logo design, paper products, all the way to our wedding website. In the beginning stages of wedding planning I shared my tips on how to narrow down your wedding style, and now I’m here to show you how I took my style and branded my wedding! Thank you to Booth Photographics for the pics!
1. The color inspiration board and color palette:
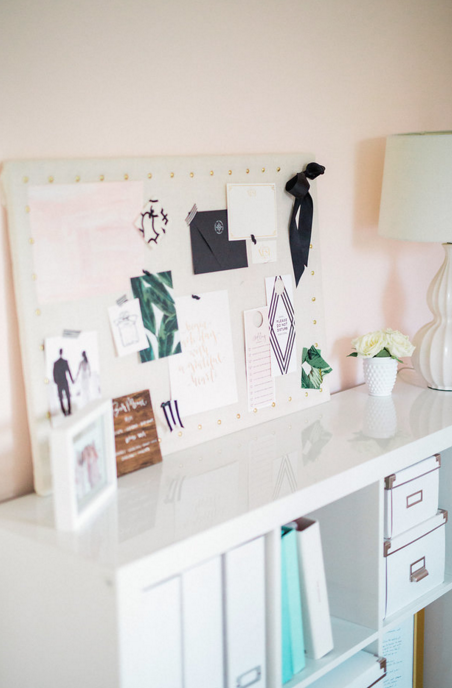
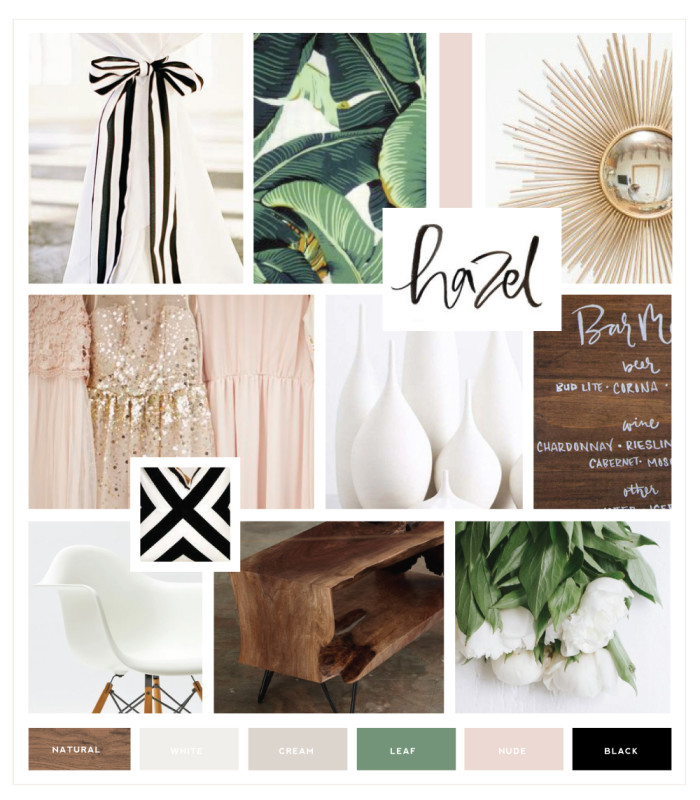
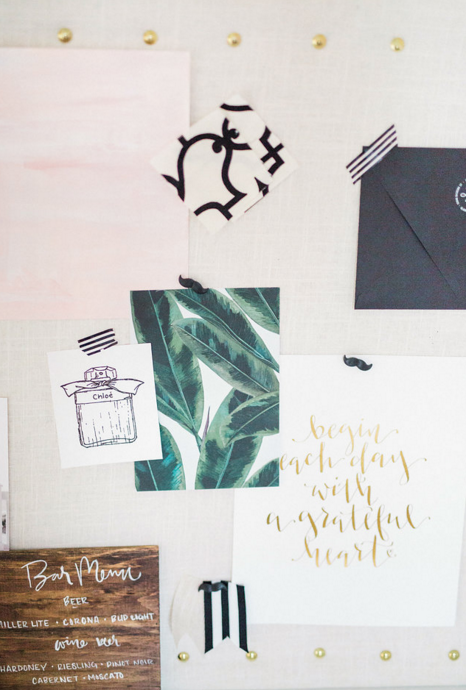
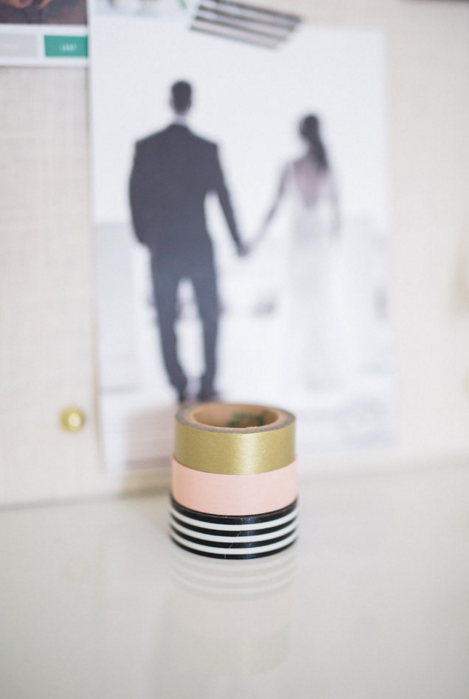
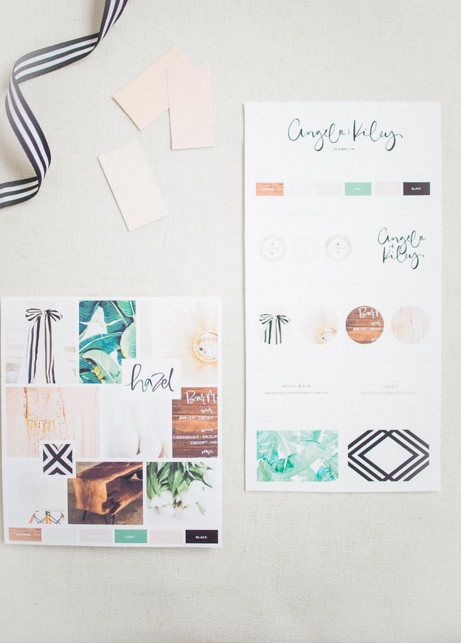
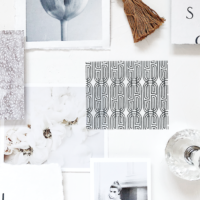
As you peruse through pinterest, wedding blogs, and magazines try to find images that reflect your overall style. For me I used a couple defining words: Neutral, Natural, Mid-Century Modern, Clean, and Classic. I knew that going forward I really wanted simplicity when it came to the design and style, something that could stand the test of time.
2. The Logo and Brand Board
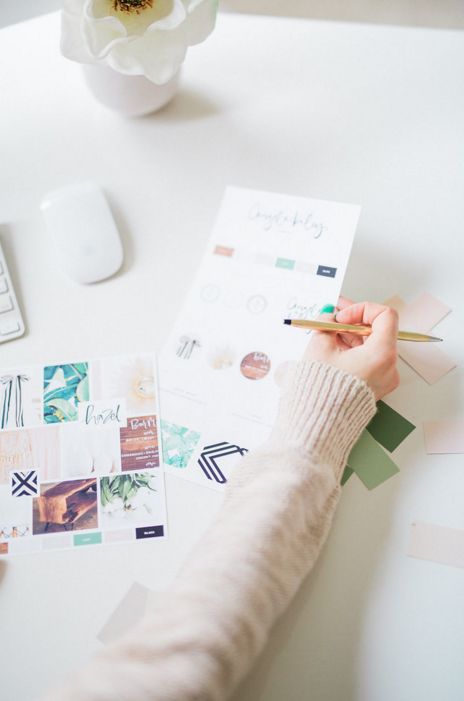
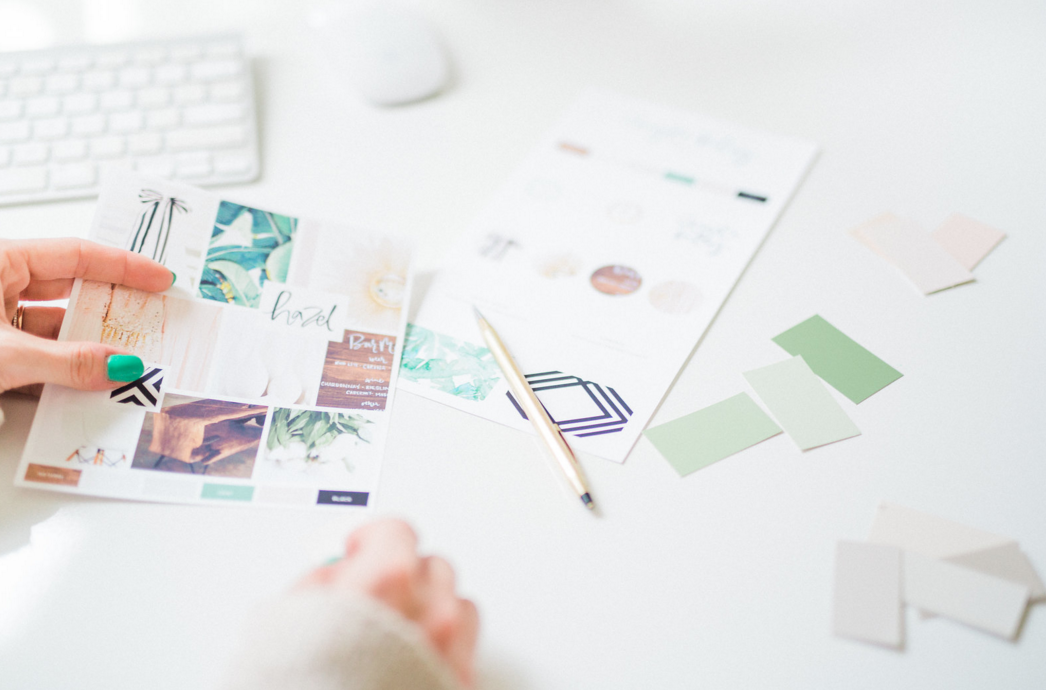
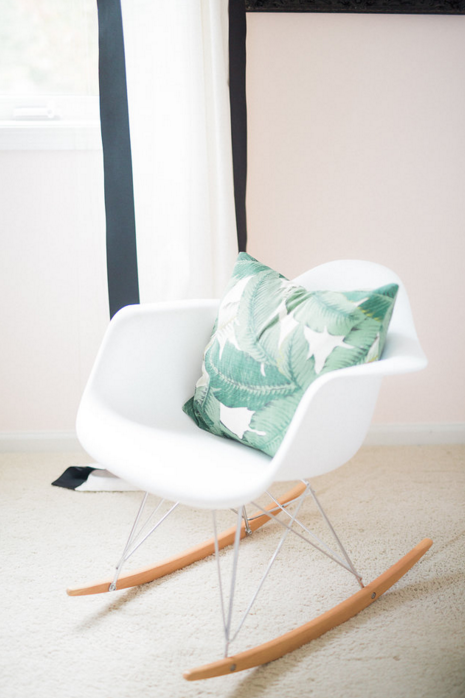
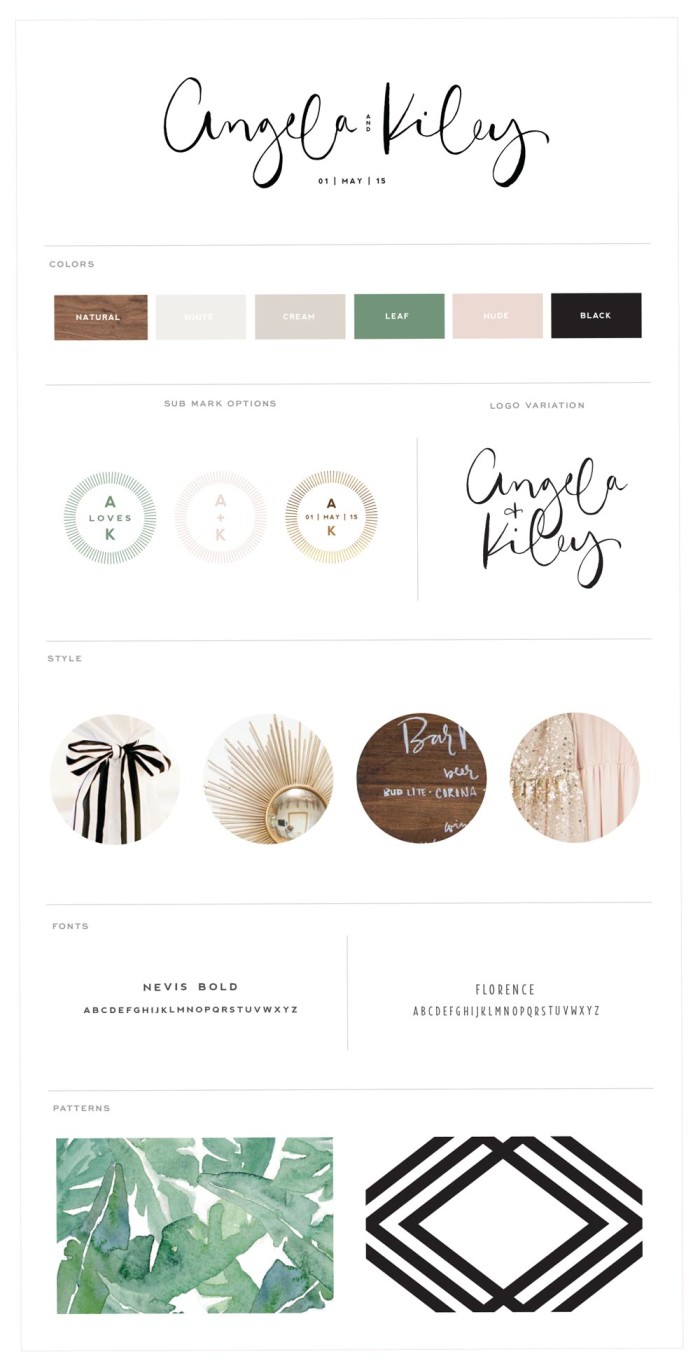
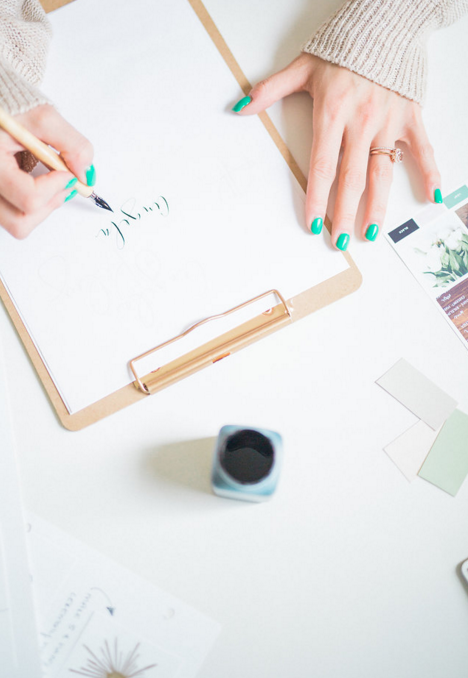
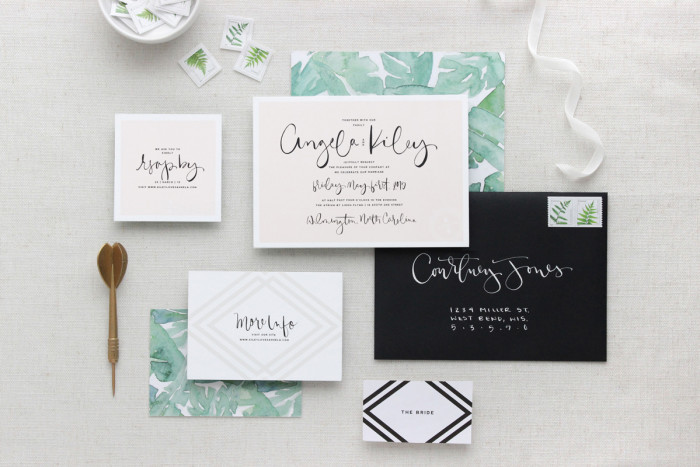
Once I finalized my style and color palette I moved on to create a few logo options. I love calligraphy and lettering so I knew that I would just have to pick a style I love and go from there. I finally decided to go with a more relaxed brush script, which added a bit more playfulness to the clean and modern style. After I finalized the logo I built my brand board, this part was important as I used these elements throughout the rest of our wedding (as you can see when you take a peek at our wedding photos here). I created a watercolor palm leaf pattern, as well as a modern sub mark that can be used throughout the branded stationery pieces.
4. Wedding Website:
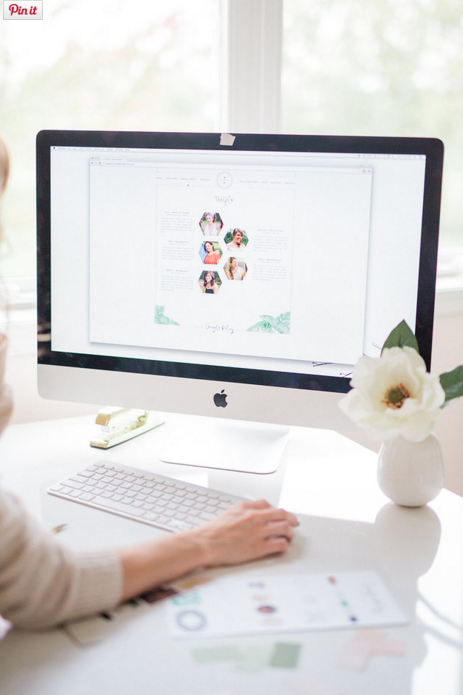
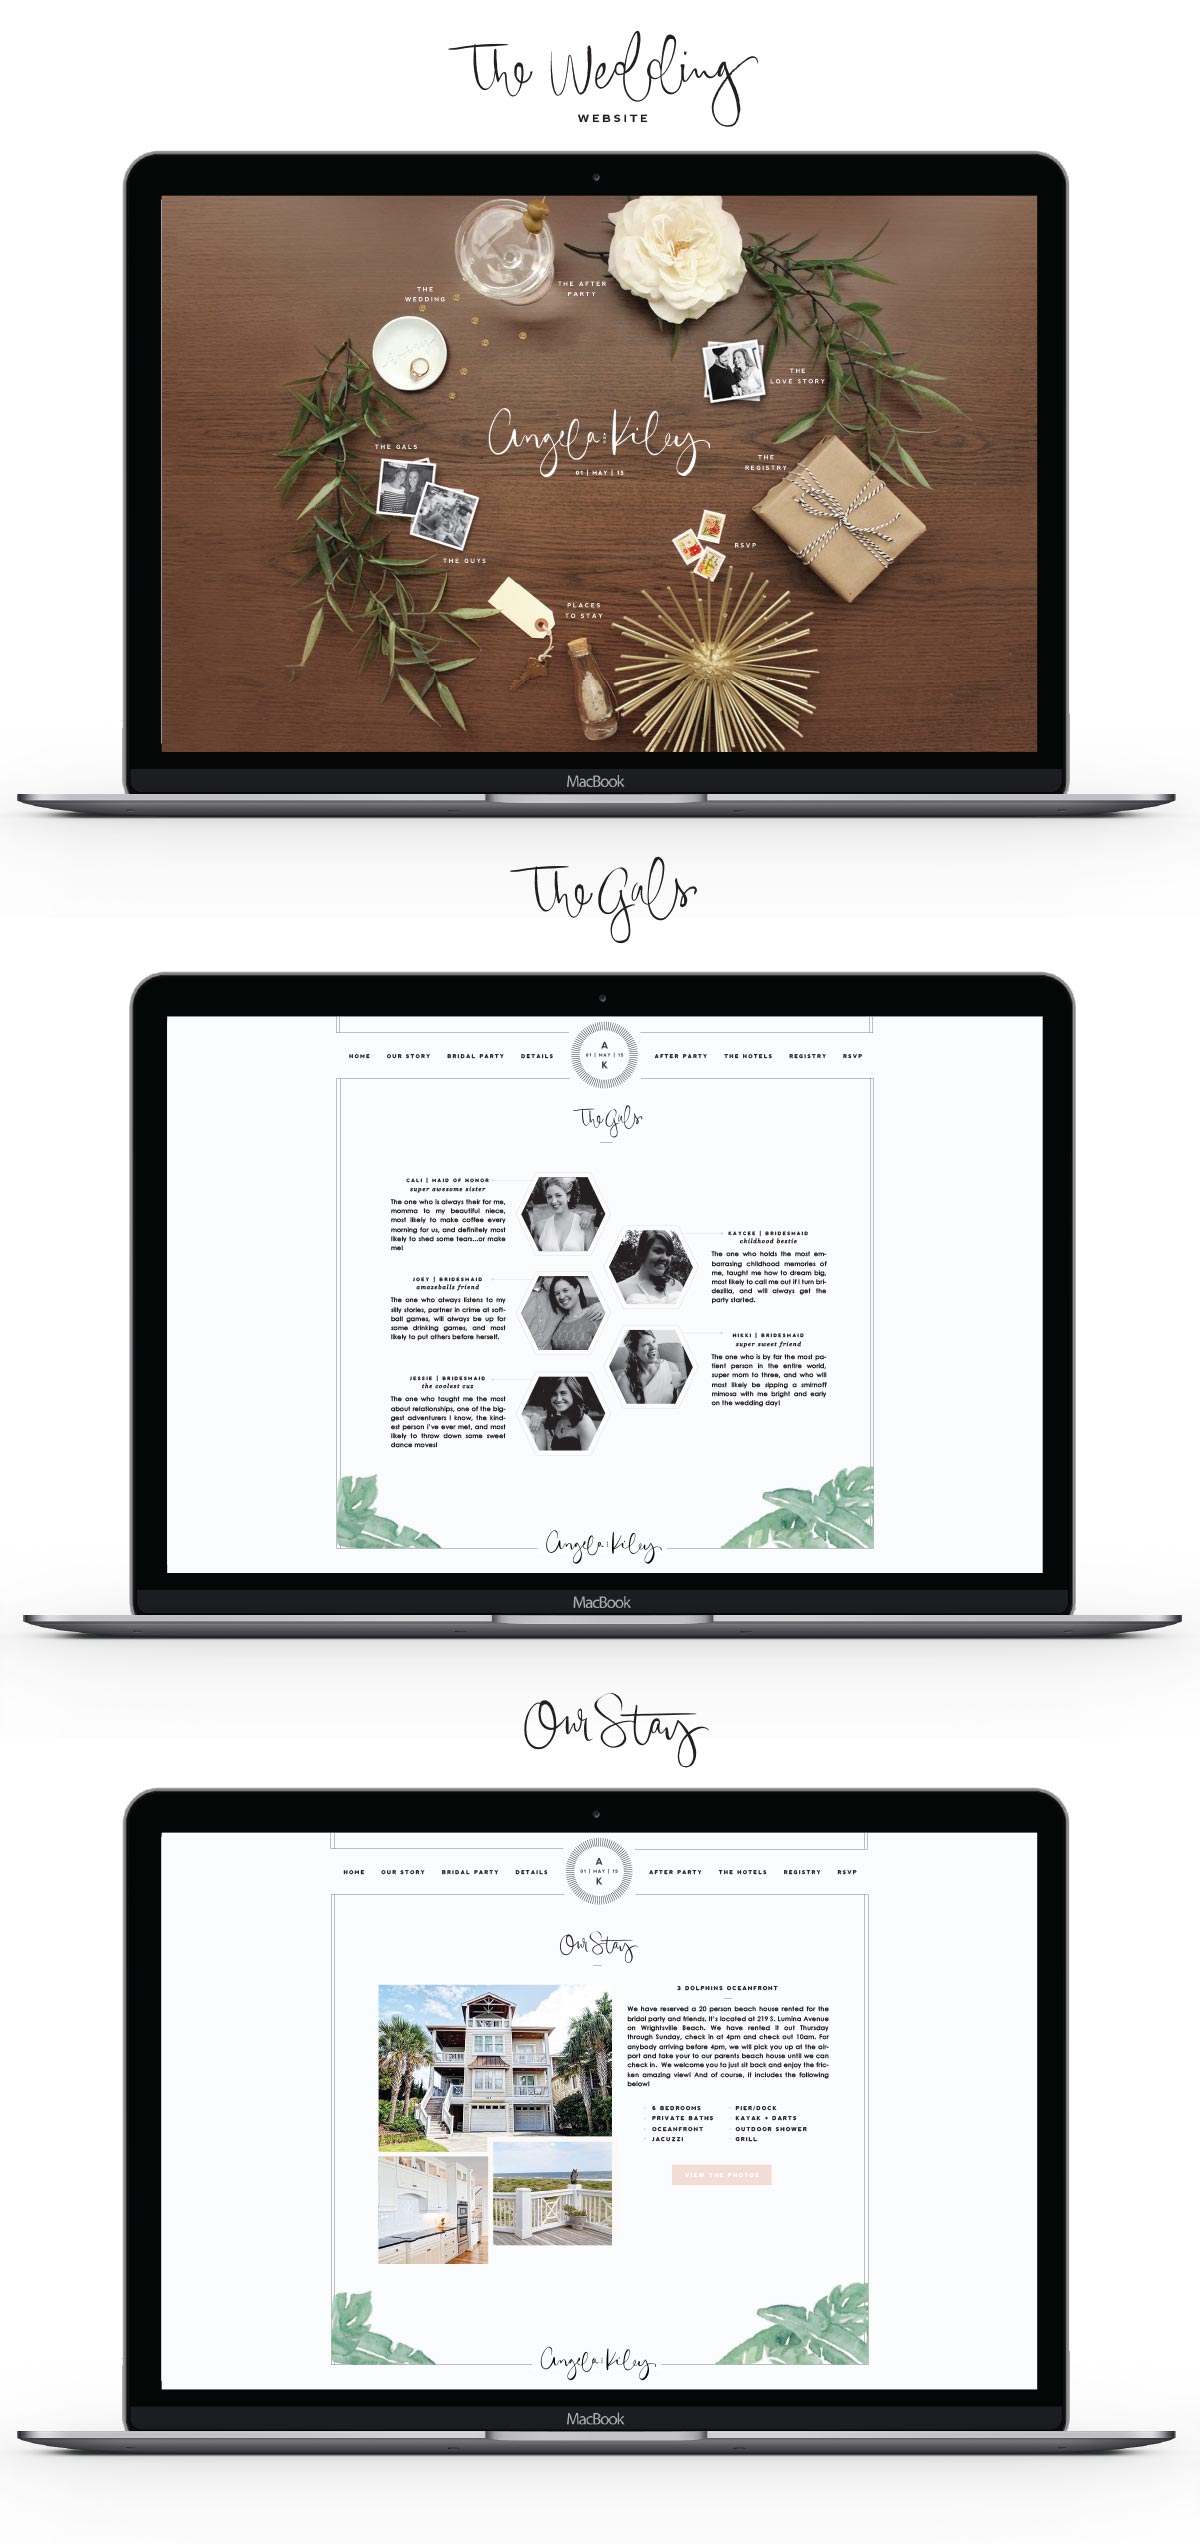
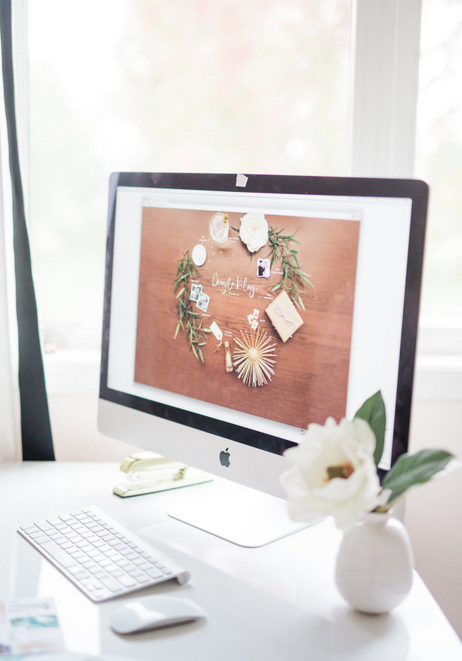
With my business I was able to design and develop our own wedding website. I wanted it to pull from my inspiration board by using wood texture, modern elements, my custom palm pattern, and of course the brush script. On the homepage I created a styled flat lay that my guests could click and navigate to specific pages. Then on the interior pages I used my sub mark, palm leaf pattern, and clean lines, which focused more on imagery and content.
5. Wedding Invitation Suite
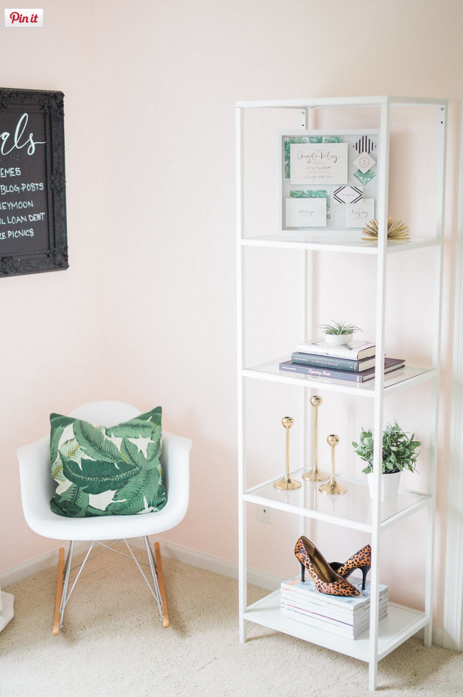
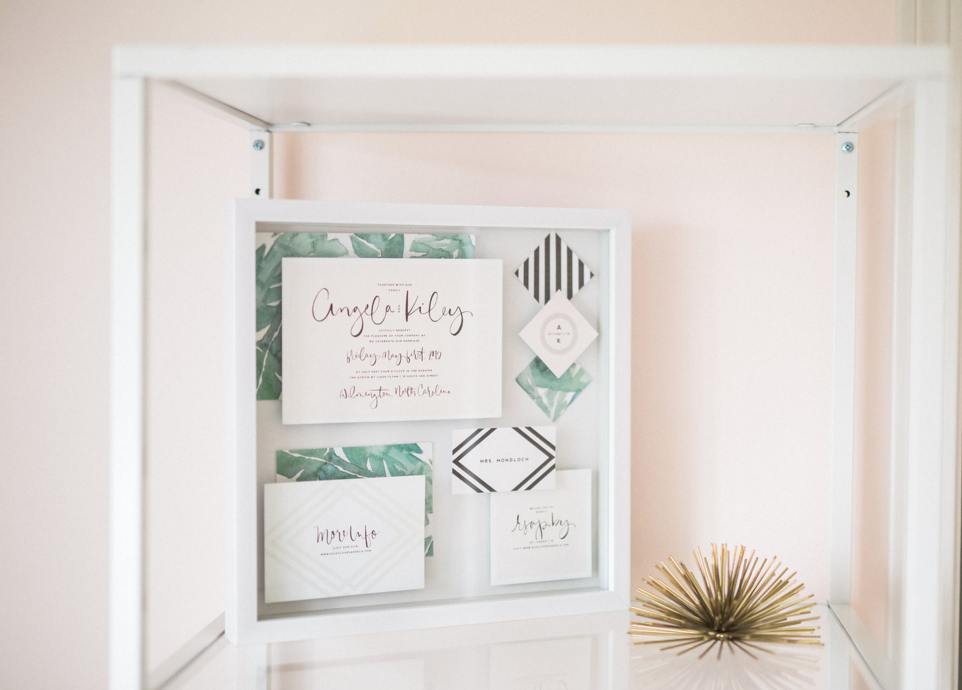
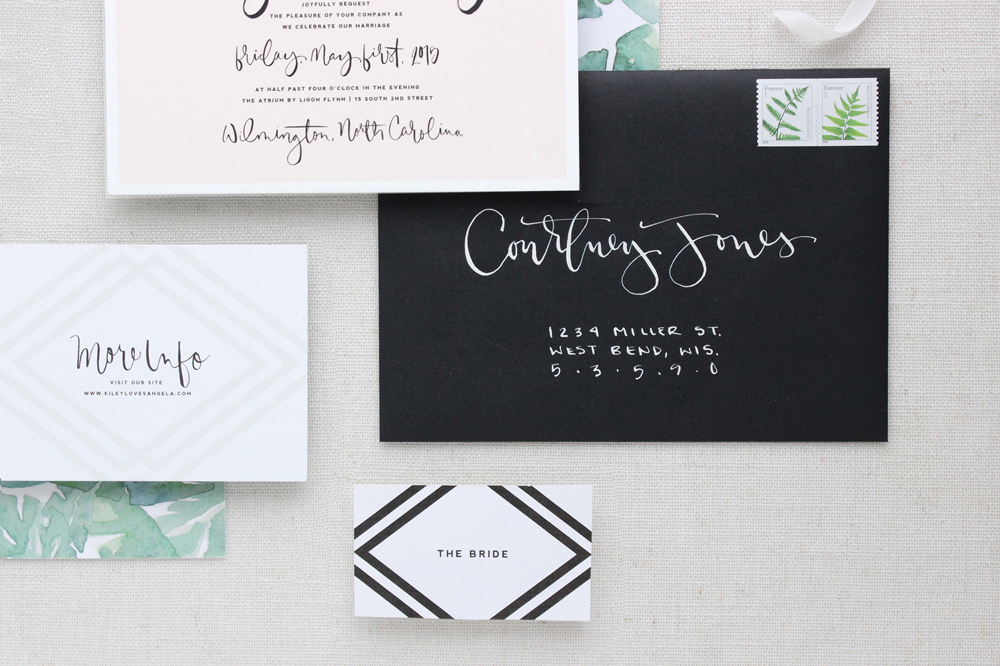
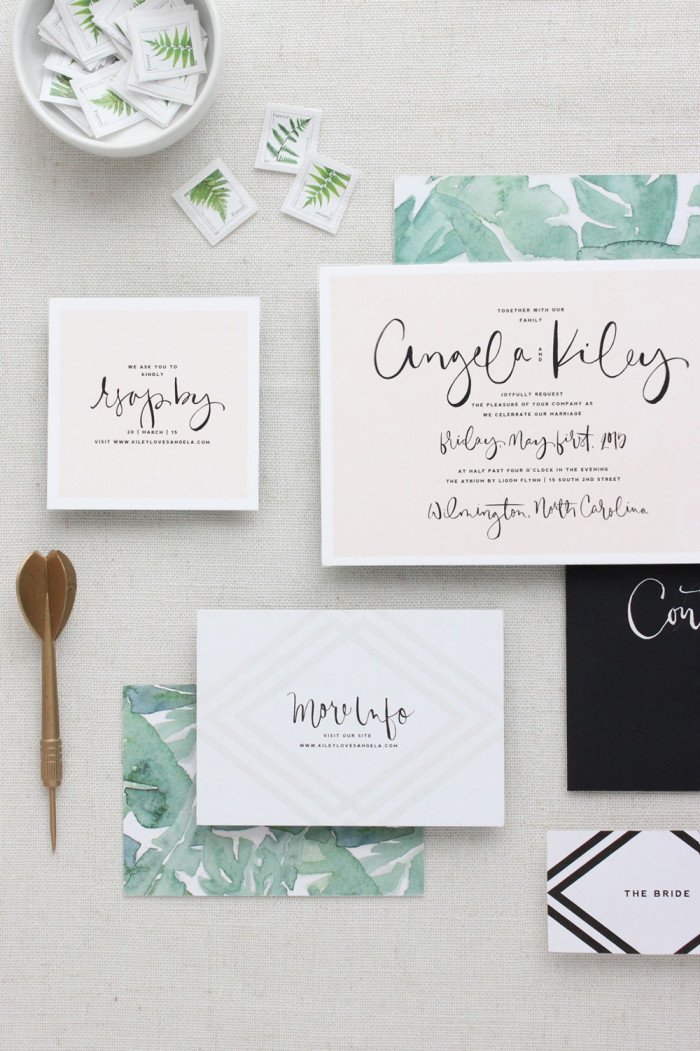
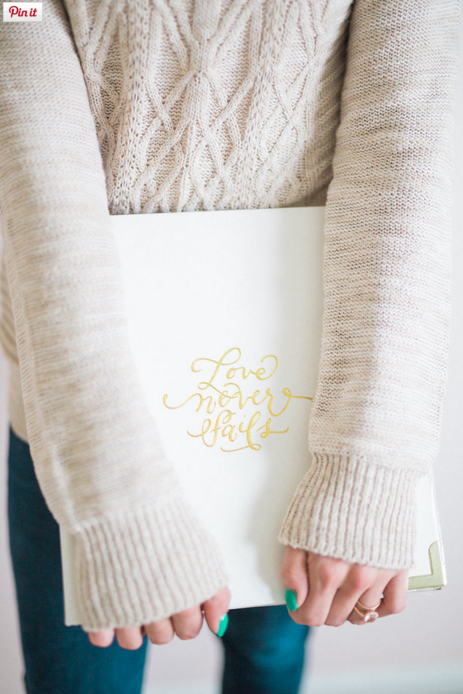
This was my favorite part, as I was able to use my neutral colors, patterns, custom brush script, and various shapes and sizes to build the suite. Each invitation set was carefully assembled and tied together with bakers twine and a small card with our sub mark. Because we had a small wedding I was able to print on very thick quality stock and use different sizes for each piece.
6. Reception Stationery
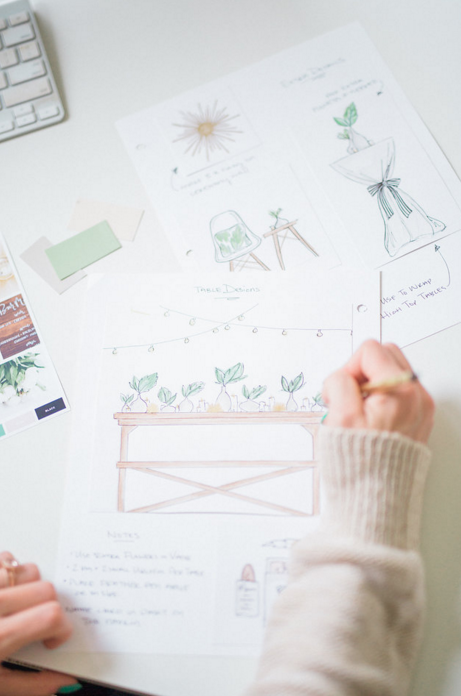
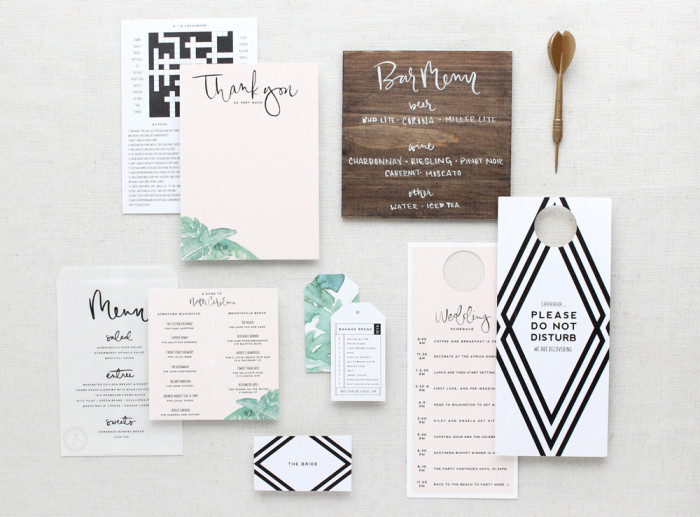
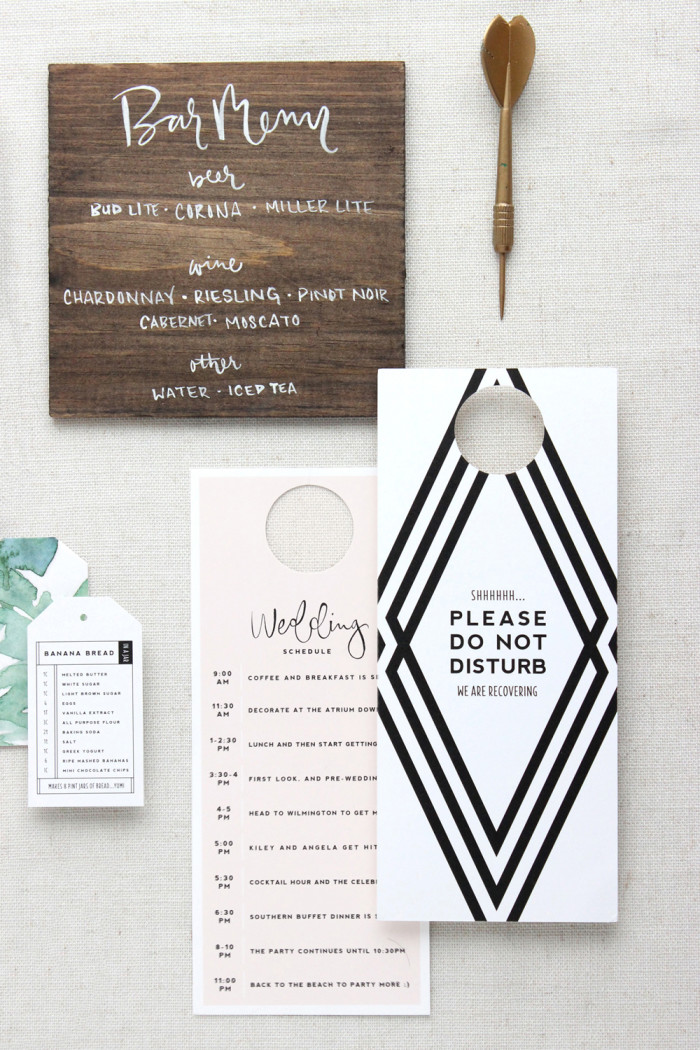
To pull it all together I wanted to incorporate various design pieces into our wedding weekend, in which my guests would be able to see it all together. Each guest had a customized canvas tote which inside had a Do Not Disturb sign with our Day-Of timeline, custom water bottles, packaged up snacks, and a custom drawn map with things to do in the area.
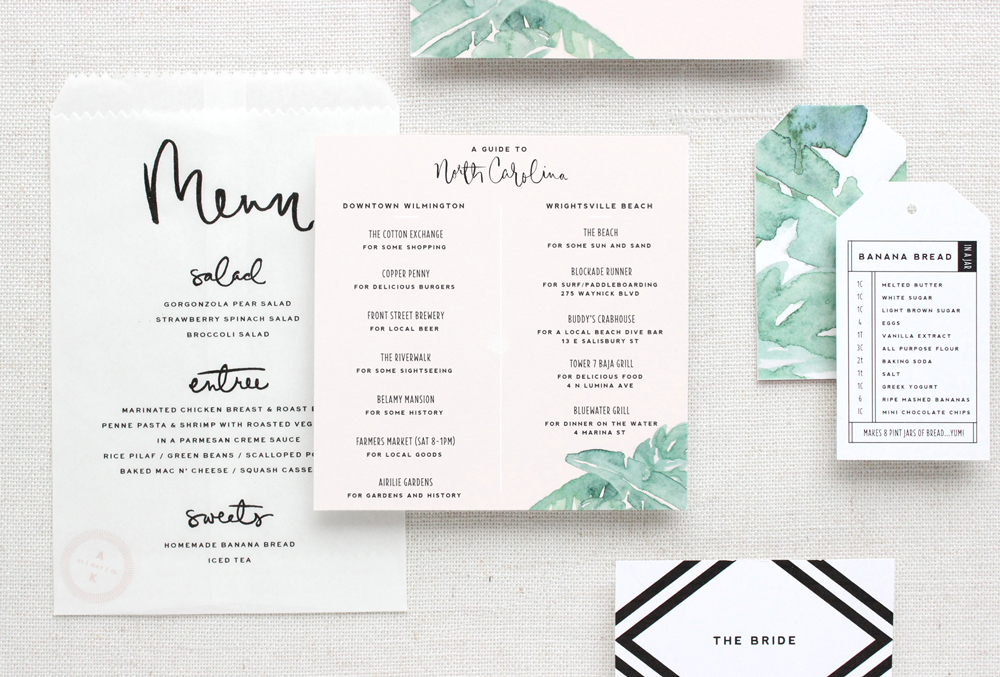
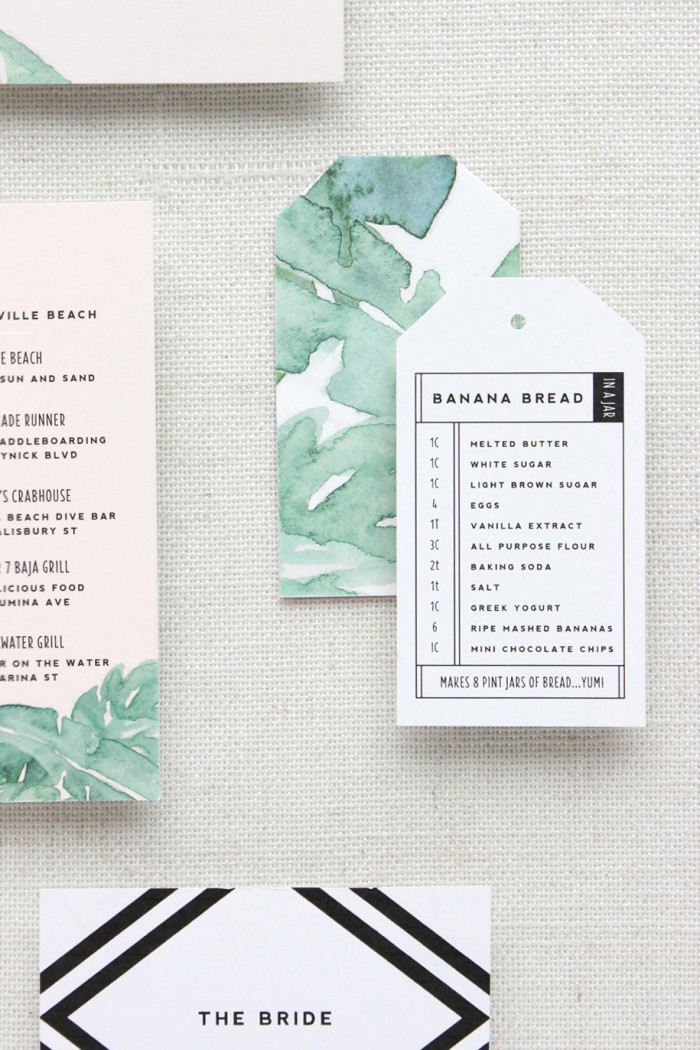
At the reception I made custom printed menus, mason jar banana bread with our sub mark sticker on top and a designed tag with the recipe, as well as a hand-written thank you note with a fun customized crossword puzzle on the back. Each piece designed around the original brand board I created.
Everything is beautiful! I have been finding inspiration in gold sunbursts for my wedding too! May I ask what the “bride” card is for?
Thank you so much! It was our place cards at the table ;)
Wow, it is all so amazing!!! Where did you print your invites and other stationery?
I did the invites from Stationery HQ (on their thickest stock) and then the other print items from Digital Lizard!
Stunning! Thanks for the great advice!
Thank you!!
Saw your work over at SMP and was amazed! I’m even more amazed you got married in Wilmington, NC! Are you from there? I like in Raleigh, but my sister-in-law just recently got married in Wilmington. We are planning a wedding in October and this is great inspiration!
Thank you so much! I’m from Wisconsin, but lived in Wilmington for a couple years…I knew that matter where Im living I wanted to get married at The Atrium in Wilmington. And thats what happened, we did a 32 person destination wedding back in NC! (which was perfect weather for us Wisconsinites in May ;)
Oh goodness! You’ve done it again. :) Your lettering is superb. Do you mind me asking what nibs / lettering tools you’re using for this? I seriously need to work on my skills.
Thank you!! I just used my pentel brush pen dipped a bit in water to create the brush script ;)
This is just amazing work! I’ve always wanted to design Wedding Stationary for a living but don’t think I have the talent for it!
Zoe x | http://www.zoelinda.co.uk
Awe thank you so much! It’s definitely fun and a little challenging at the same time!
[…] Cake / Stefano Santucci Studio via Grey Likes Weddings / Alea Moore via Camille Styles / Saffron Avenue / Mariel Hannah via Utterly Engaged / Krista […]
Thank you! Your post really helped to give me clarity when it came to working on my own designs! Was so overwhelmed for a bit.
Simply stunning – what a beautifully consistent design, great work!
Thank you so much!! It was fun to do :)
how did you frame your inviation suite? I would love to learn few tricks.
Oh, it’s just a 3 layer shadow box from michaels!