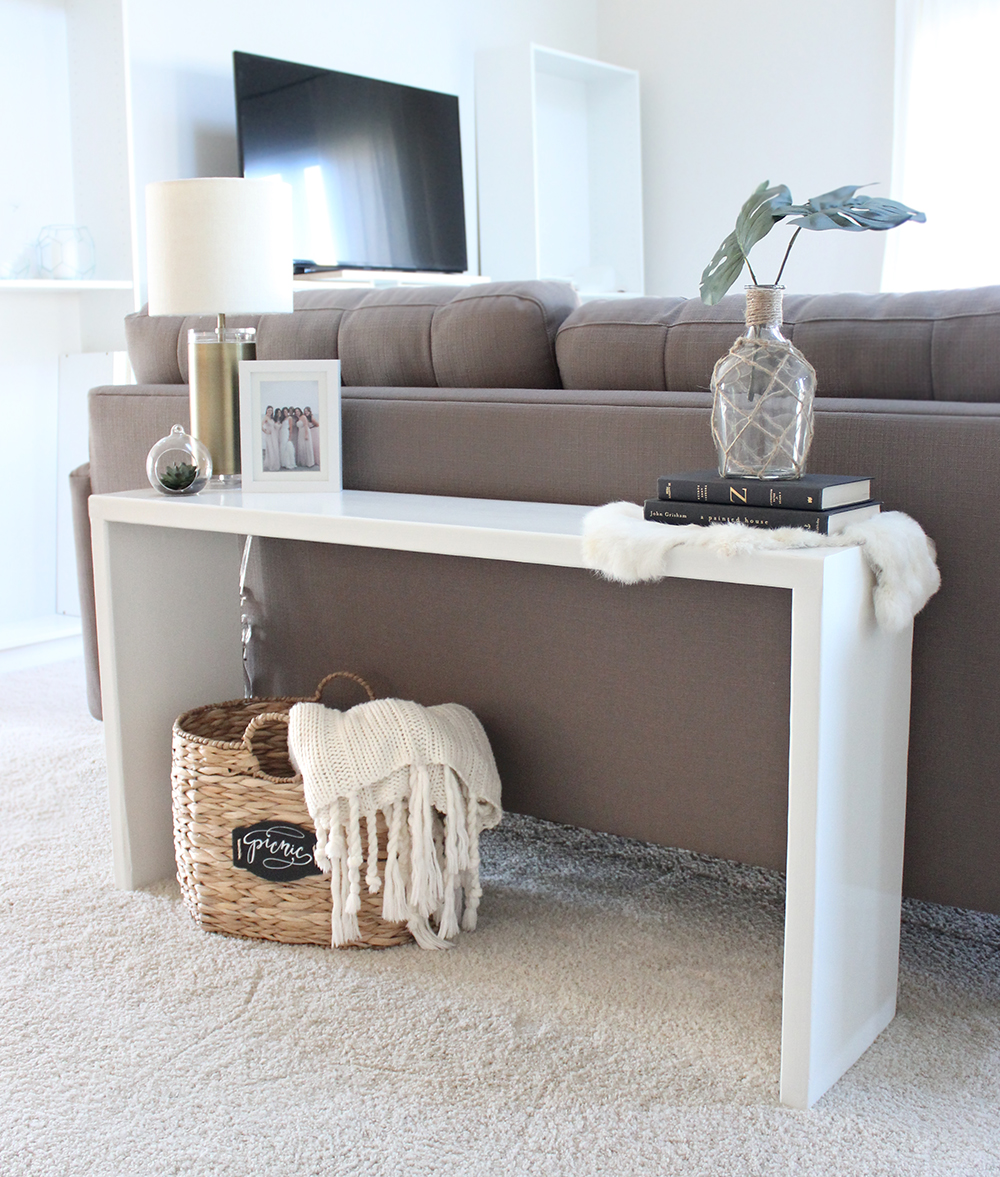
Happy Friday my friends! I’ve got quite a few requests for instructions on how I made my DIY wood console table behind my couch. Let me just say, it was so easy..and actually turned out better than I though!
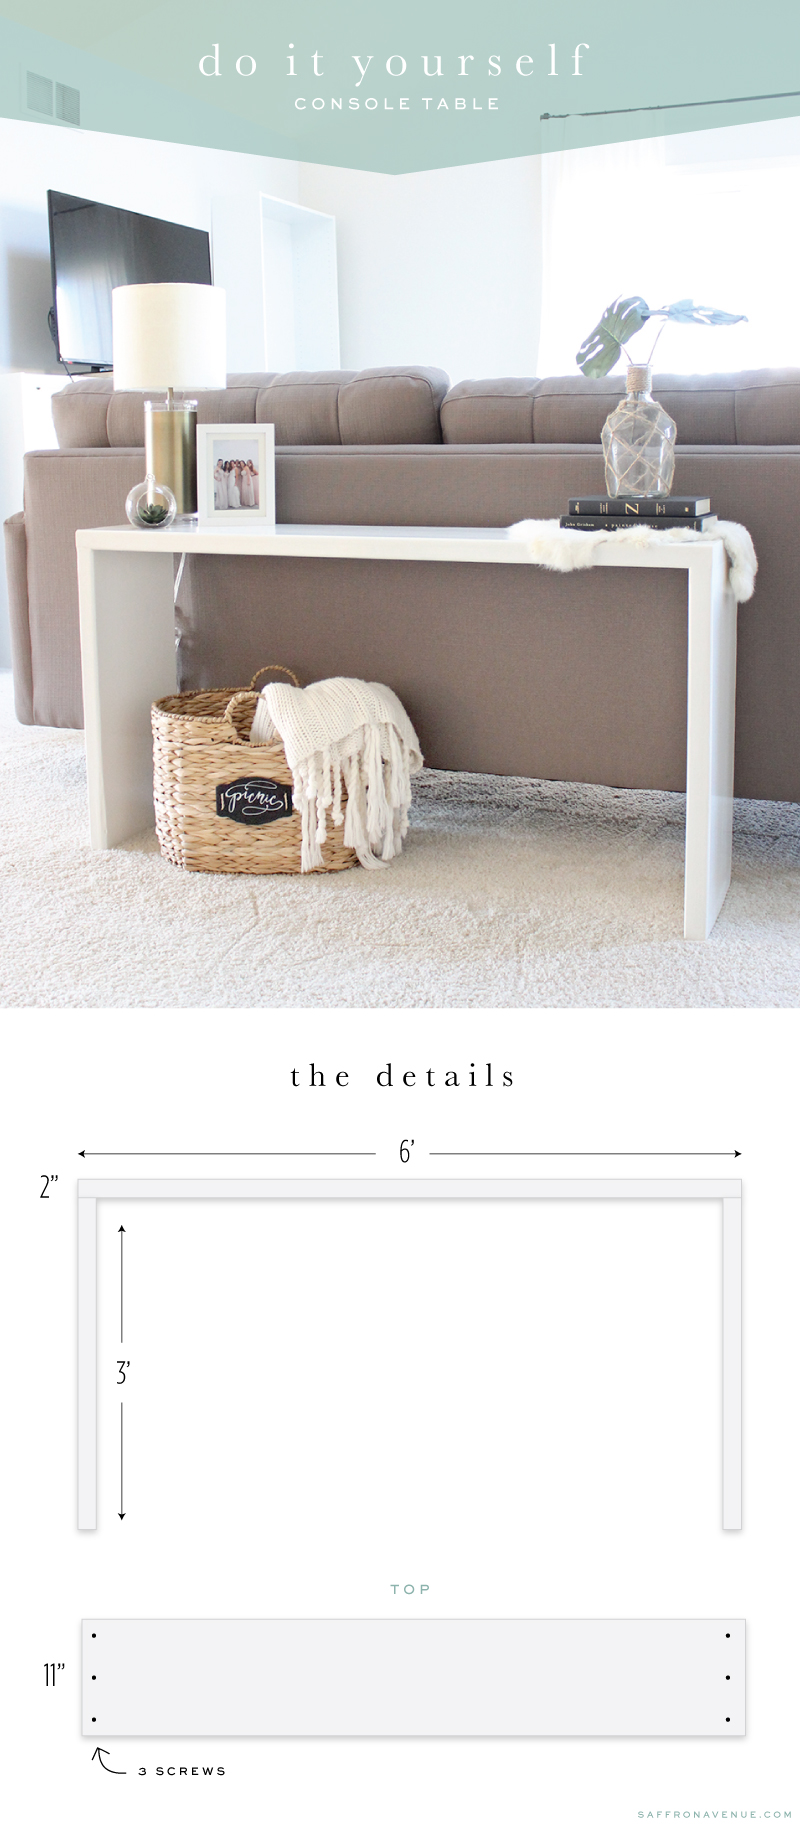
So, as you can see from the sketch above it’s simply just two pieces of 2″ x 6′ pieces of wood (I think it was pine..only $7 each). Mine was only 11″ deep, which actually is perfect for the spot.
1. First I picked the best piece for the top and the outer sides (the ones that will be seen the most).
2. Sand the crap out of the wood, I used a hand sander to save time..and made sure it was Smoooooth.
3. We cut one piece of wood in 1/2 for the legs and then set up the table (with the top piece laying over the 2 legs). We first put on some wood glue, drilled 3 holes, screwed in each side, and finished with wood filler. NOTE: it was almost impossible to get exactly level on all sides and top (quality of wood), but before we screwed it together it helped to stabilize the sides by putting weight on each side of the leg (to hold it up).
4. Once the legs are attached we filled all indents, knots, edges, and screws with wood filler. I tried to get the seam between the top and legs as flush as possible and filled with filler (to get a clean edge). Then once again, sanded it to get it smooth.
5. I did 2 coats of primer (whatever we had laying around) and sanded after that 2nd coat.
6. After the primer was on I did 2 coats of Satin Impervo – White Dove, and did a light sand over it by hand (We had this on hand already).
7. When it was dried I used Polyacrylic Clear Gloss with 2 coats (having to wait about 4 hours between the coats).
Ta da! It’s actually quite stable, if you want it more stabilized you can do a small piece on the lower back.
If you click on my affiliates/products/advertisers links, I may receive a tiny commission. P.S. the products that I share are the ones I believe in.

I love this! It looks like such an expensive piece.
http://bysophielee.blogspot.com
Thank you, I was delightfully surprised how it turned out!
[…] DIY Console Table – Can you believe this is a DIY table? Yeah, DIY. This detailed tutorial shows you how to recreate this amazing table so you too can have one in your home.Sometimes it can be difficult to find a console table that fits perfectly in your space, but a DIY tutorial like this is totally helps! […]
[…] it out a bit and stashing toys behind it. If you have an open floor plan like I do, you can still put larger toys behind the couch. They won’t be out of sight, but it keeps them from being underfoot in high traffic areas. […]
[…] modern console table […]
[…] This is another fantastic example of a very unusual table, because it looks like one smooth structure and it doesn’t have any shelves apart from the actual top. The white color provides a gorgeous contrast against the back of the dark contrast. via saffronavenue […]
[…] DIY Modern Console Table from Saffron Avenue […]
what paint did you use to have that glossy look?
I actually did a gloss clear coat spray!
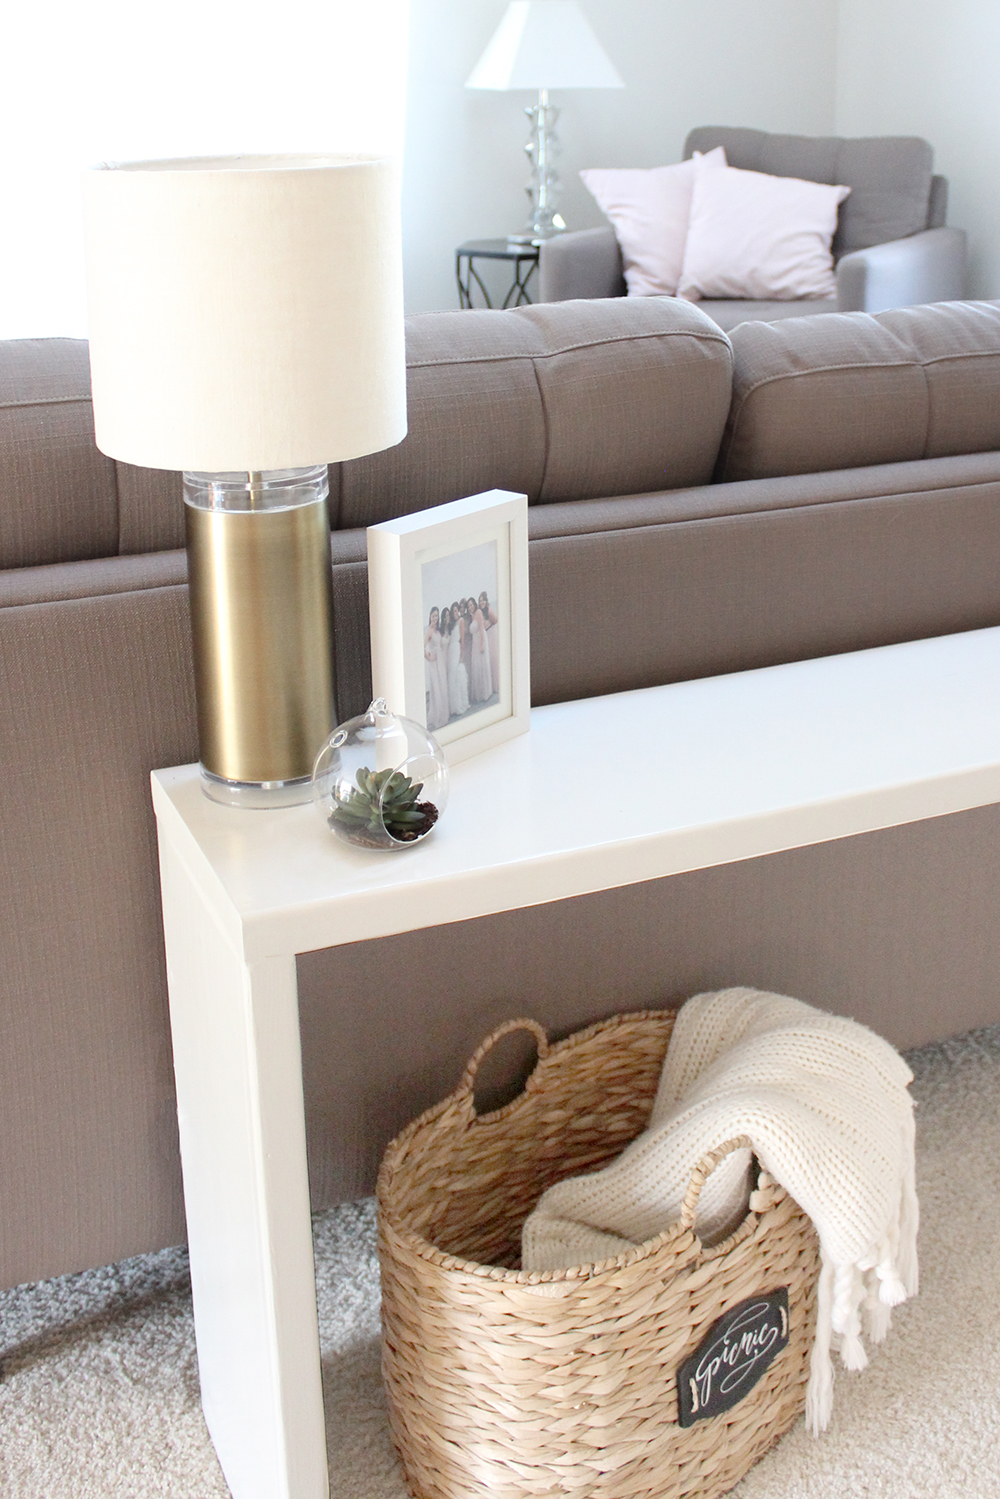
love your lamp. where did you get those?
Target, of course ;)
Ohh darn it. Wish we have target in Canada. Thank you for your response. ????????
Omg..you don’t have Target!? I’m so sorry!!
[…] sofa table that is completely simplistic, this design on Saffron Avenue allows you to let the decorations do the talking, or keep it clean and neat. Just like your […]
Do you remember how much total? I am trying to make a side table for my vanity and I think if I make this table wider at the top it’ll do the trick?
Hi there, I think it would be under $20. Just because the wood was around $7 (Two 2″x6′ pieces), and we already had the screws, sandpaper, glue, and paint ;)
[…] Source: saffronavenue.com […]
I did a table using the exact paint and gloss and my furniture has a yellowish hue. Did this happen to you? How did you avoid this?
So strange! Maybe it depends on the wood and number of coats..mine still is white!
[…] via […]
[…] via […]
Hello,
I love your style! amazing desing for driftwood console table. thanks for share this blog.
Hello,
It is looking nice information is diy wood console table is looking great. thank you for share this blog
Sorry not very handy and trying to do this. Did you just screw into the top of the table to connect the legs then fill with filler.
That is what I did..because I’m not super handy either!
Hello,
I kike the blog is given information is looking Awesome.thank you for share this blog
[…] source: saffronavenue.com […]
Hi! Do you know what size screws you used?
Gosh..I honestly can’t remember, I’m sorry!!