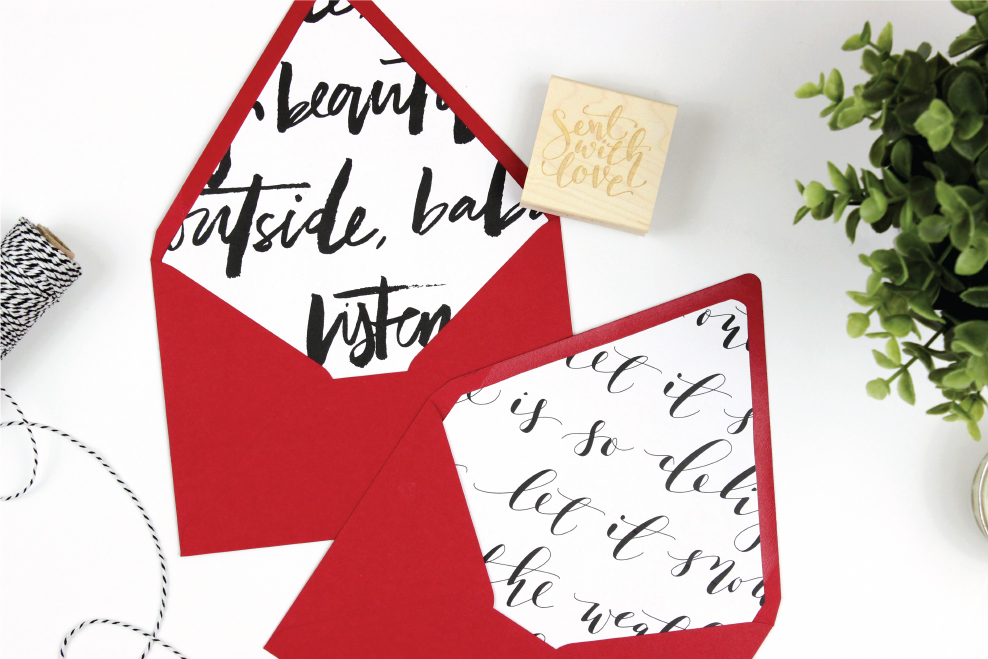
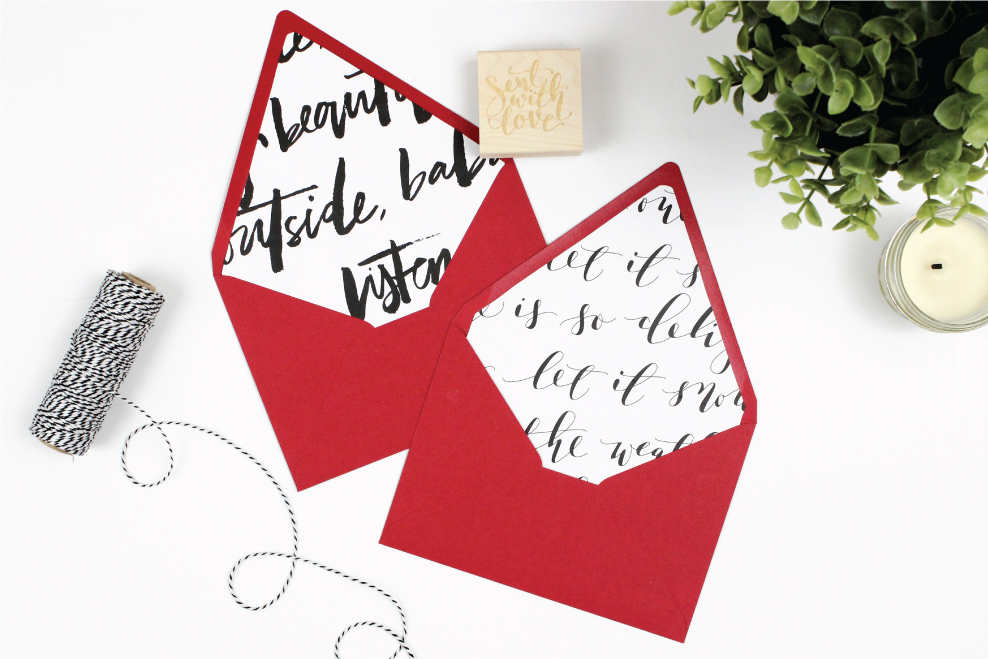
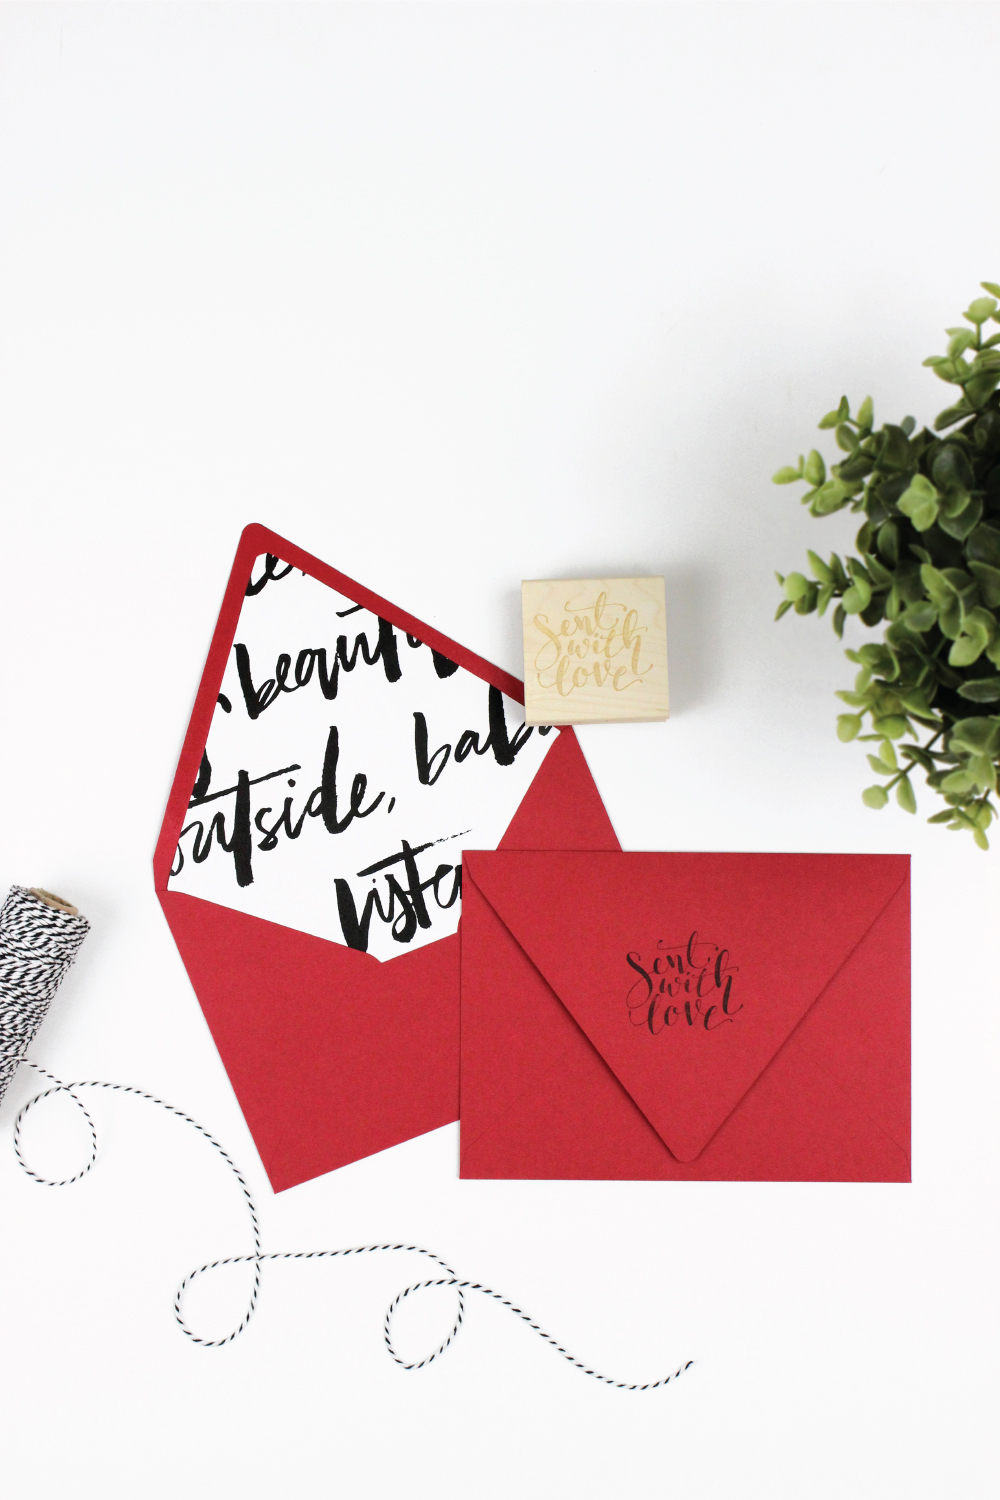
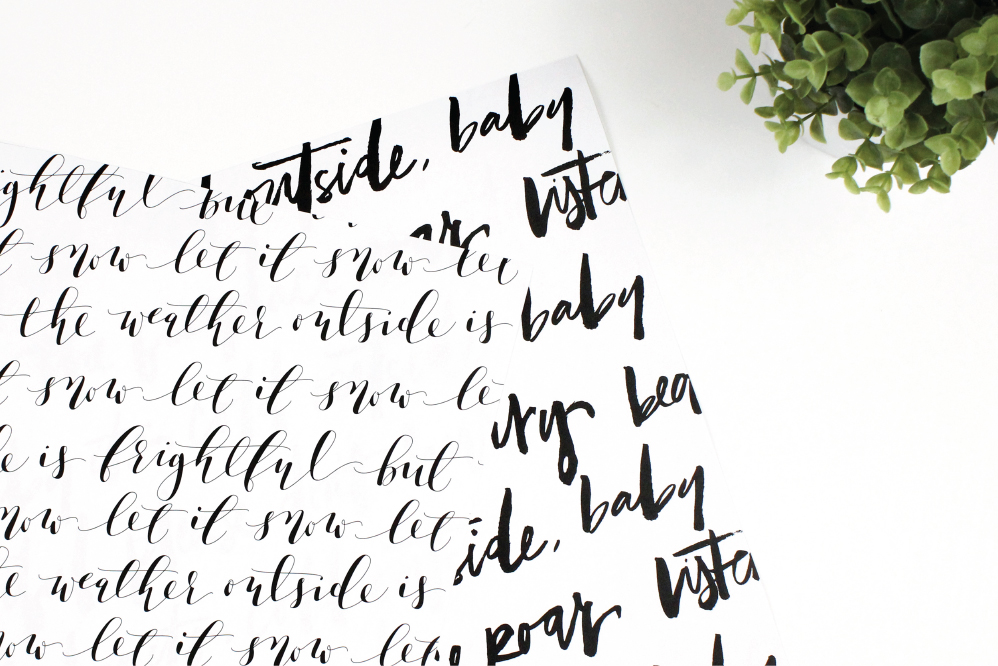
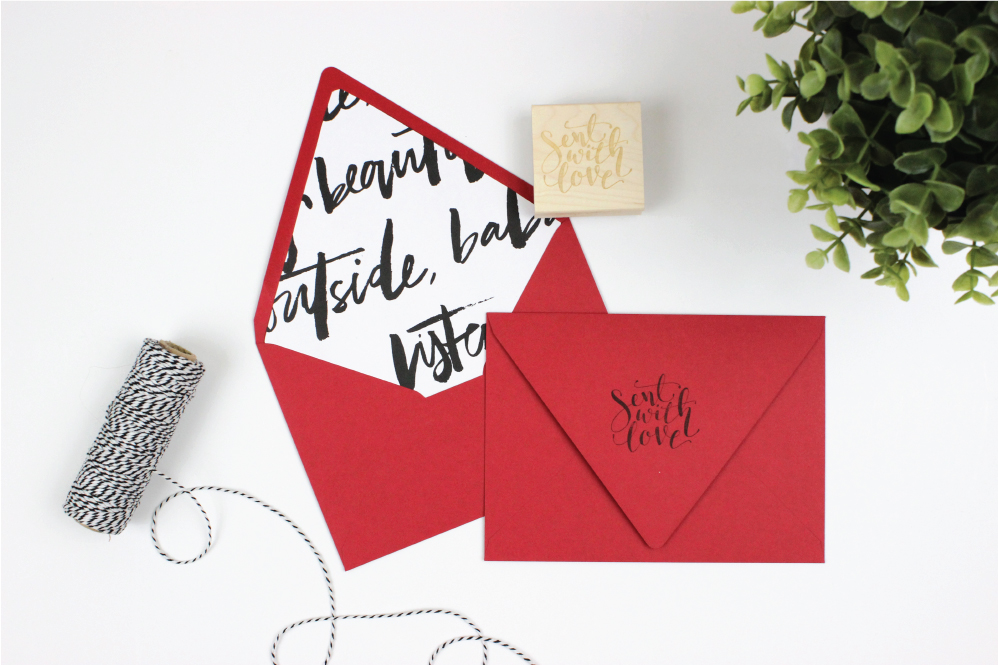
I wanted to share my most recent Style Me Pretty post with you…some DIY envelope liners! Since we all tend to stock up on wrapping paper around the Holidays I thought it would be neat to incorporate that into my Holiday cards this year…especially since my envelope liners match all of my gifts! I’m using some custom wrapping paper I made, but as we know Target is full of some great styles to choose from!

STEP ONE
Choose your wrapping paper, I recommend switching it up between envelopes. You can really use any roll you want!
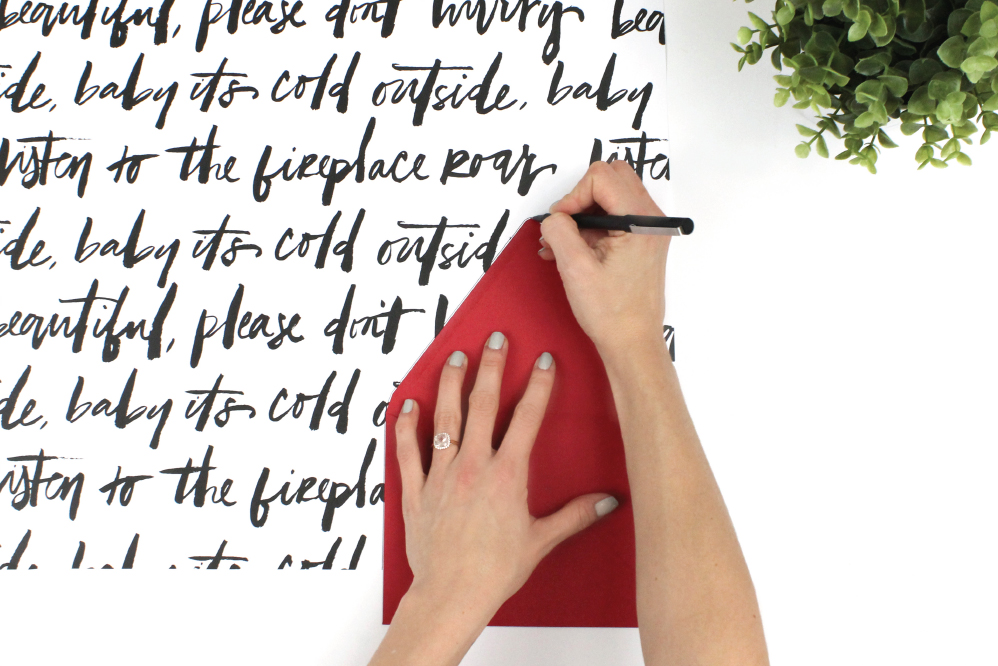
STEP TWO
Trace your envelope, since some envelopes range in size and shape I recommend just taking the one you use and trace it out. I didn’t trace the entire envelope at the bottom, I left about 1″ – 2″ off the bottom (since they can’t see the liner at the bottom).

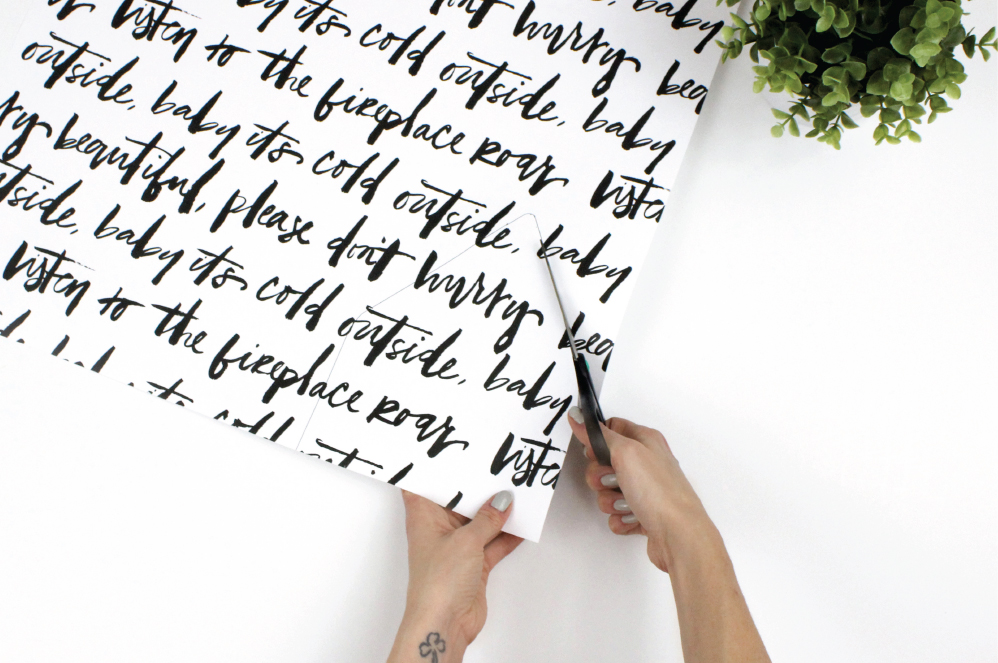
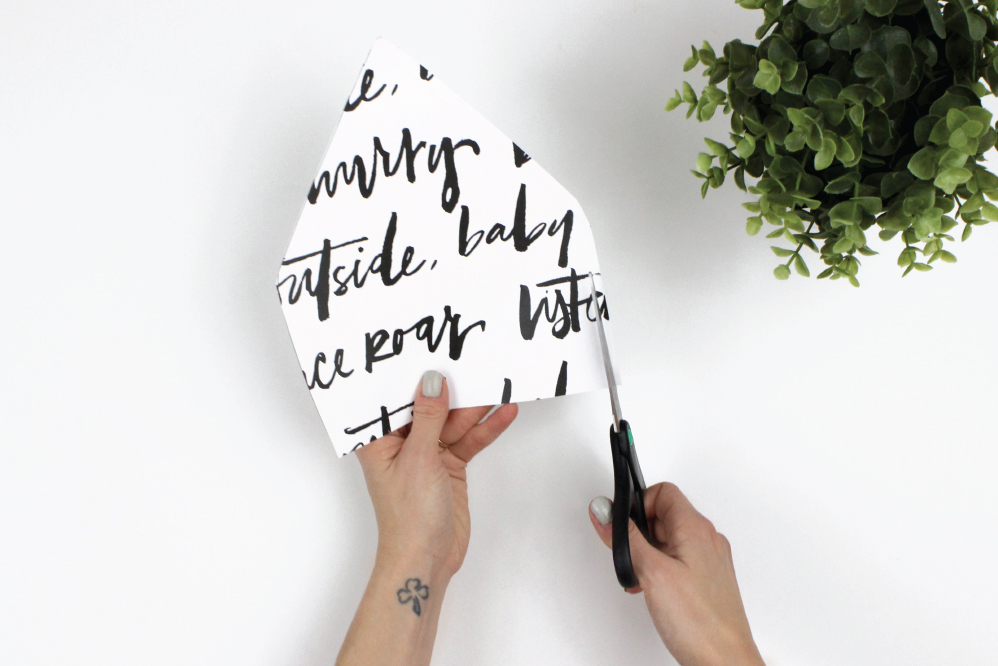
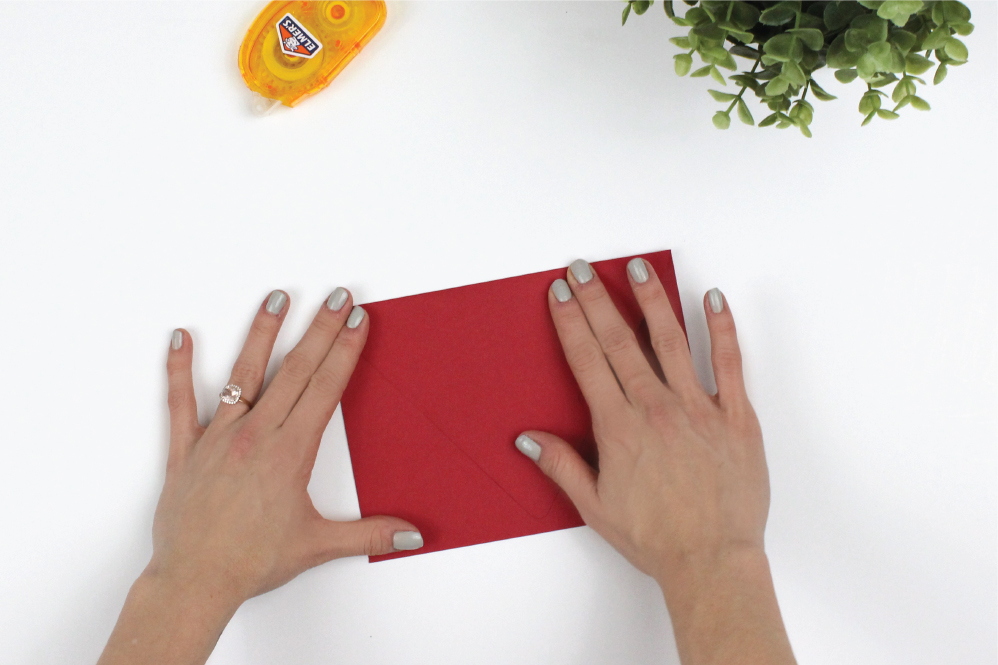
STEP THREE
Cut it out, trim around the drawn lines (or a little inside the lines so you don’t see them). Once you are done cutting, make sure to trim off about a 1/4″ off each side (not the top, but the sides). That way it can fit right into your envelope.
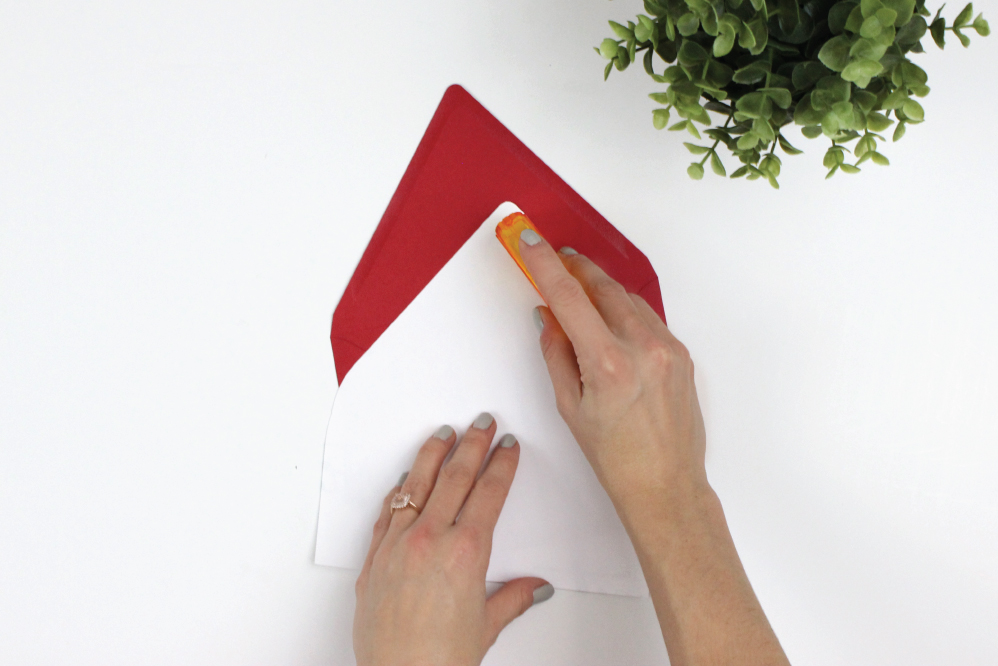
STEP FOUR
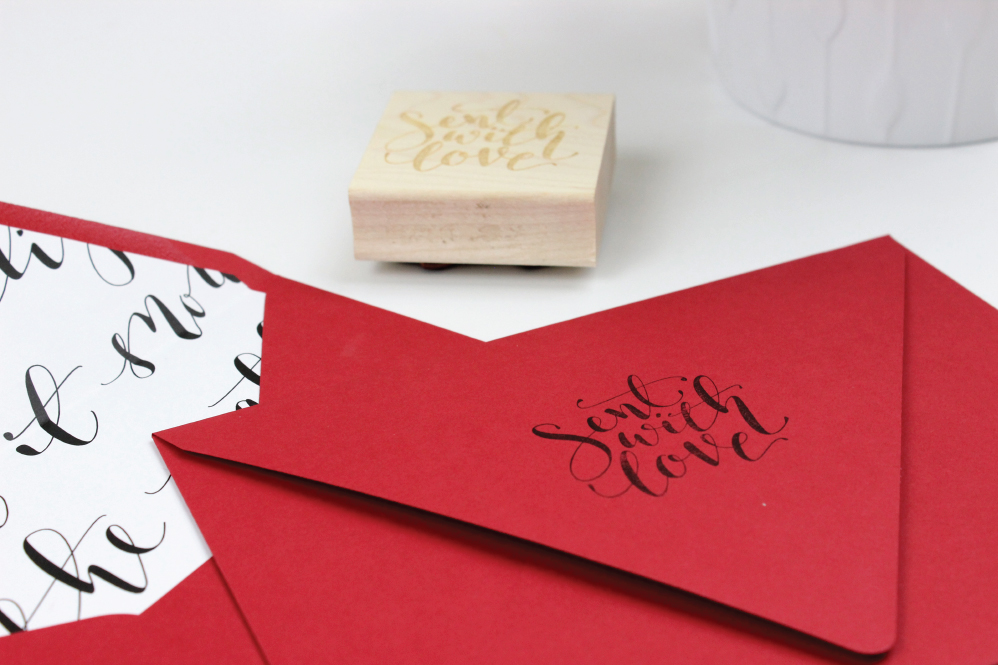
Glue the flap. I used Elmer’s Tape Runner, but glue dots or even a glue stick could work. Make sure to just tape the flap, the top and a little on each side. If you tape the bottom section it’s a bit harder to put into the envelope without getting stuck.
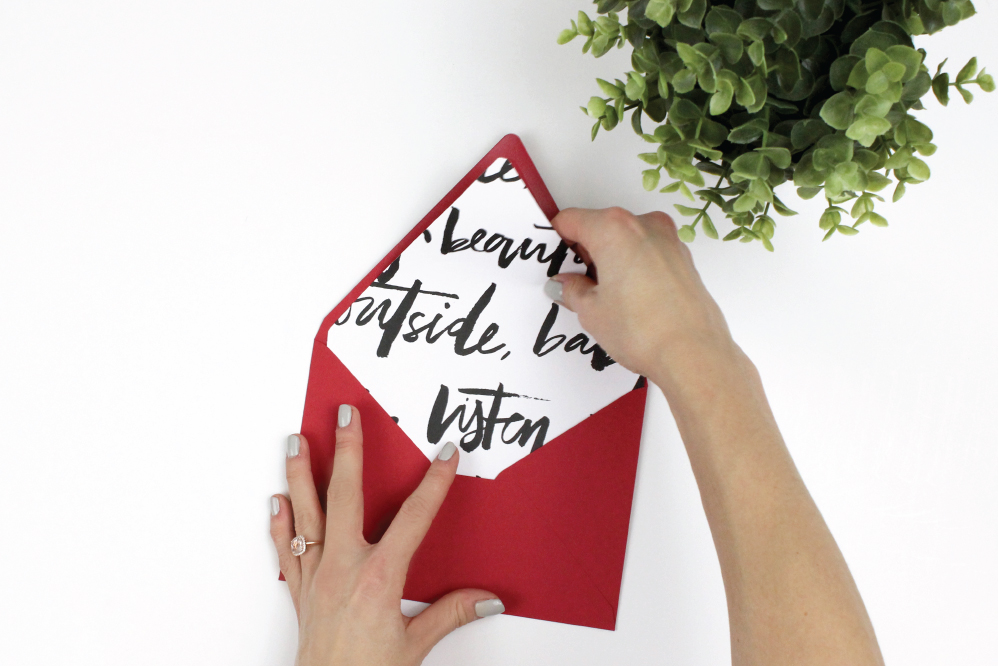
STEP FIVE
Place the liner into the envelope. Make sure to shift it below the envelope glue, which is typically about a 1/2″ section. Just line it up and the top and sides to make sure it is even on all sides.
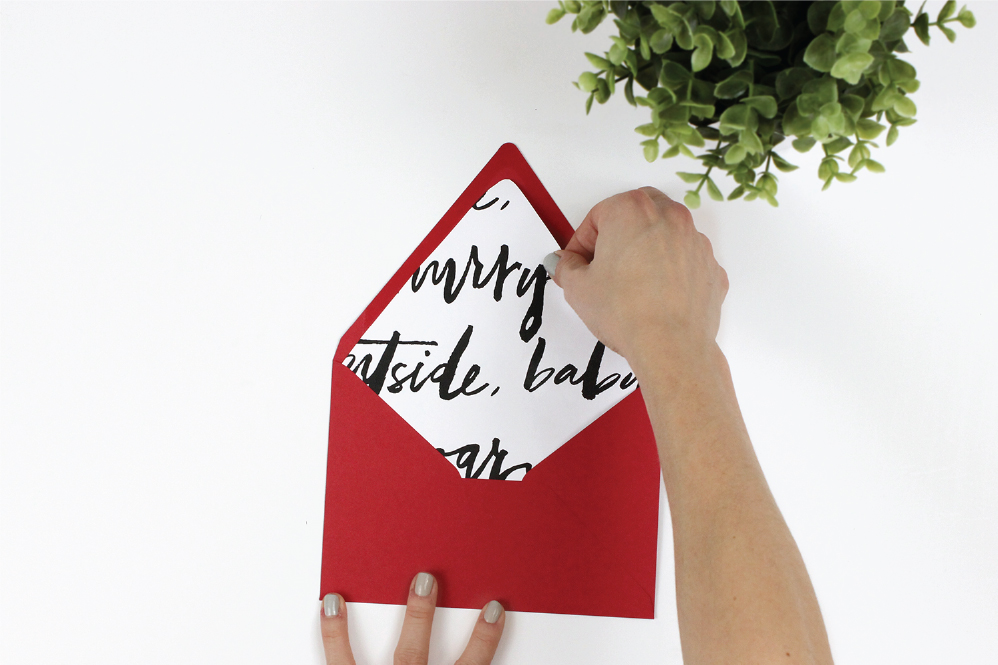
STEP SIX
Fold and finished! Once you have it placed and adhered to the envelope, simply fold it in half to finish it off!
If you click on my affiliates/products/advertisers links, I may receive a tiny commission. P.S. the products that I share are the ones I believe in.


