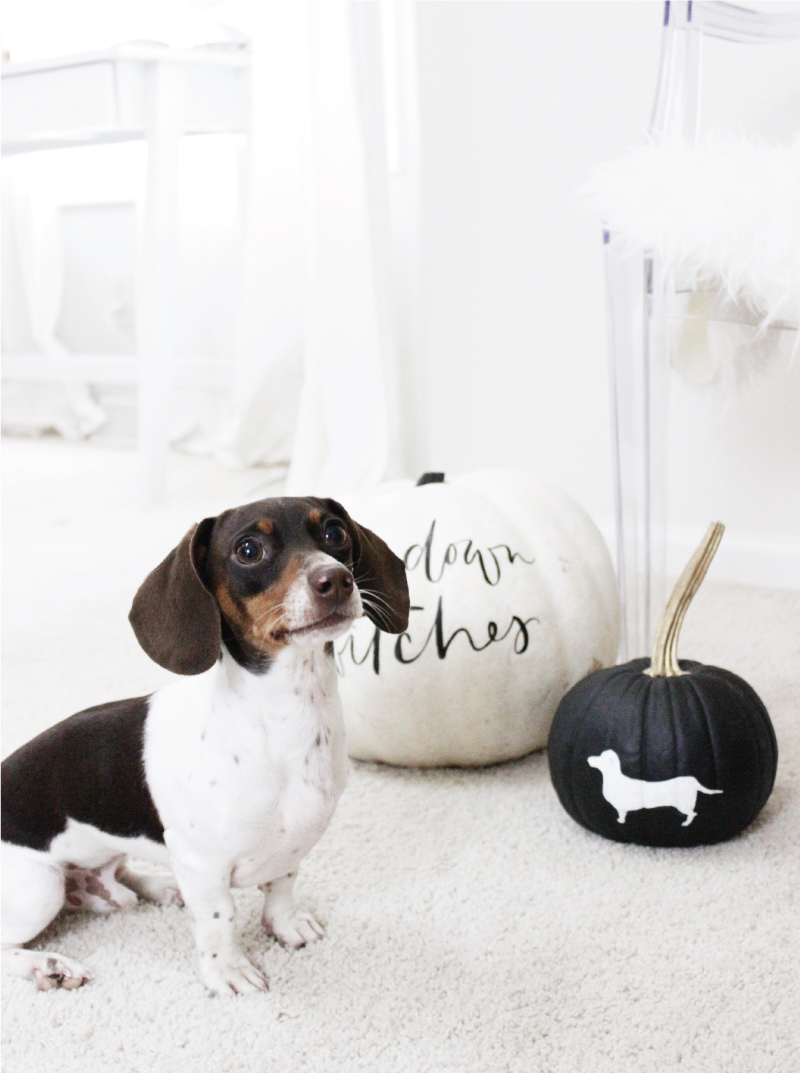
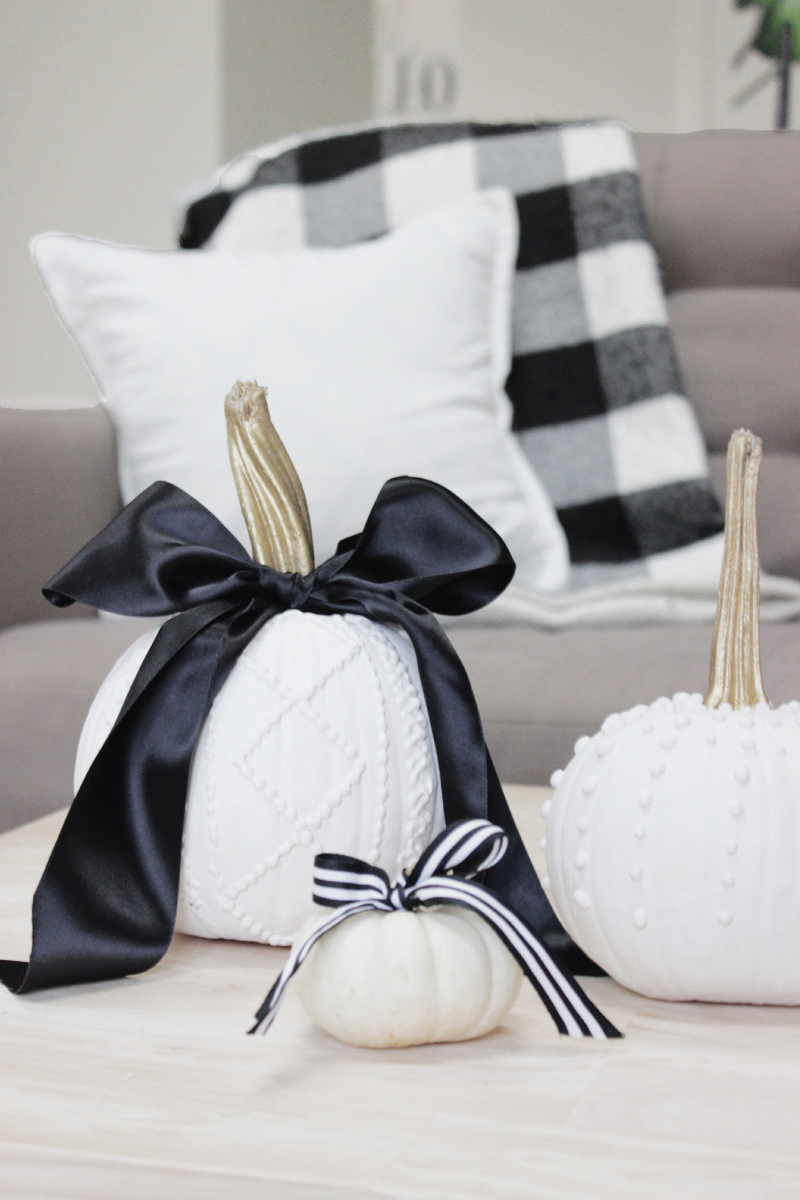
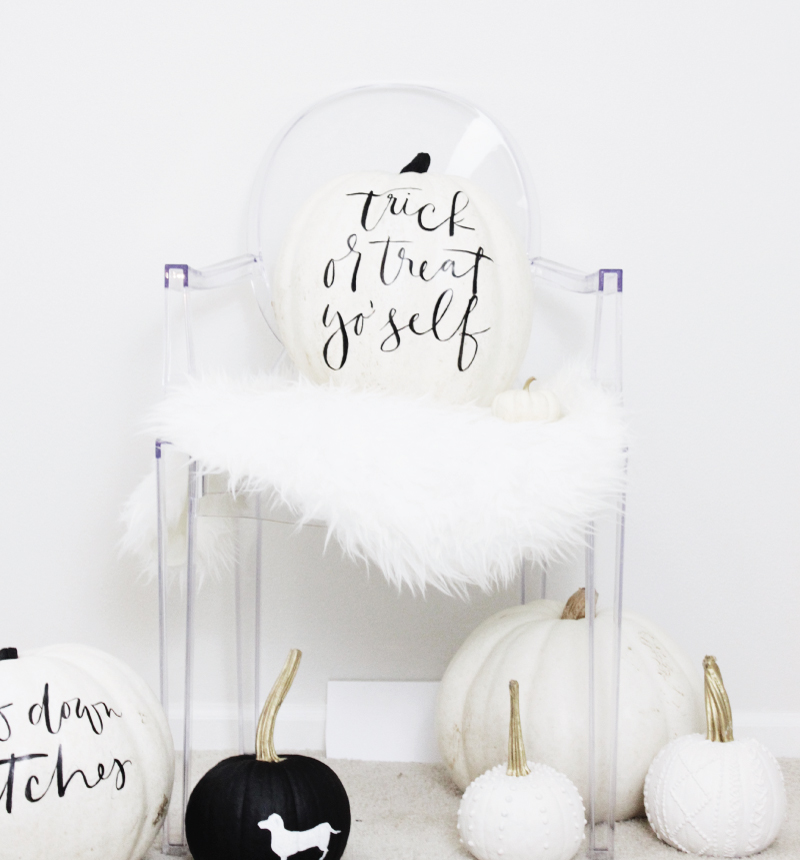
Friends, I bought my first ever white pumpkins and couldn’t be more excited about them! I obviously knew they would get painted, that they would have some sort of calligraphy, and would definitely include black (it is Halloween and all). I was initially thinking of doing painted lace or even painted black flowers, but opted for doing some DIY cable knit pumpkins instead (my “how-to” is below). But really, who doesn’t love some simple calligraphy pumpkins!
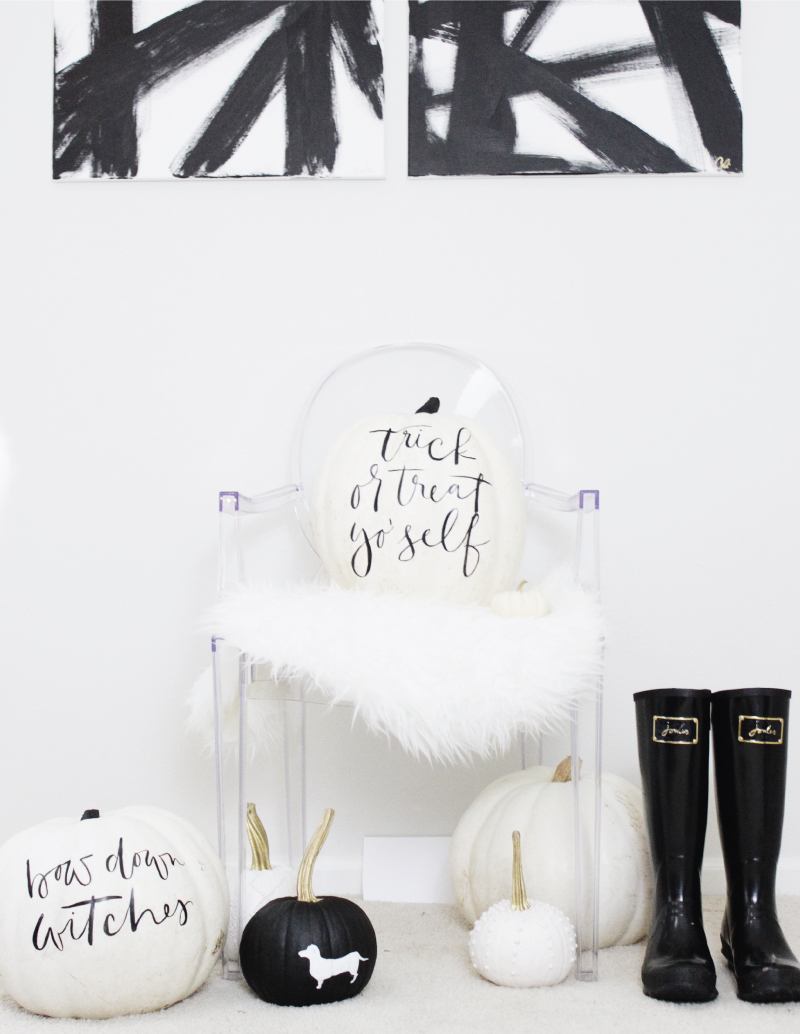
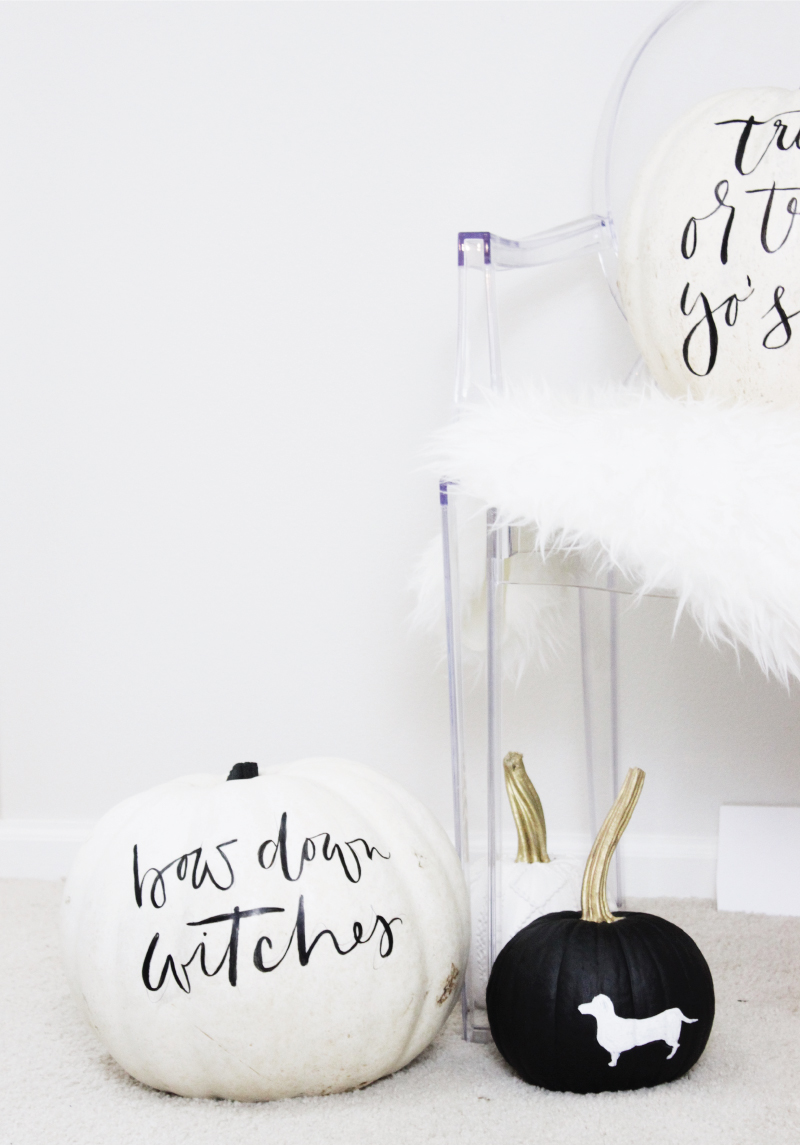
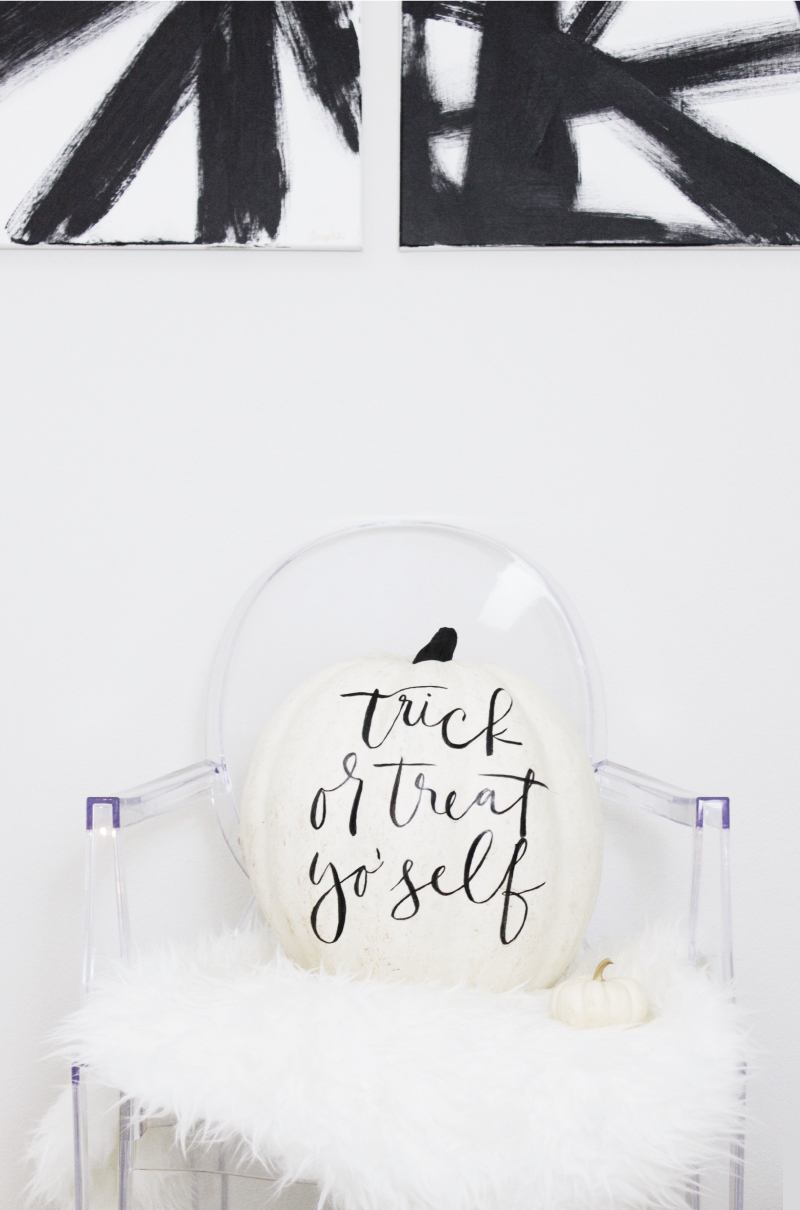
I decided on doing a few cheeky ‘pun-kins’ in my brush script calligraphy and of course a painted dachshund..for my little Curry. Also, the reason why I love the Cable Knit pumpkins is because they can used up until Thanksgiving by simply adding a different ribbon to the top (gold, red, orange ribbon) or painted a different color.
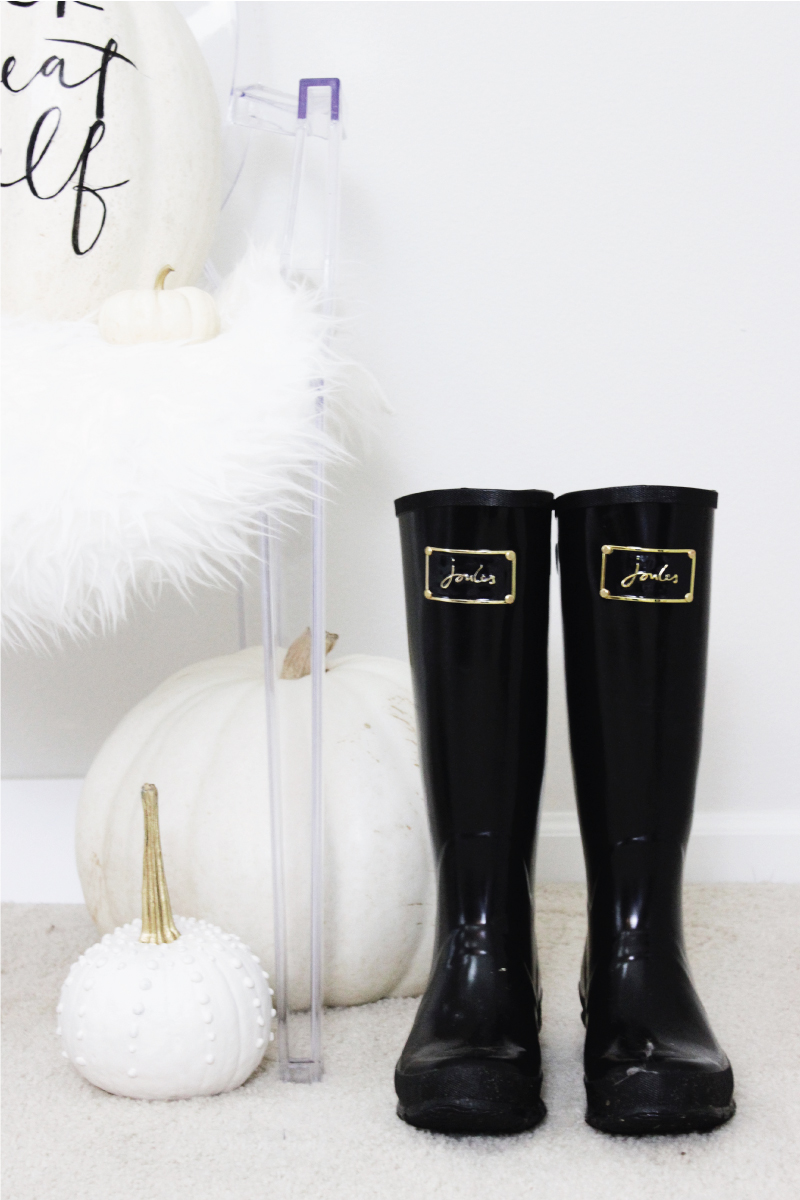
— P.S. Love these Joules Rainboots HERE —
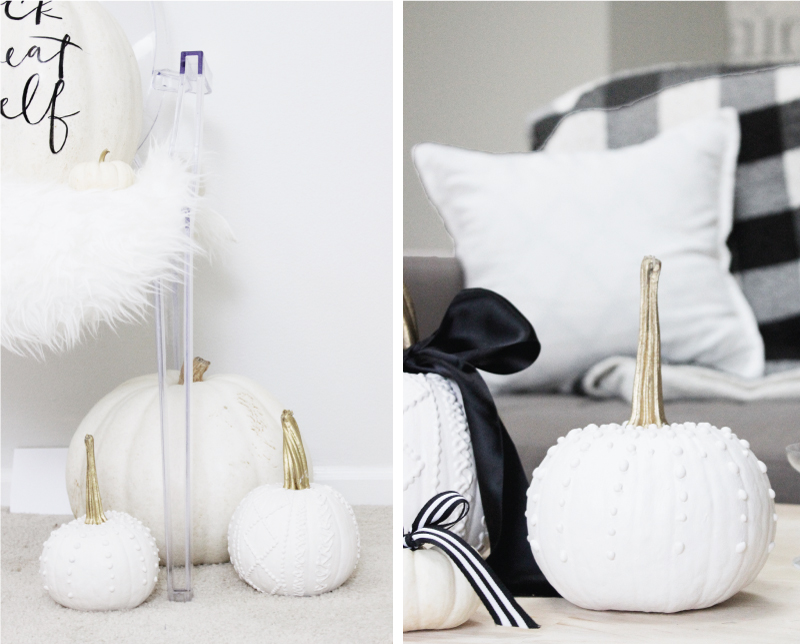
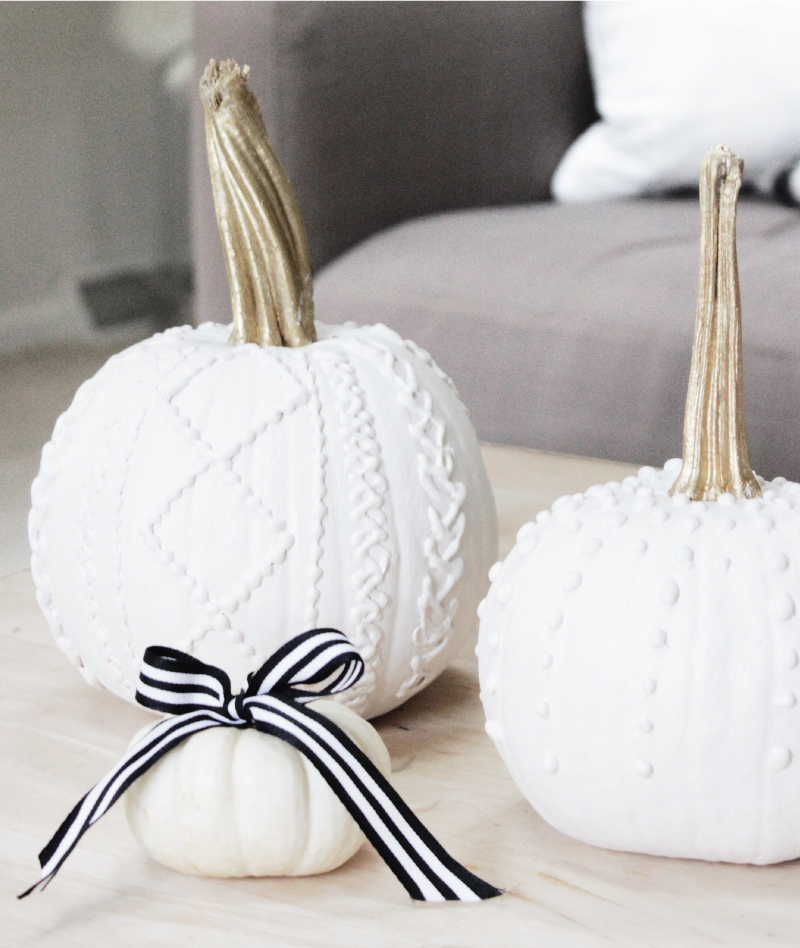
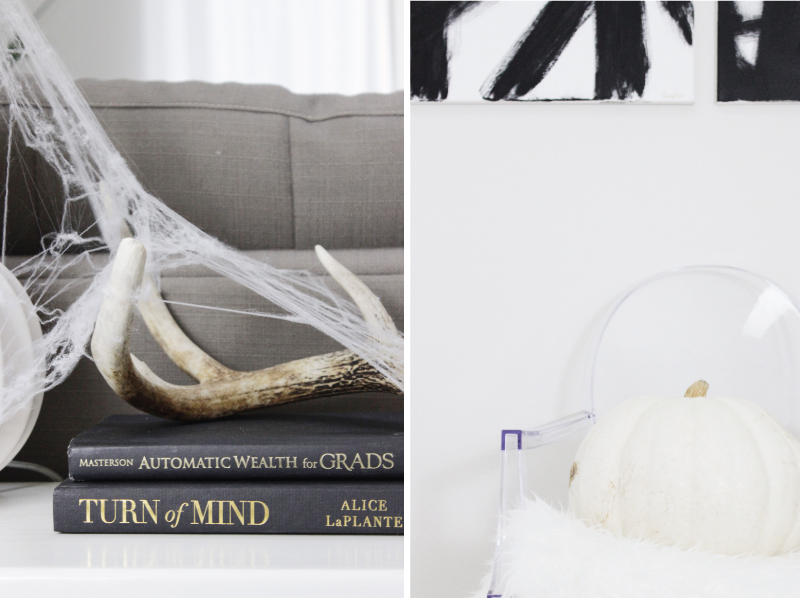
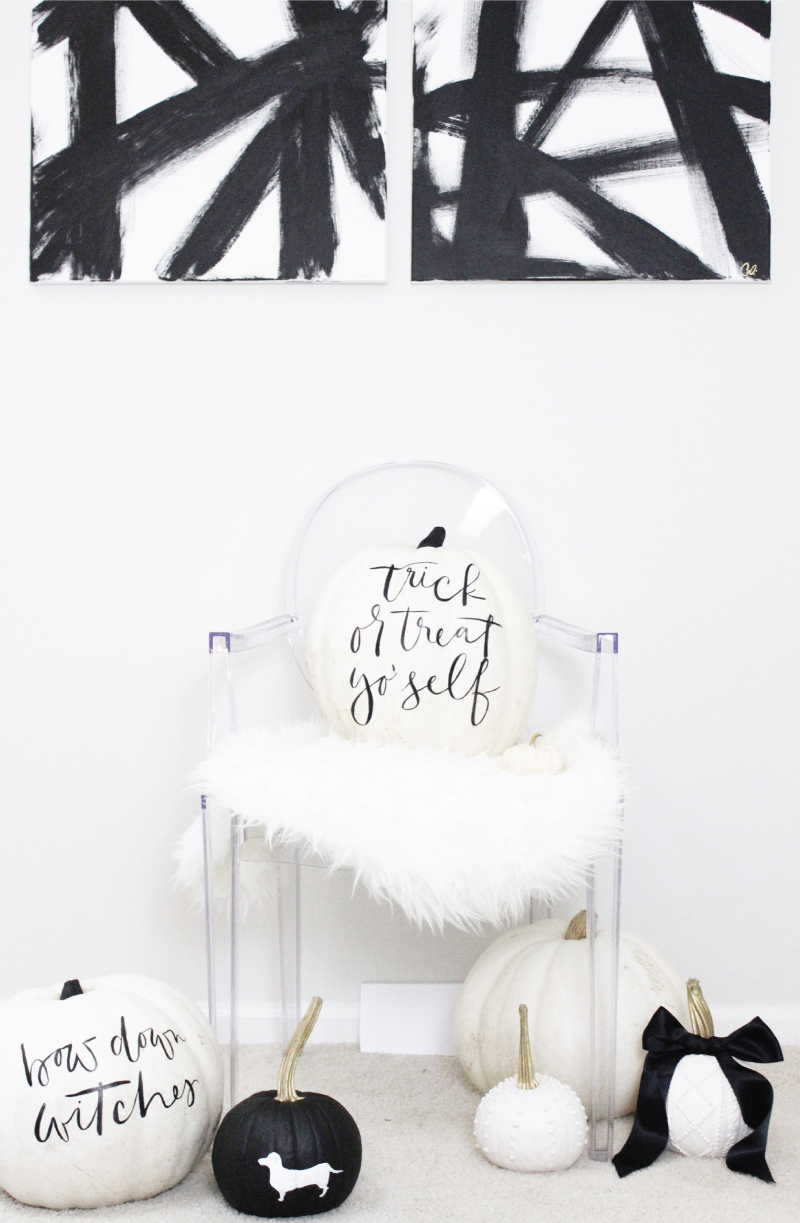
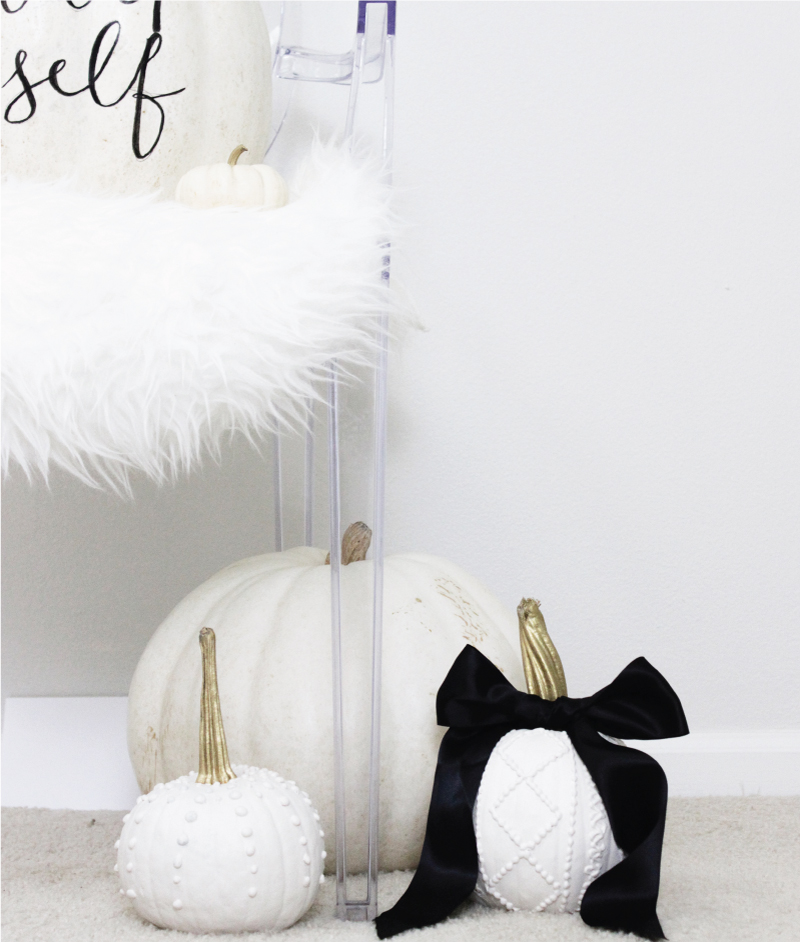
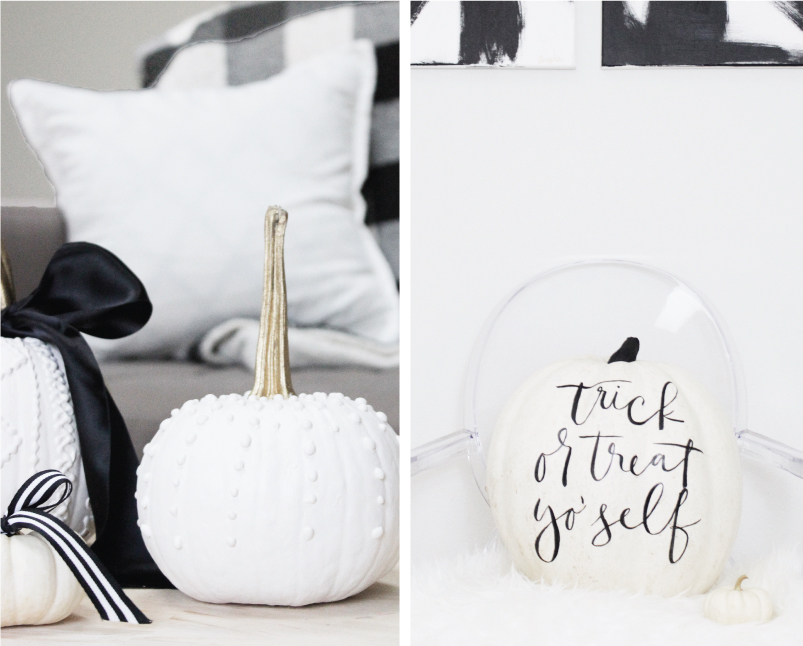
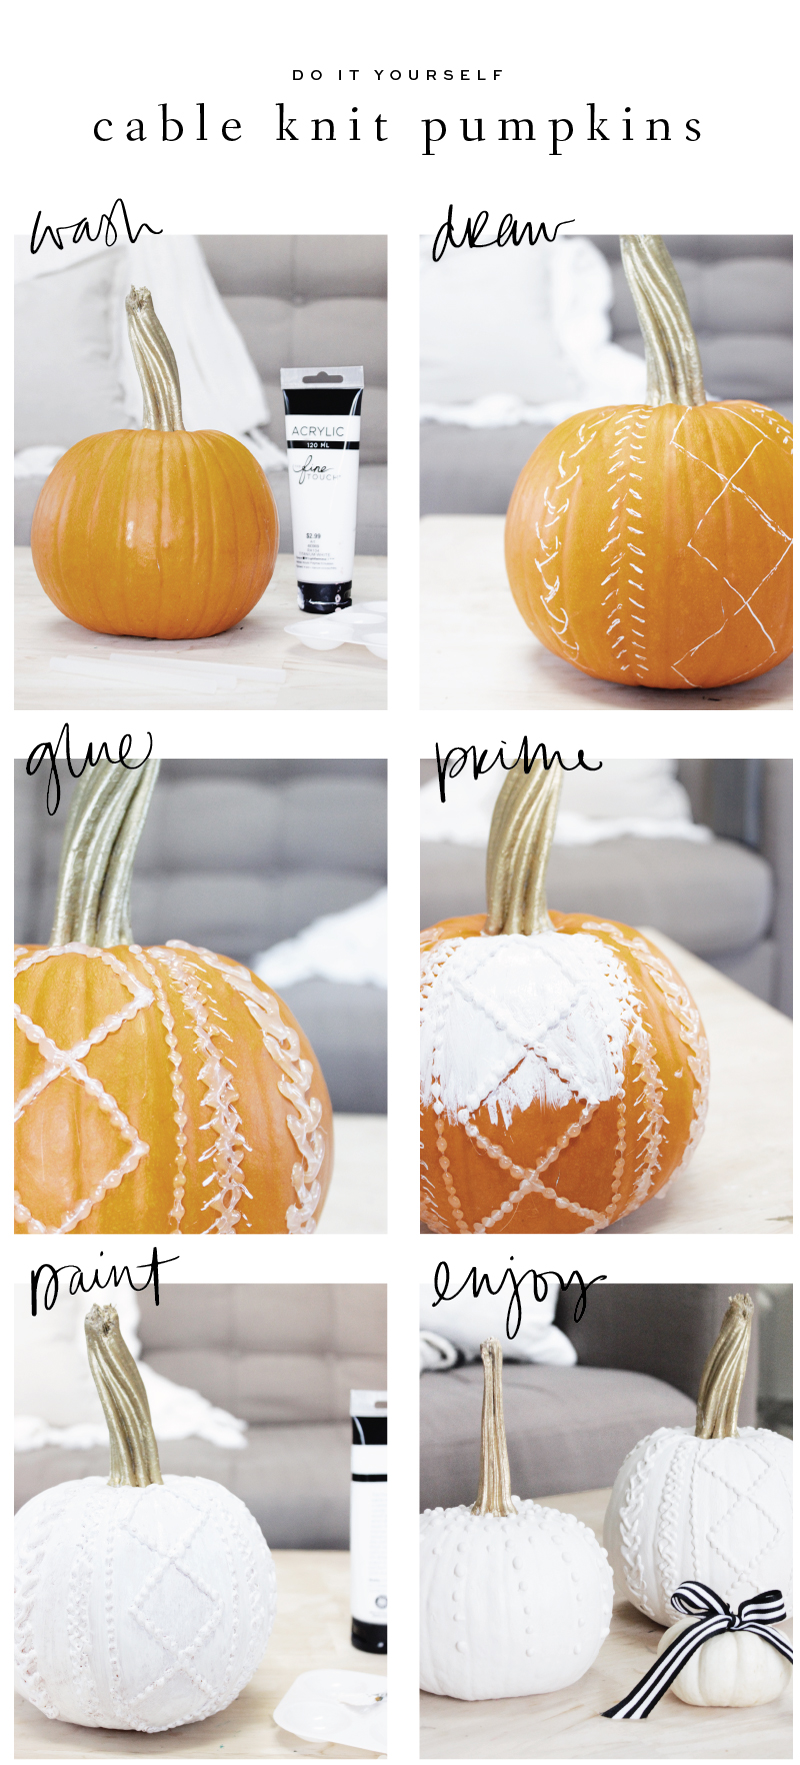
As you can see it’s pretty simple, but oh so pretty! A few notes, I just used a white pen to draw the ‘cable knit’ pattern and used it more as a guide. It’s pretty delicate, so don’t touch it too much or else the glue will come off ;) I used 2 coats of acrylic paint, but I bet spray paint would look good too! Oh, the best part.. you have 2 sides, so if you don’t like one, try the other side!


[…] Image via saffronavenue.com […]
[…] Cable Knit Sweater Pumpkins using hot glue […]
What glue and primer did you use? I’m not so good at diy’s and you didn’t have enough info on your tutorial.
I just used hot glue sticks and I used a wall-paint primer that we had on hand (waterbased)