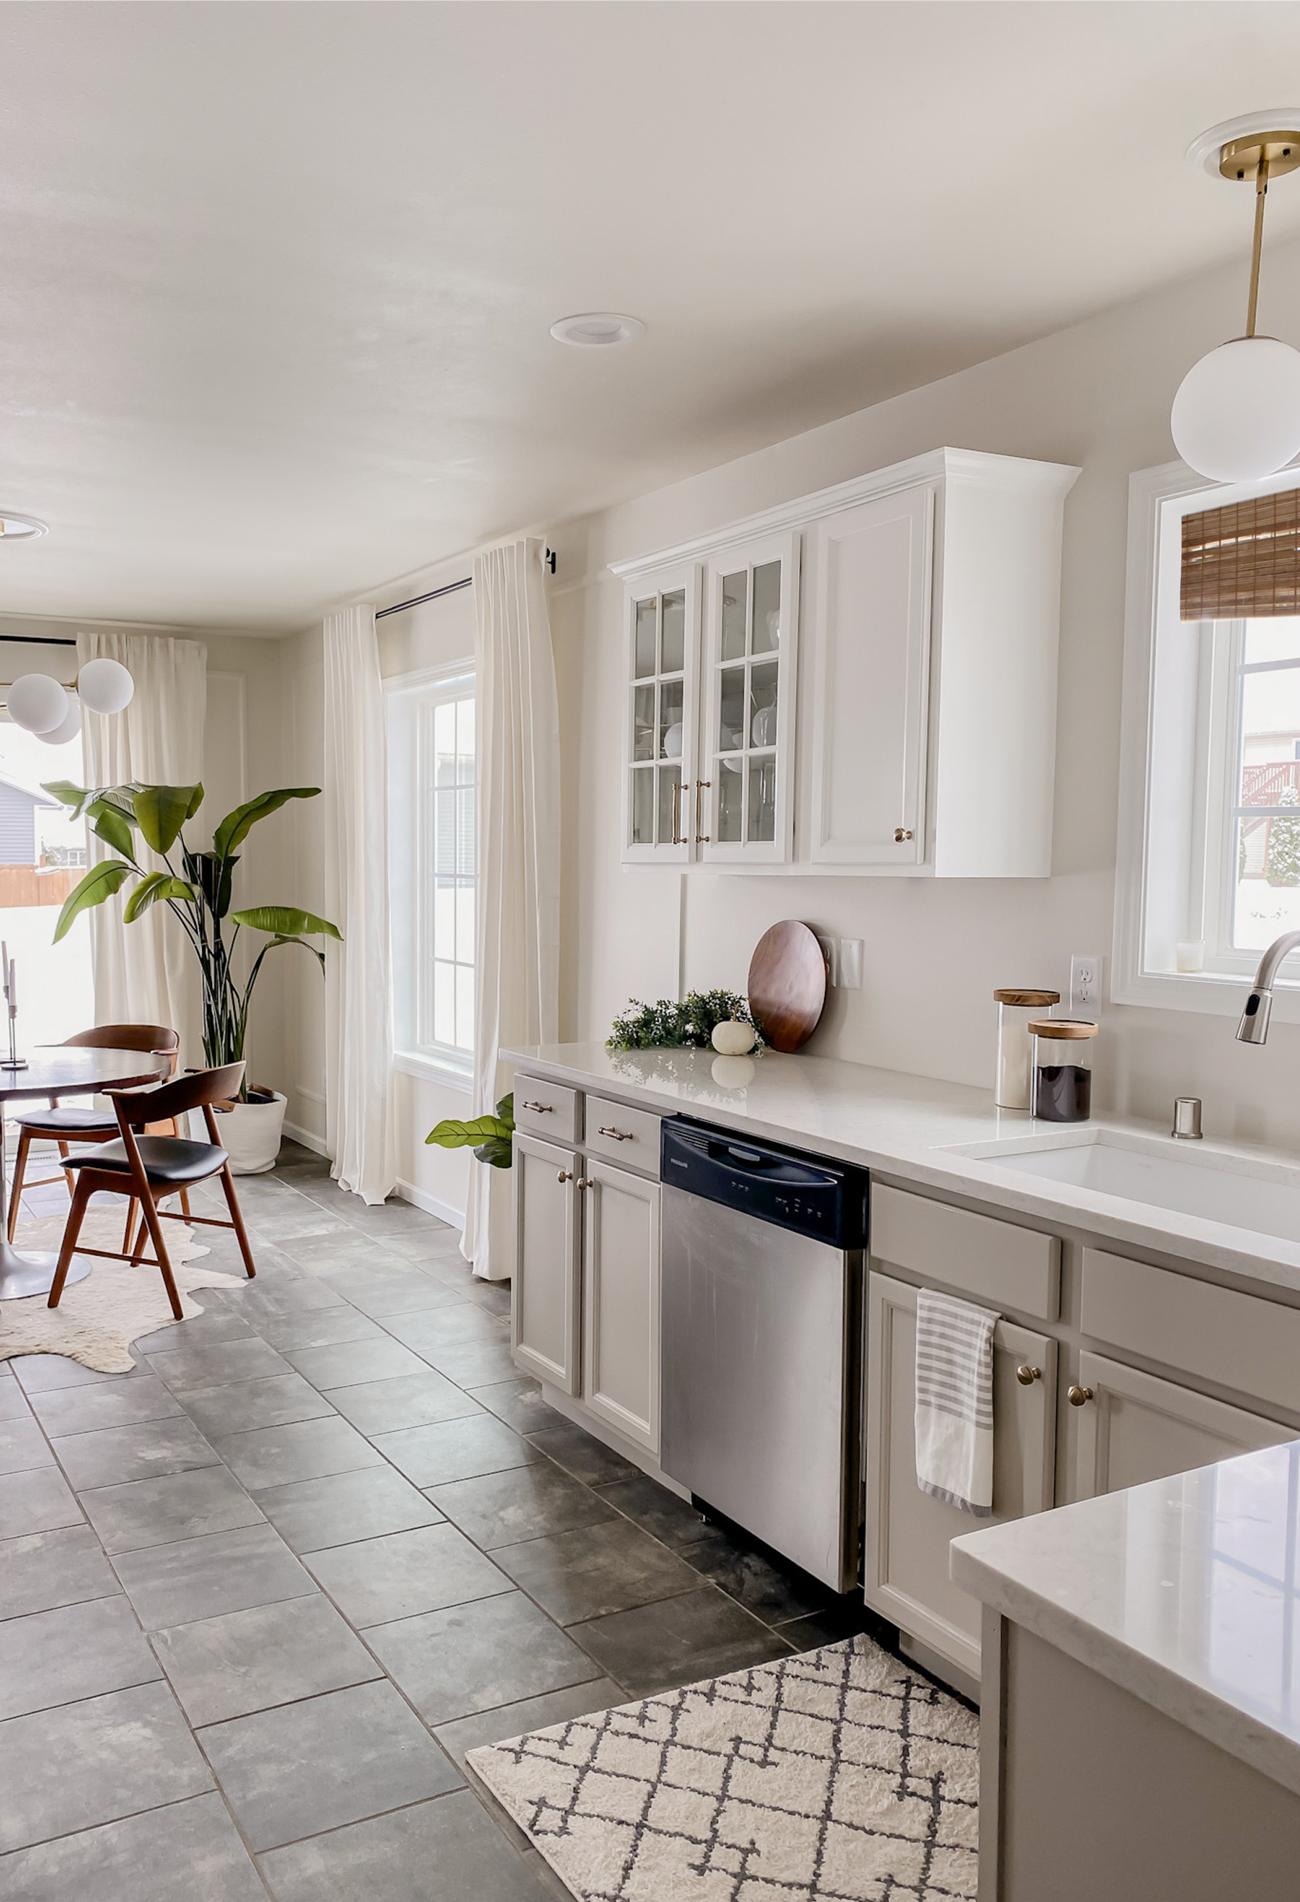
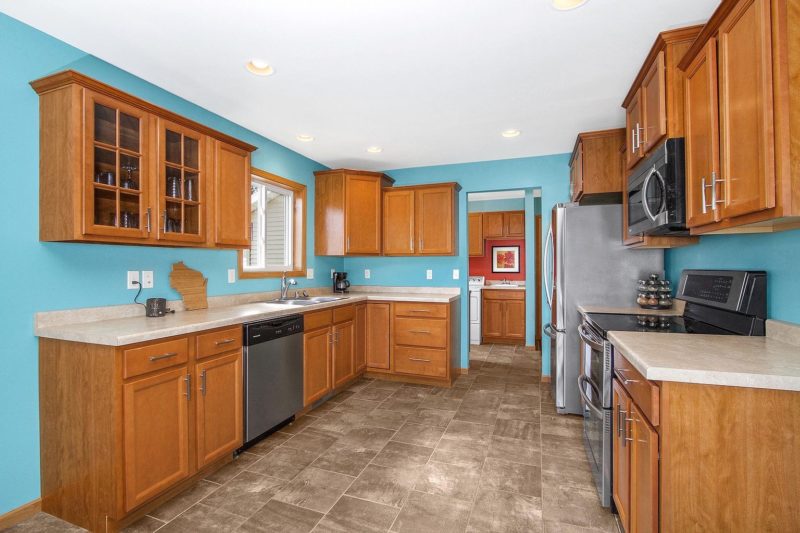
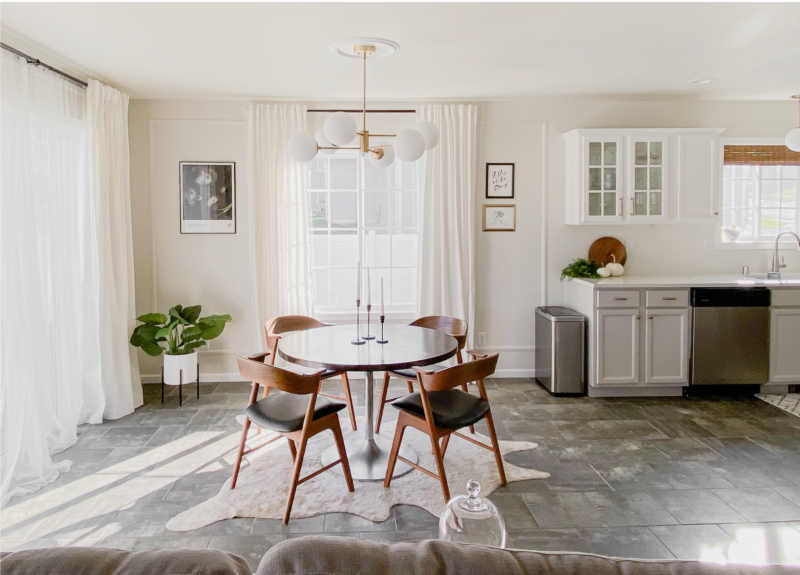
This is SO EXCITING to share!! We JUST finished our dining and kitchen makeover! I thought I would share with you what we did and of course, the kitchen before and after. This has been the biggest ‘renovation’ we have ever done in either home and I’m so happy we took the leap and actually did it!
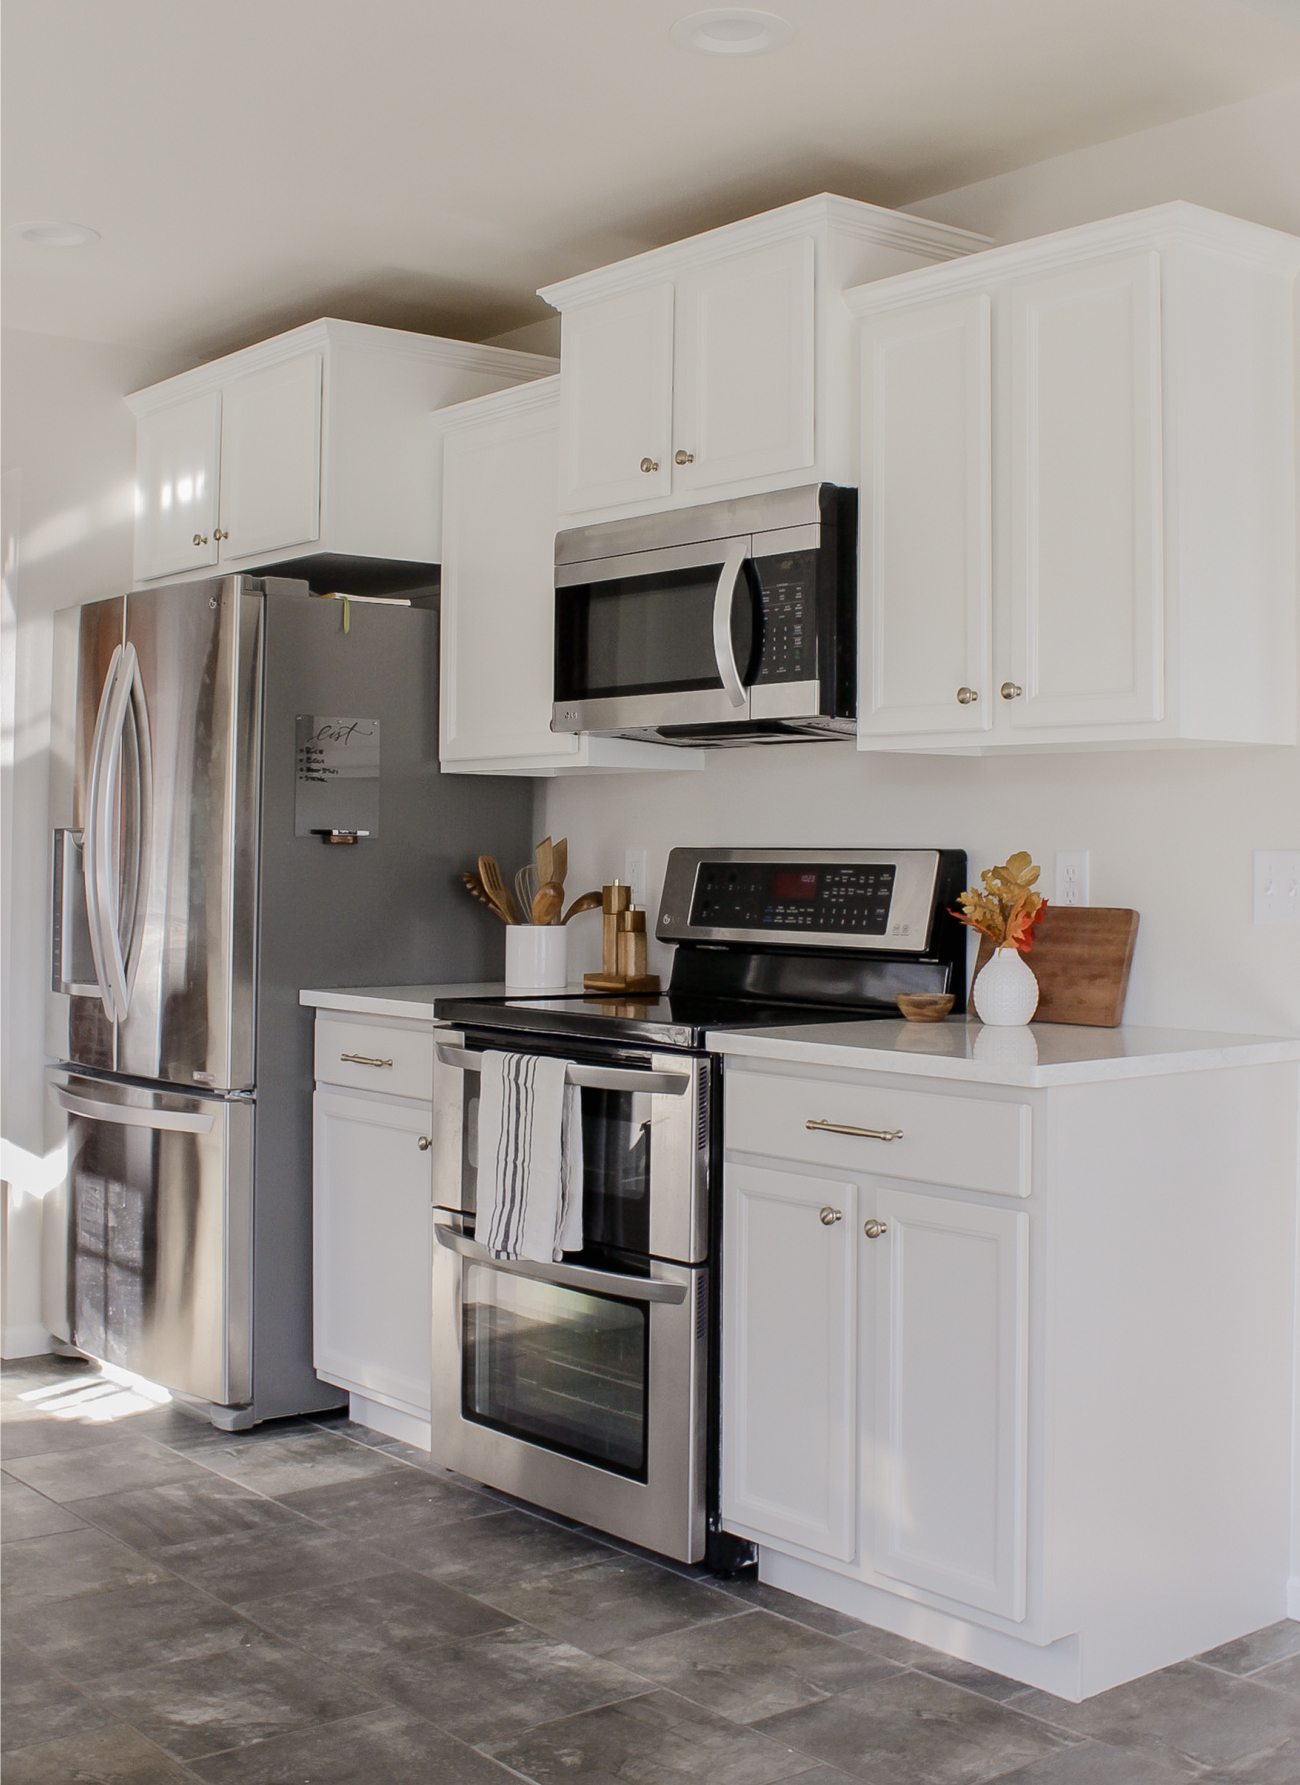
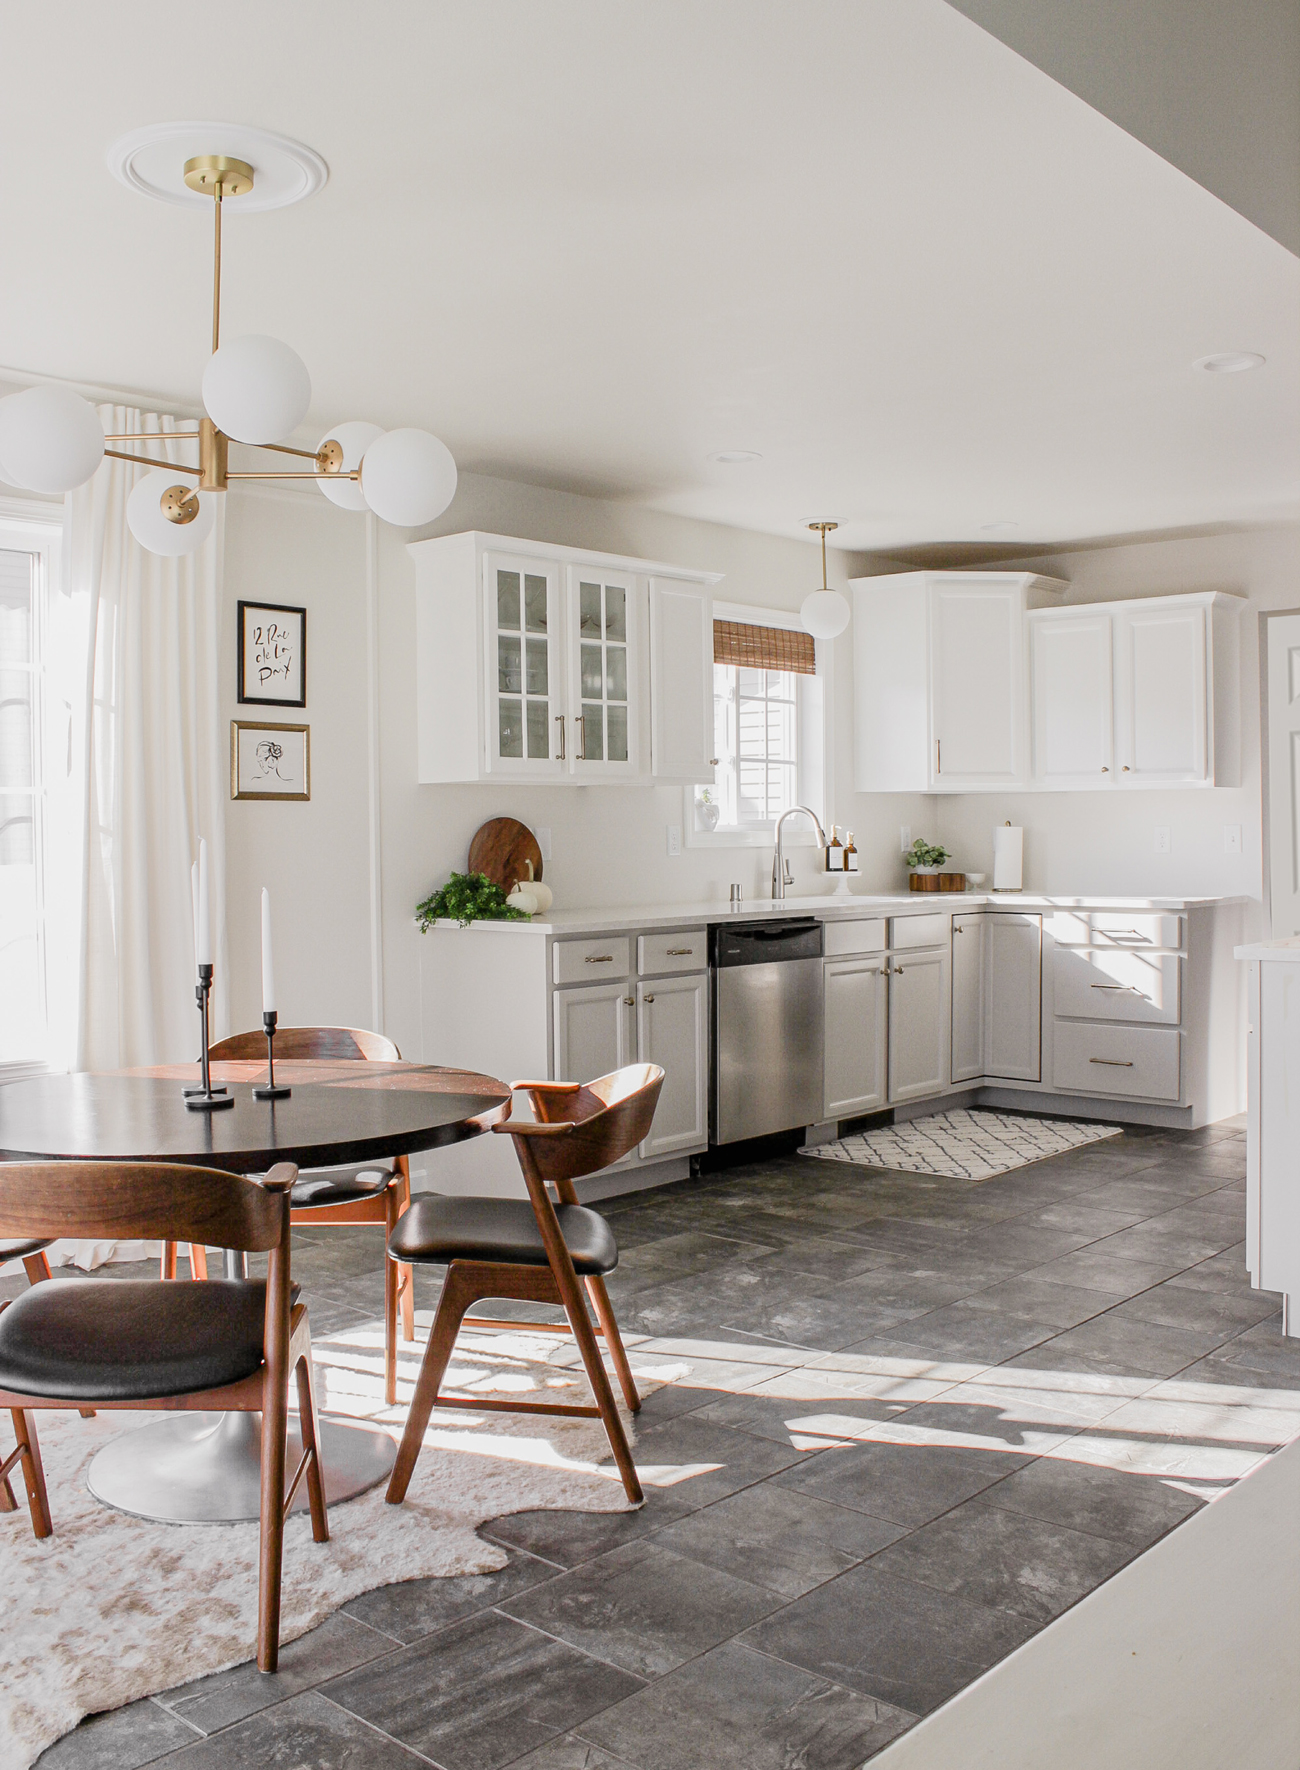
The Before & After
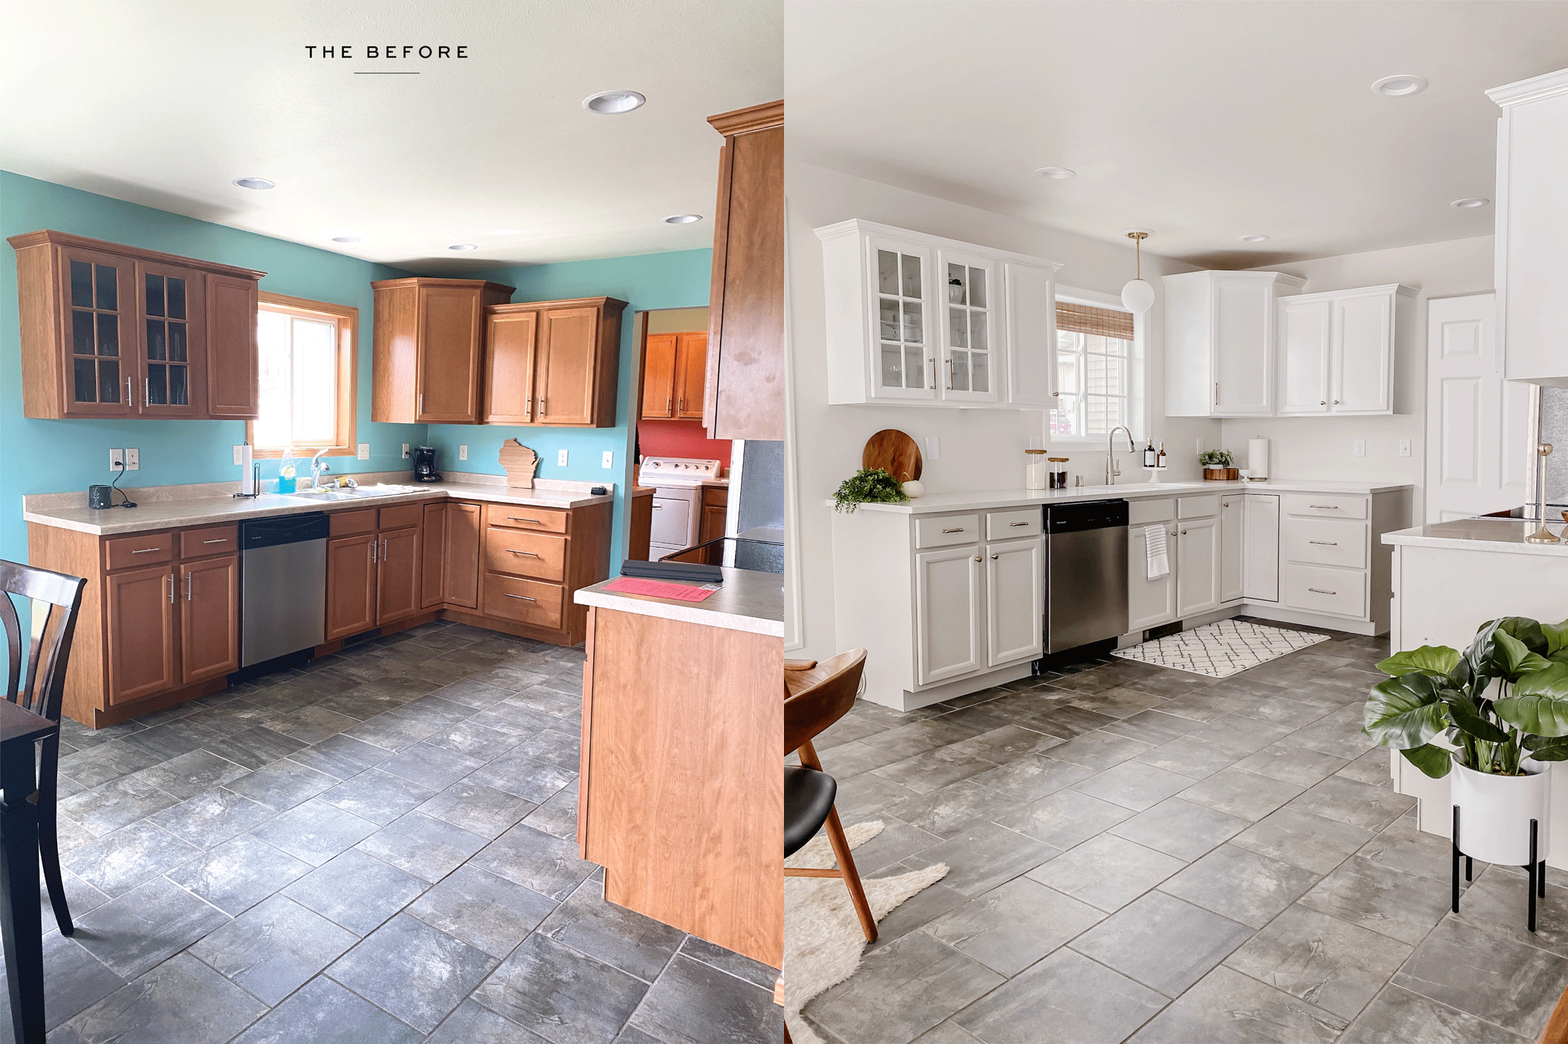
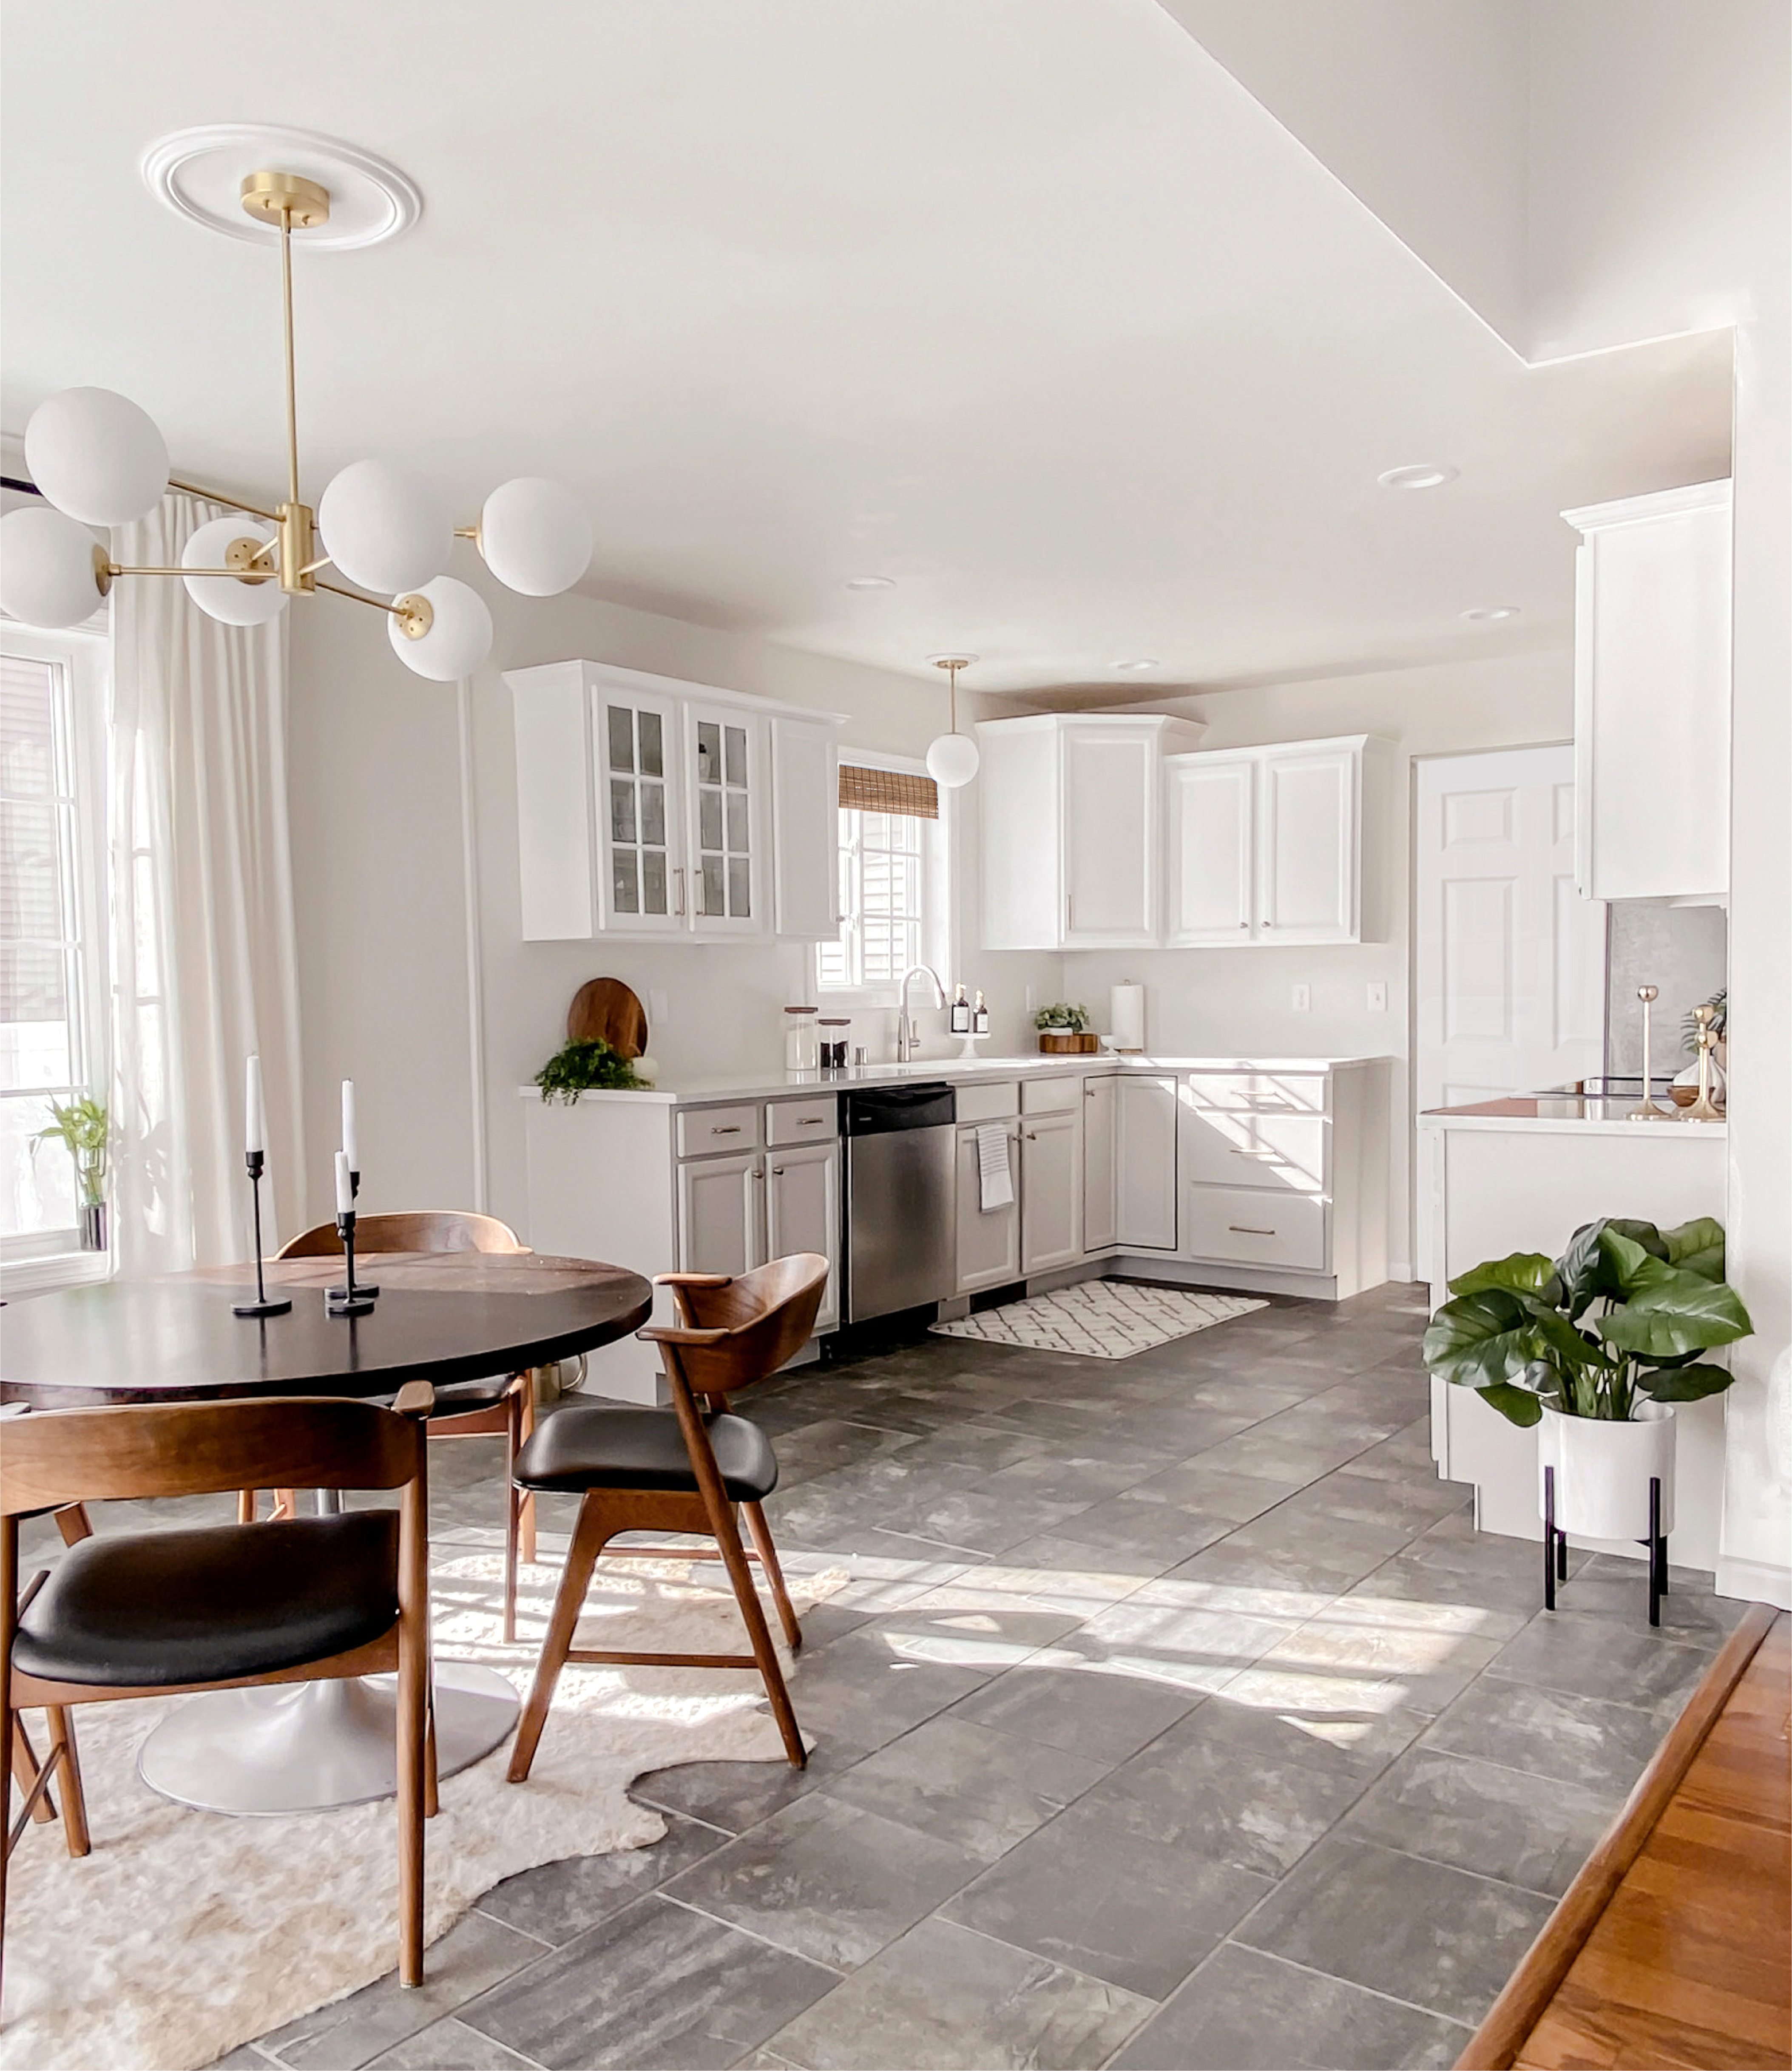
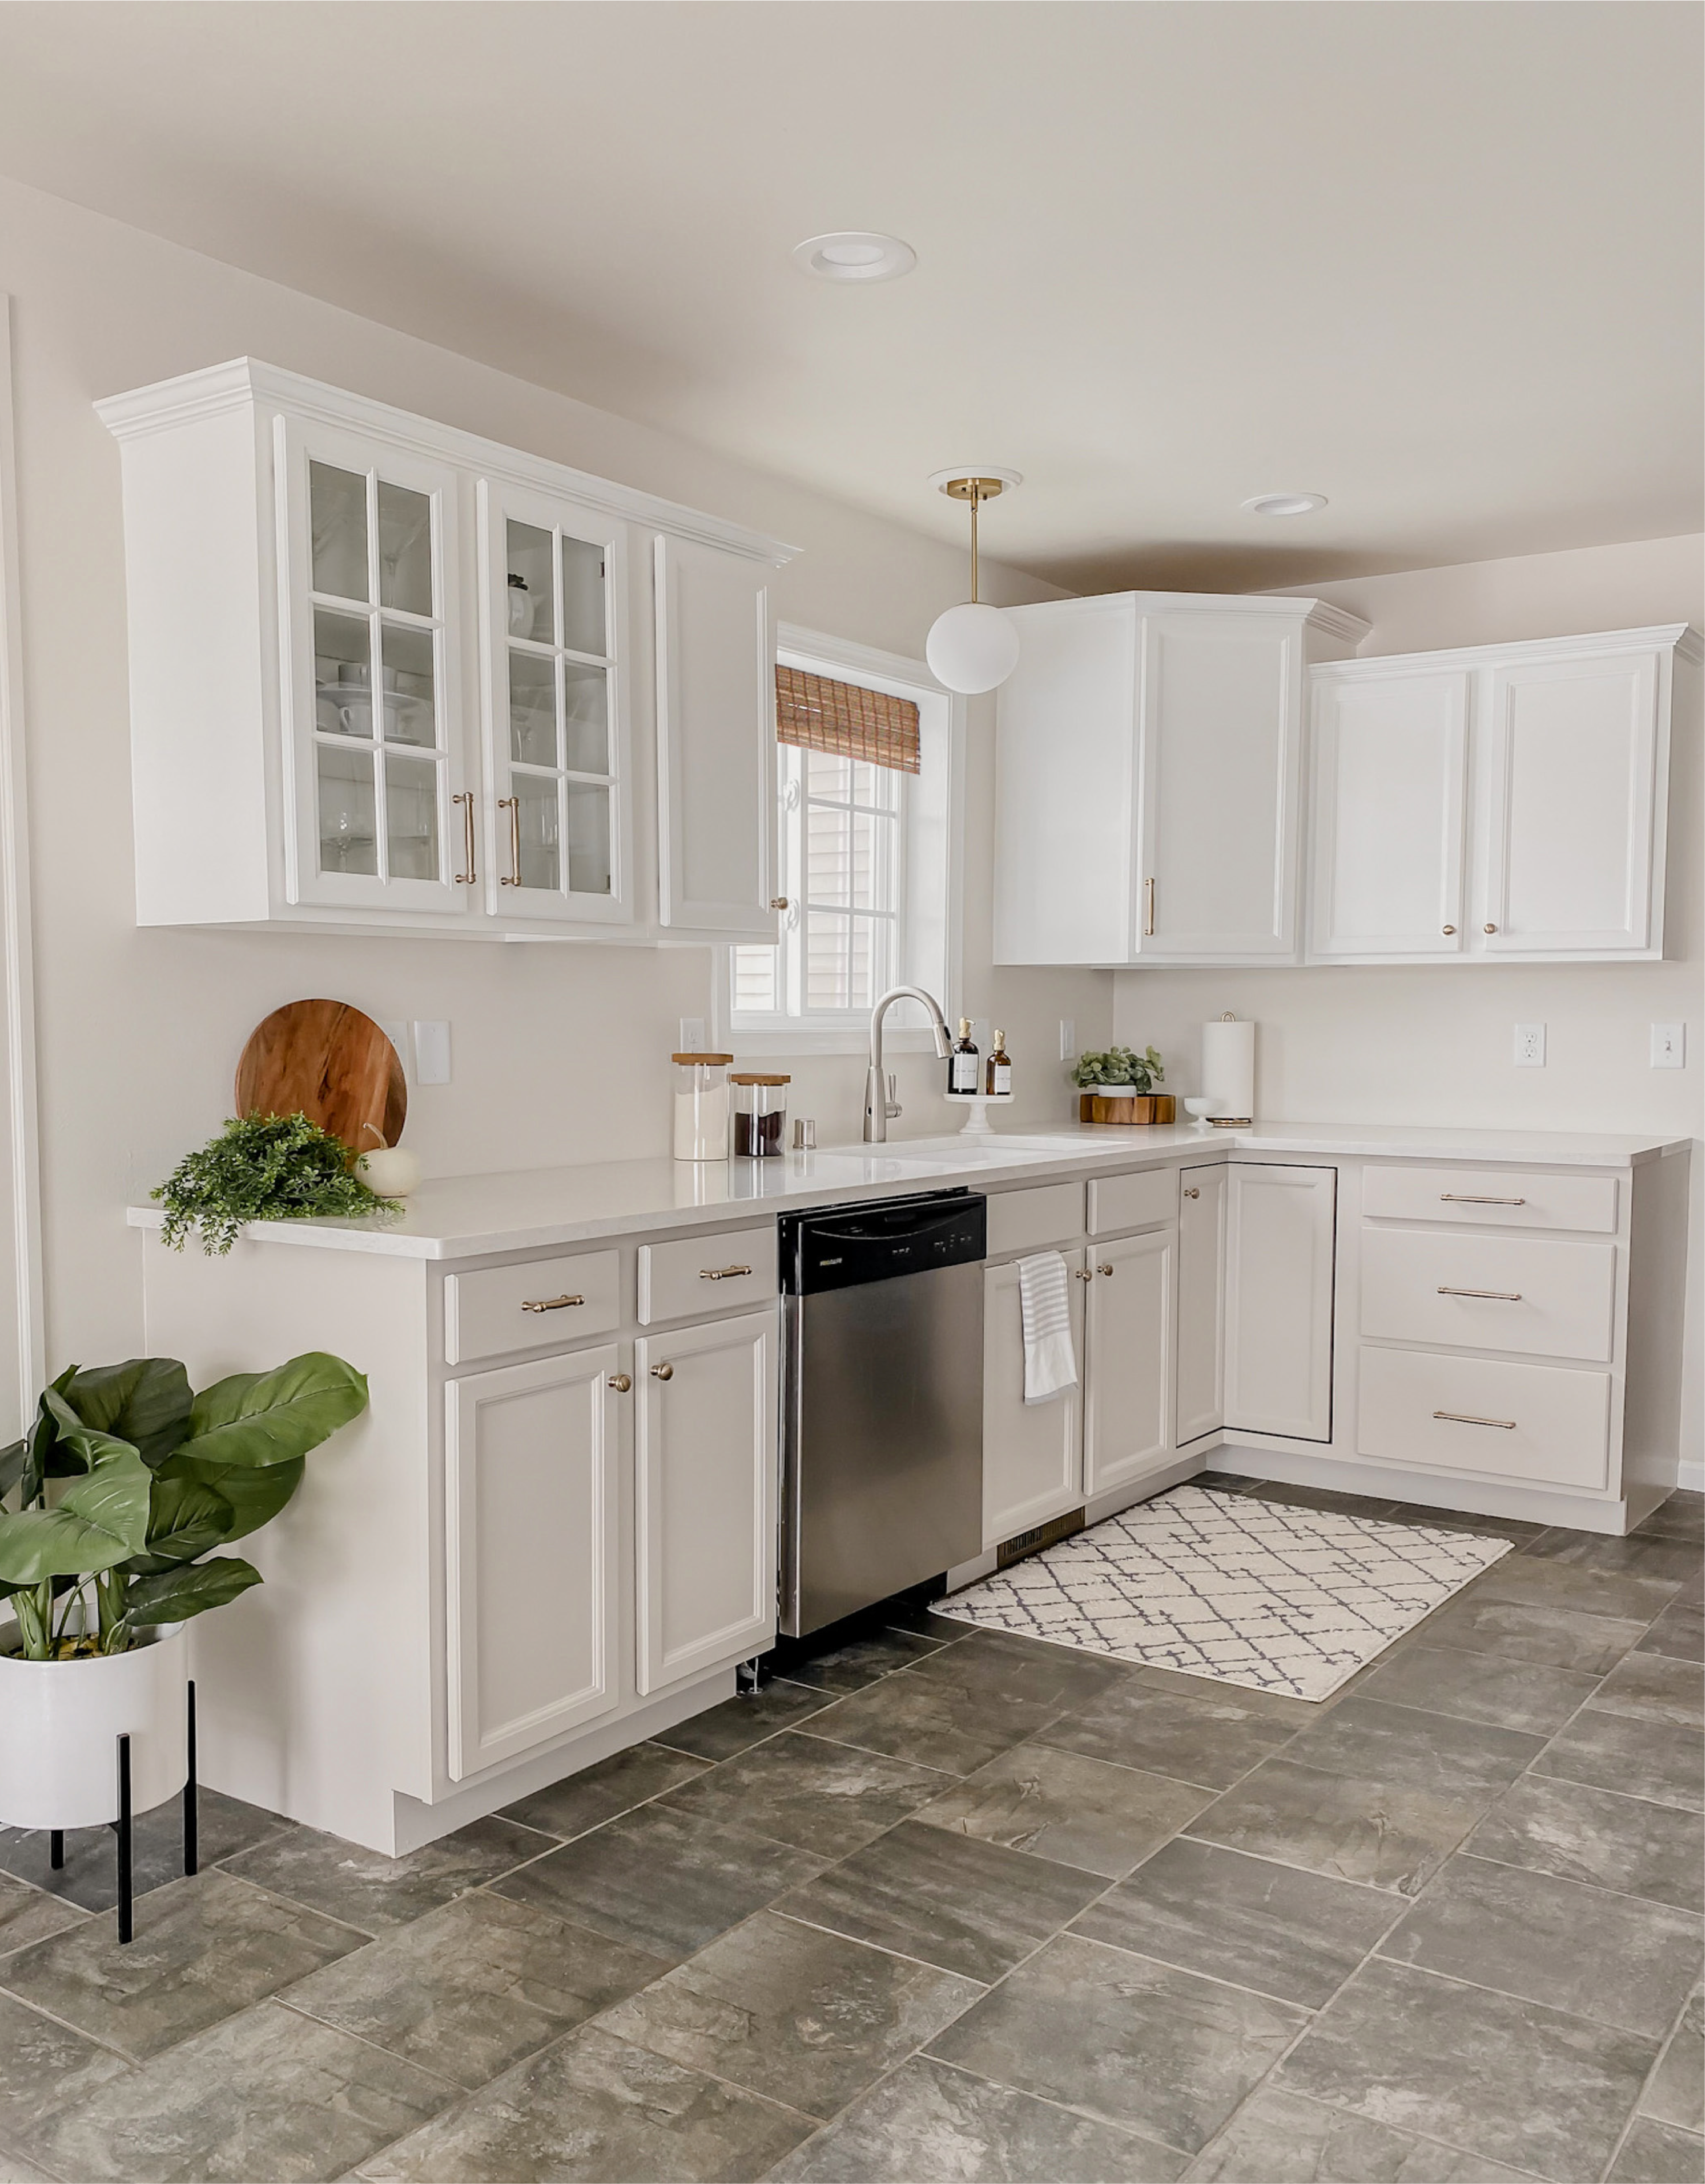
Isn’t she beautiful!!
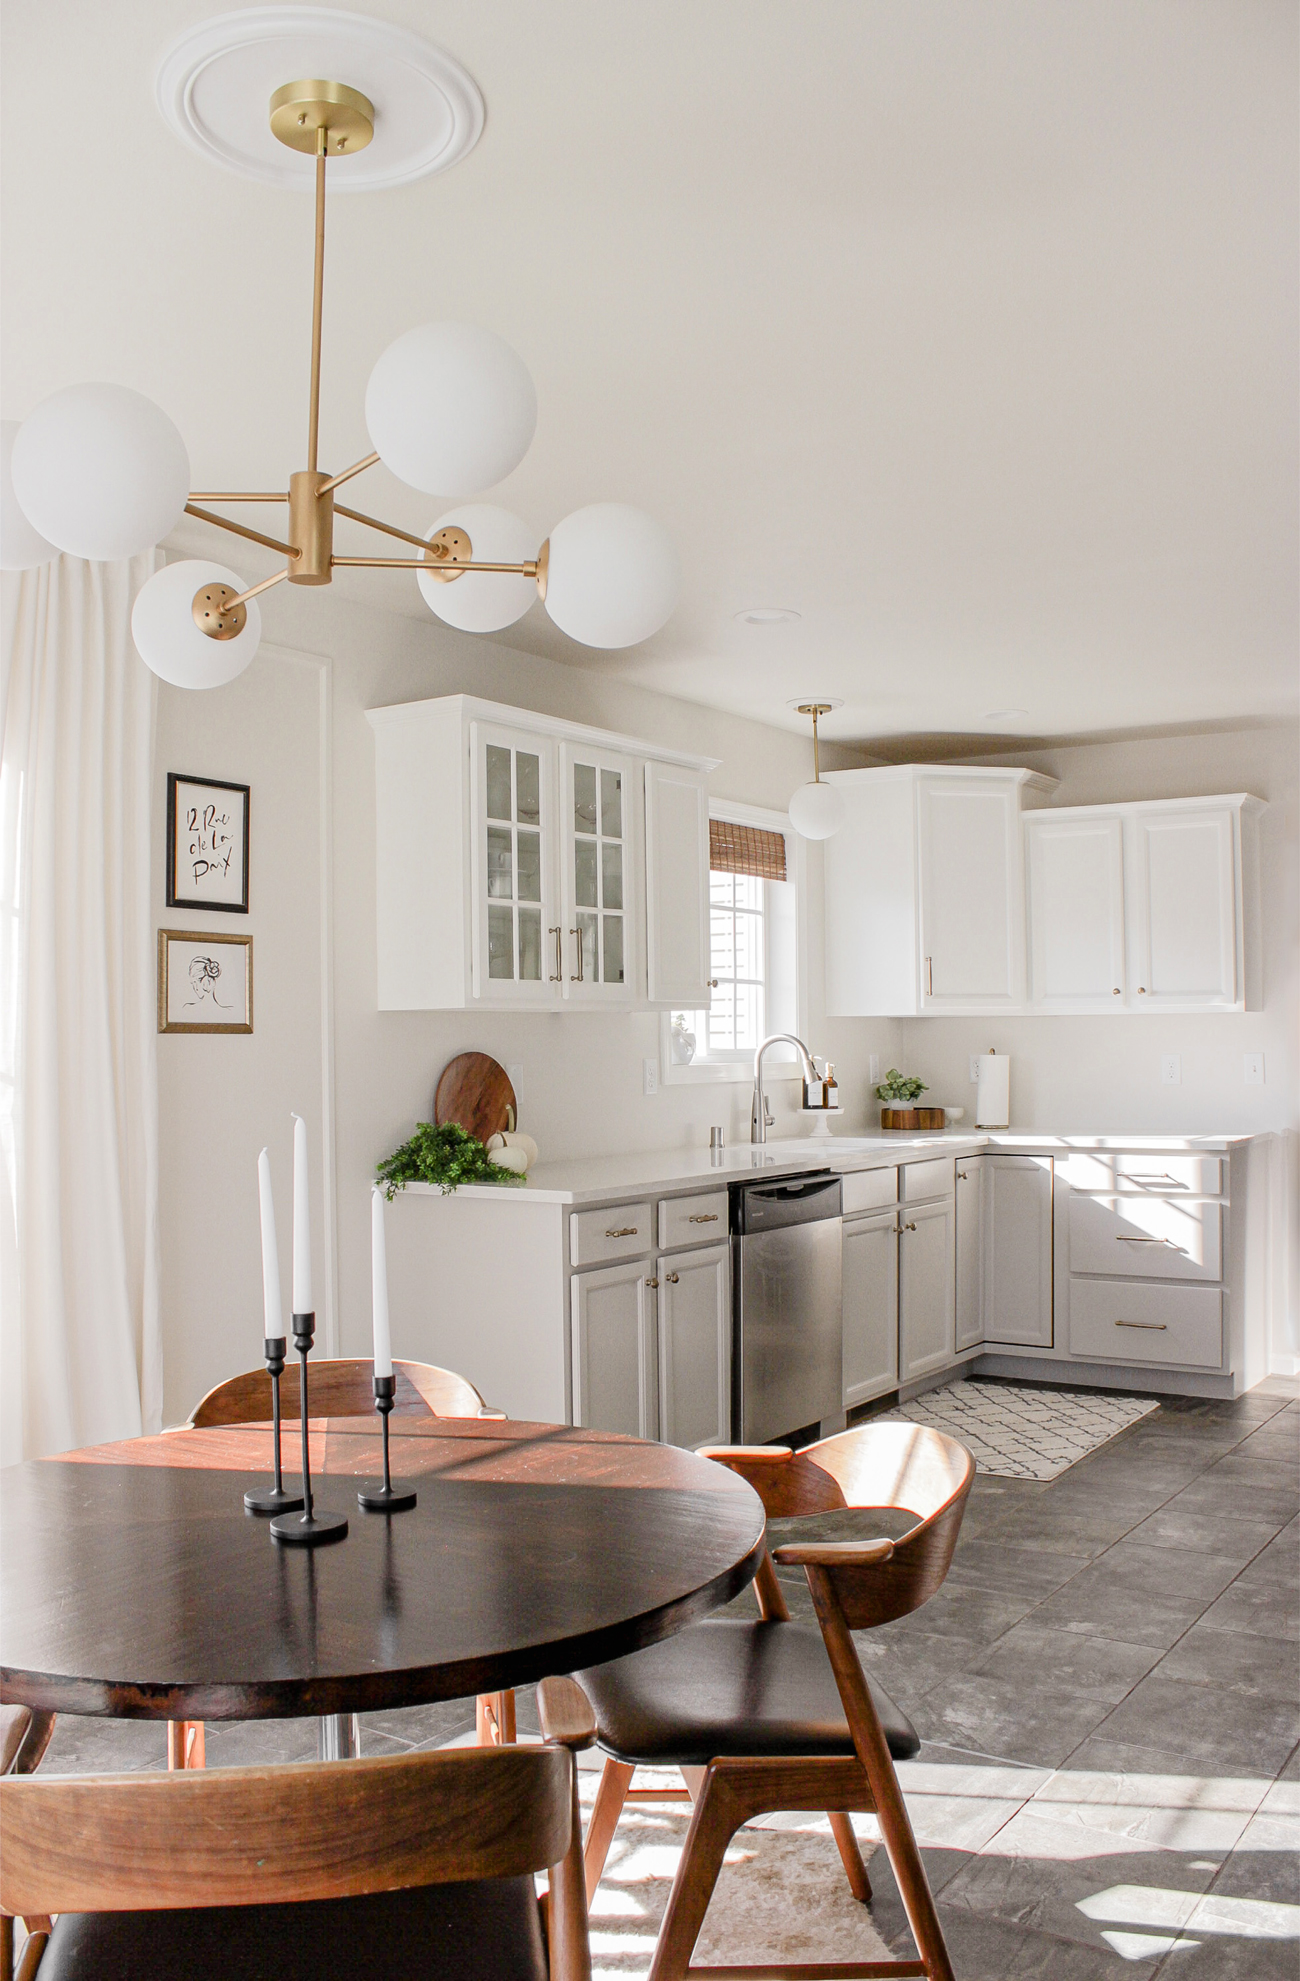
Can I Share a Story??
When we decided to sell our home, we knew with this housing market we wouldn’t be able to find our ‘forever’ home within 2-3 weeks (simply not enough inventory). So, we decided we will find our ‘for now’ home instead.
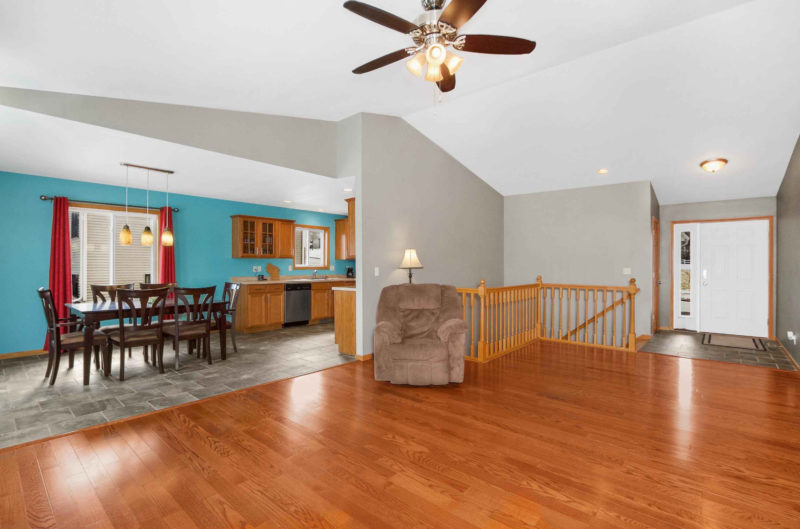
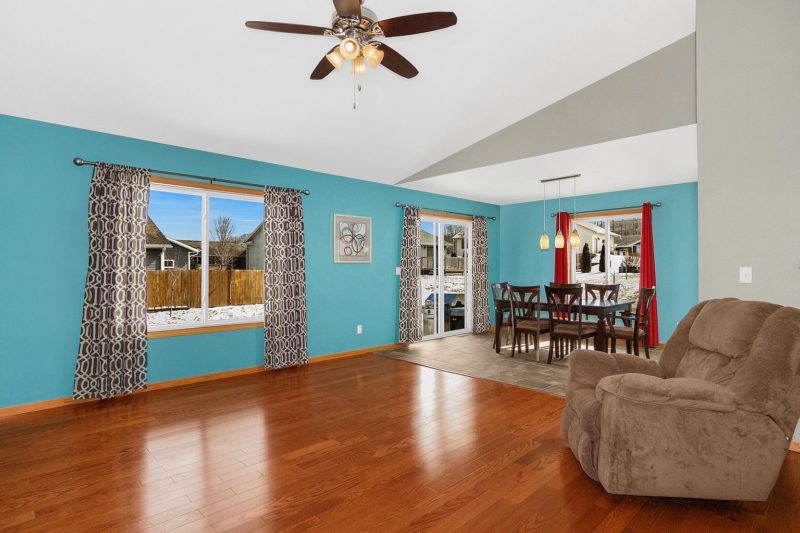
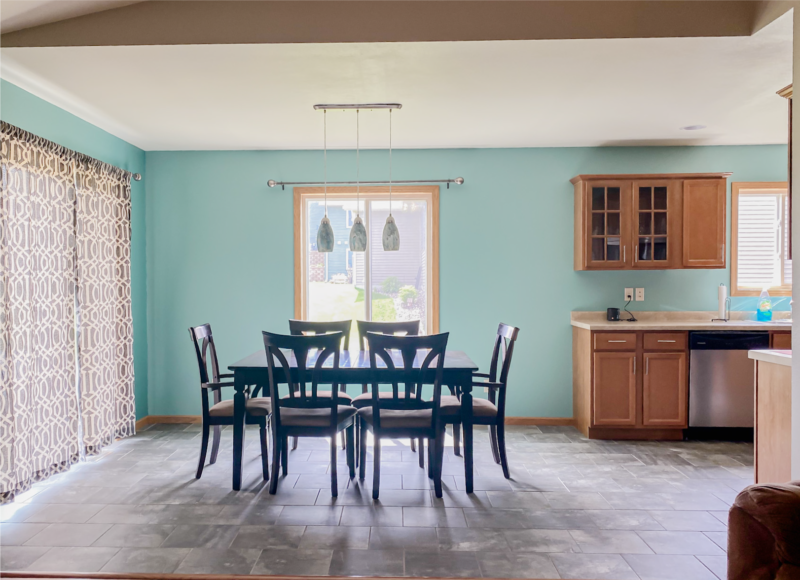
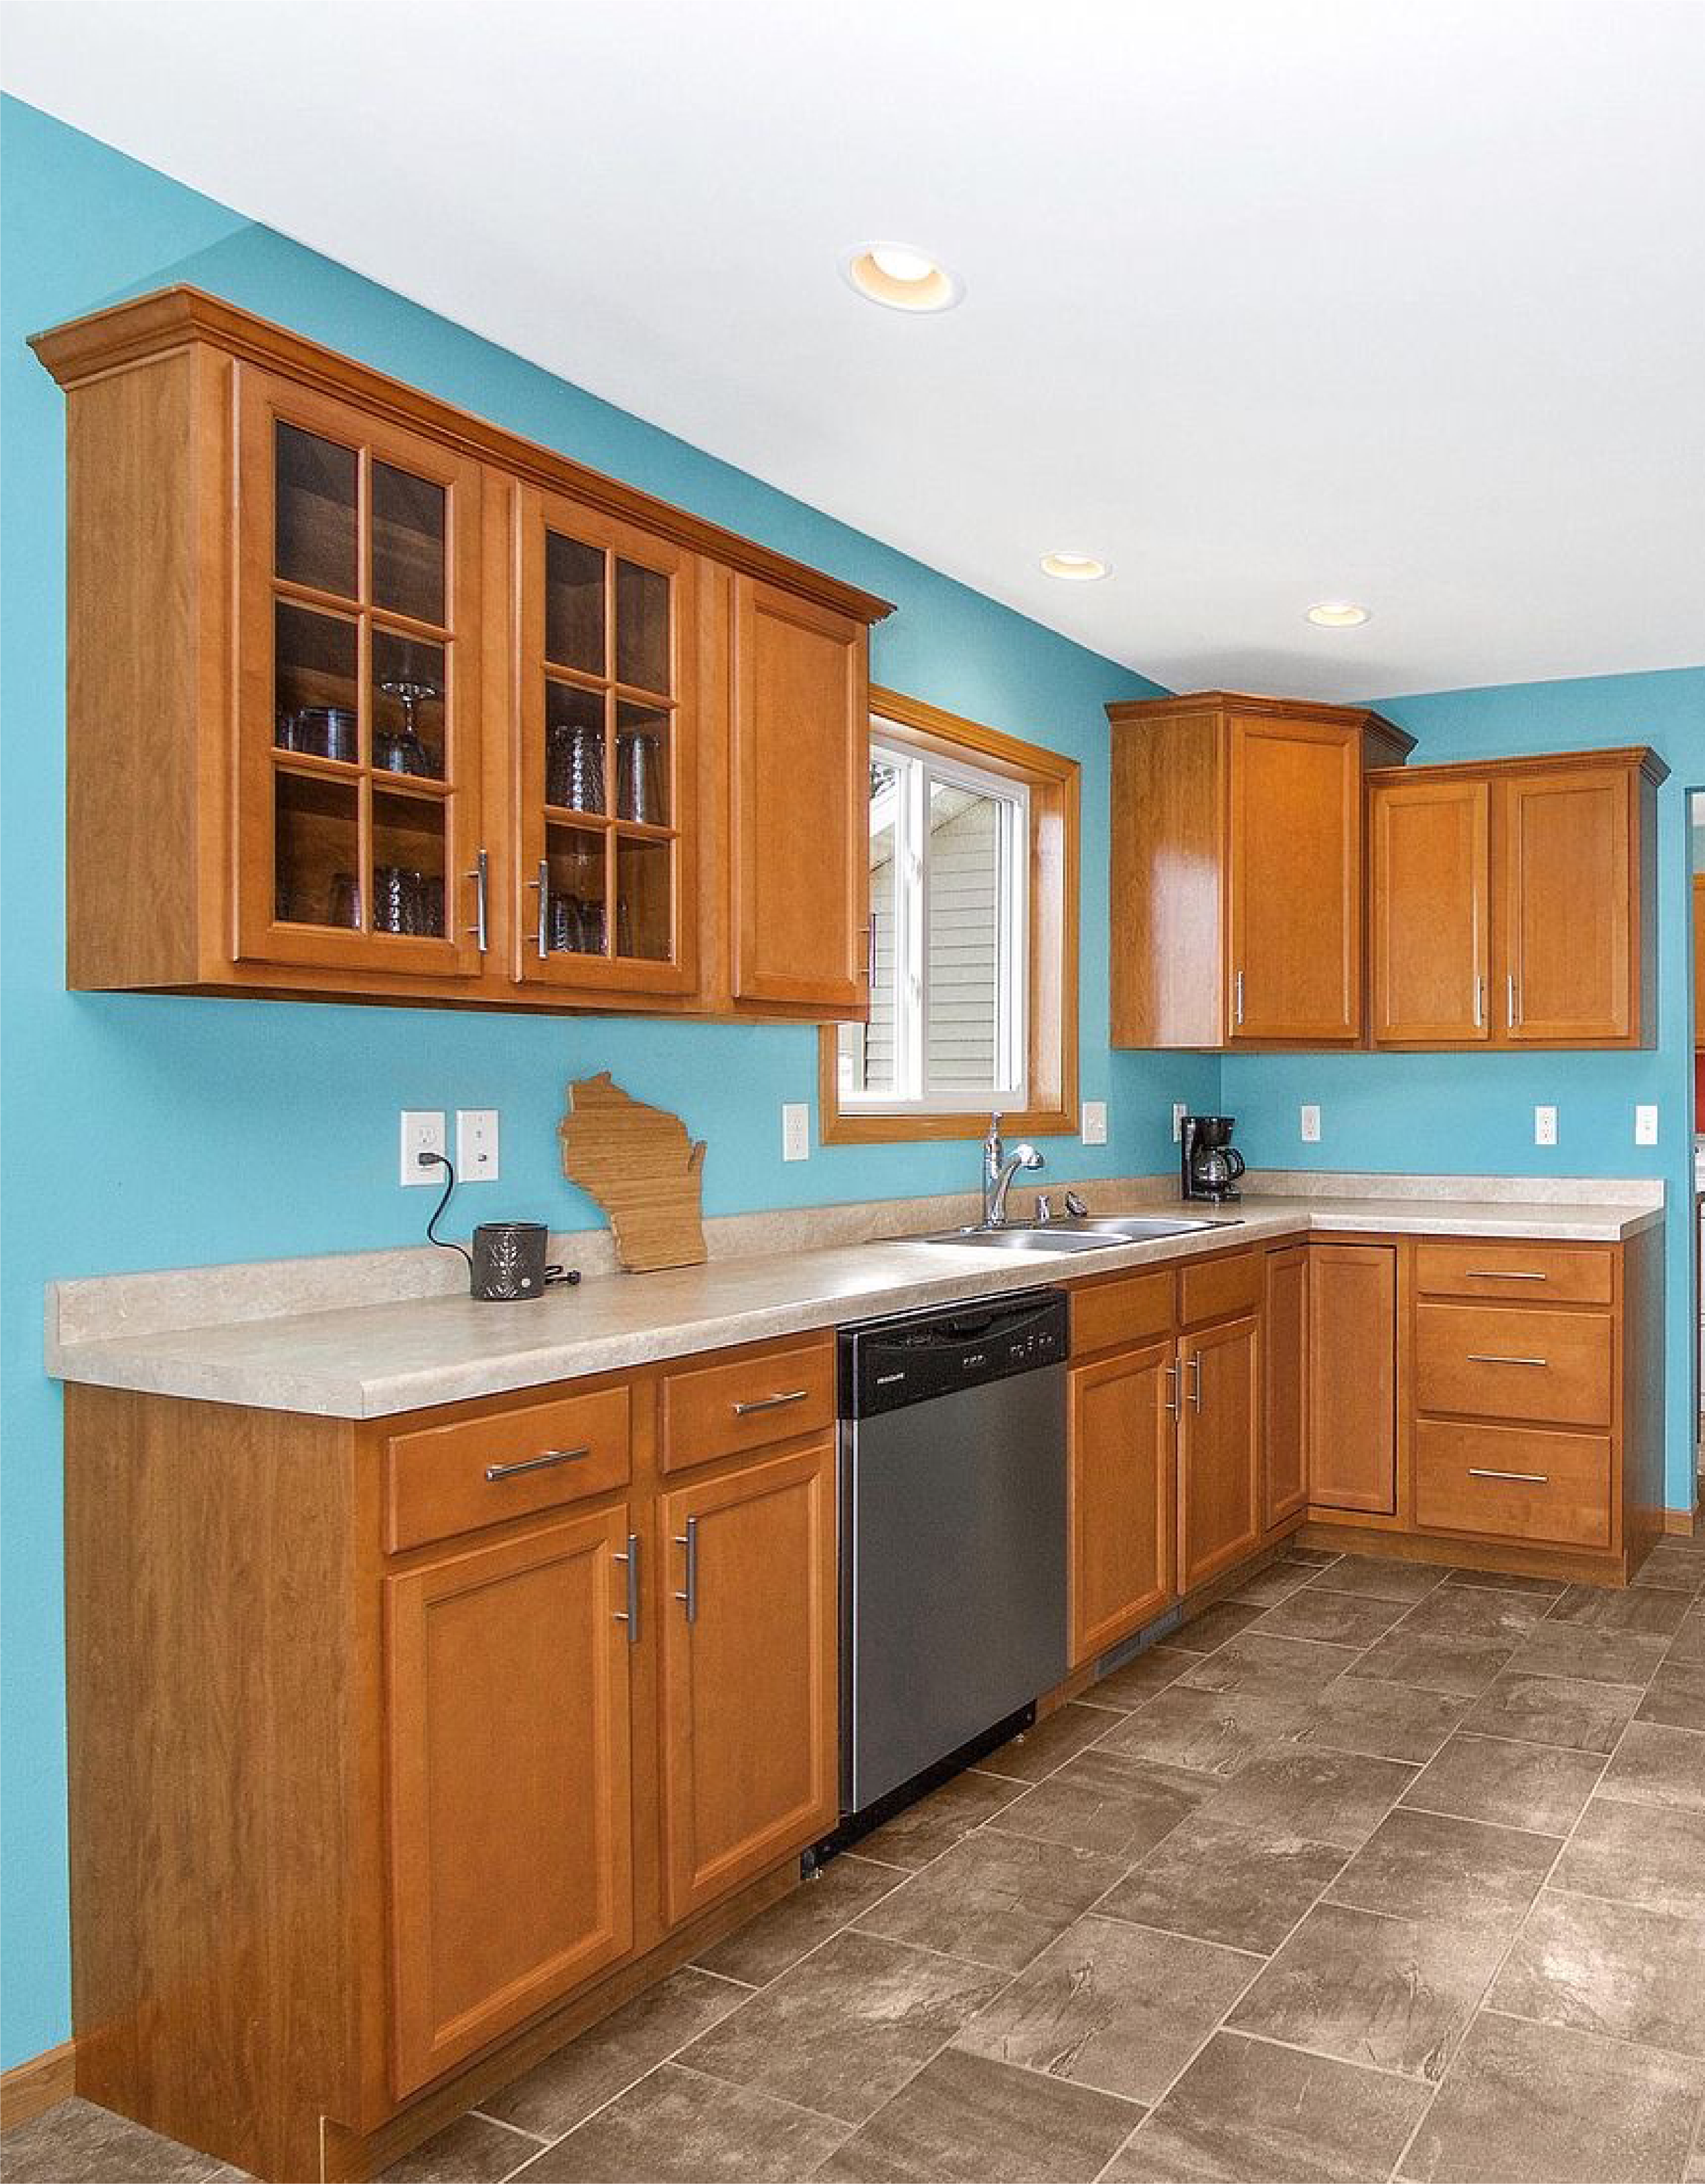
We saw this one listed (as it’s in a great neighborhood) but I immediately said ‘Nope’ because of the colors and seeing the neighbors in every single window (so, no yard privacy).
But, then the price dropped after about 2 weeks (which is crazy in this market). This was right around the time we picked a list date for our home. A week later, it was still available! So.. we decided to go take a look because if our home sells in a day or two, this could work out for our timeframe. Right?
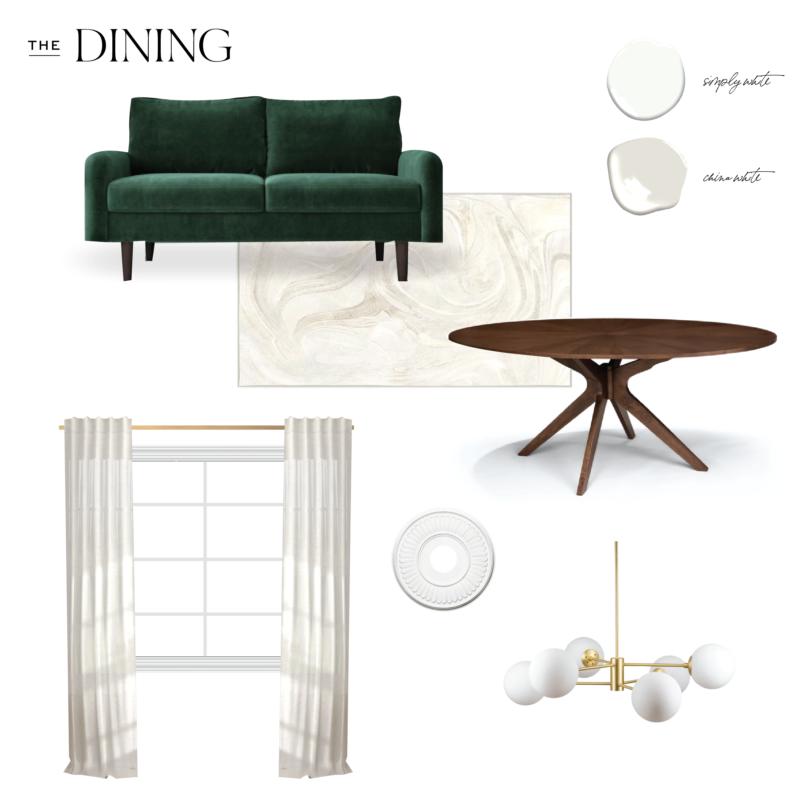
So, I did a mockup…
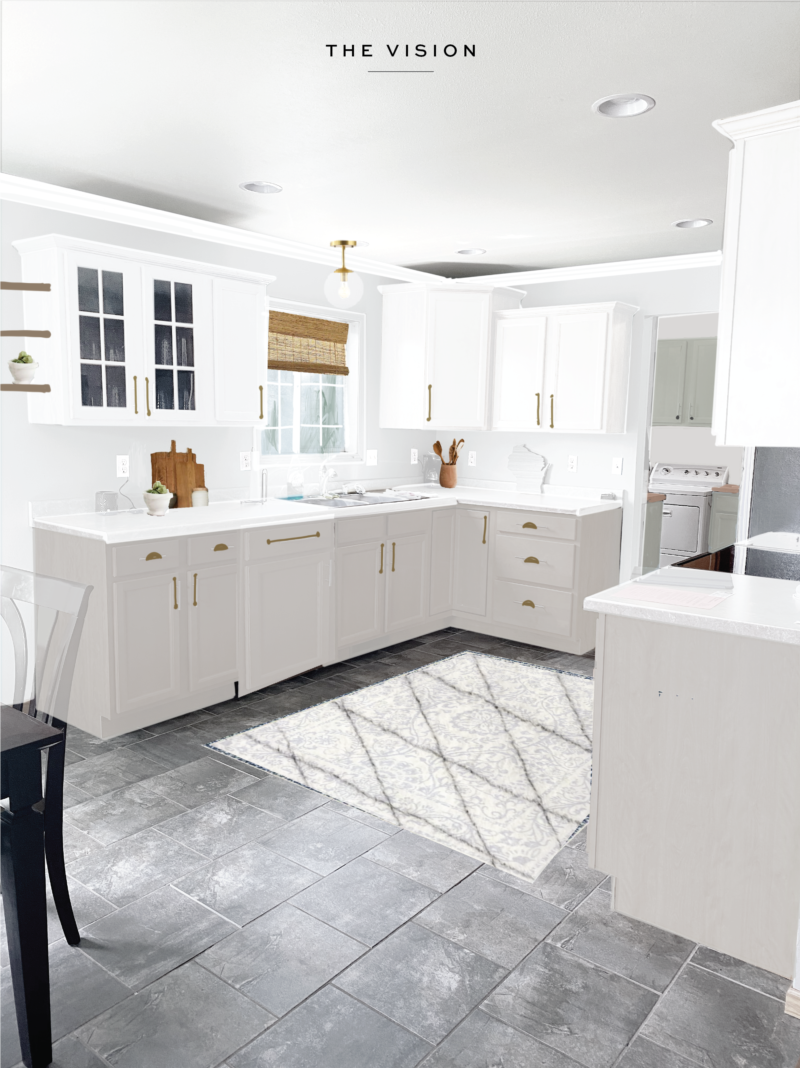
Which put me at ease. I saw what I could potentially do with it..and started to get super excited.
So, after 22 showings on our home and 8 offers all on the first day (accepting one) we decided to put an offer on this one. Within 48 hours we not only got AMAZING buyers for our home but found a new house (at a lower offer ;) that I knew I could transform. So Thankful!
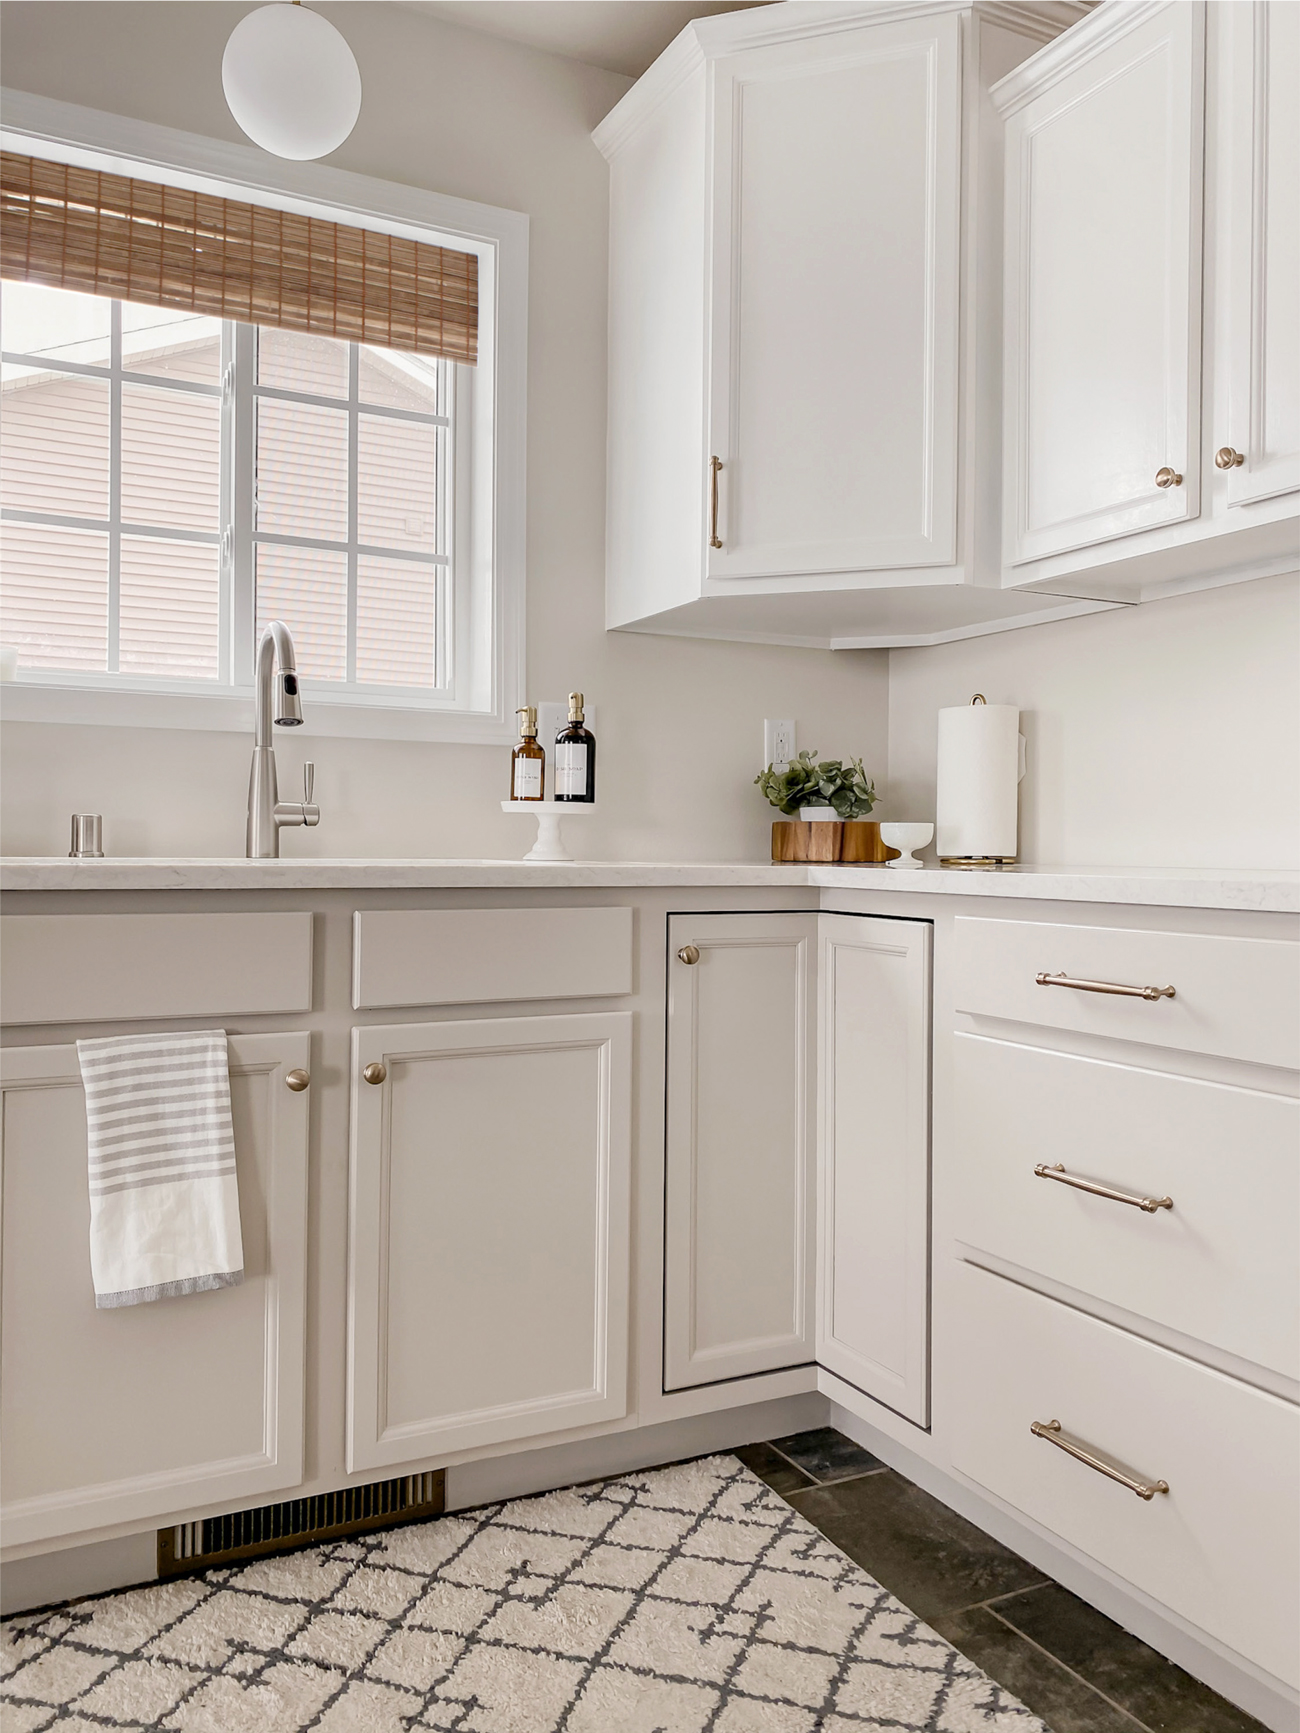
And now..it actually came to life!
It honestly makes me emotional. I wasn’t ‘in love’ with this house, but knew the location of our move (family/friends) meant more than the house we choose. But, now it’s finally starting to feel like me…and I’m falling in love.
The Kitchen Makeover
First, a huge shoutout to Benjamin Moore and their paint. I reached out to them after we moved in to see if they would be up for collaborating again (we did on our last home). They ever-so-kindly gifted me the wall paint, which I’m OBSESSED with! Because I truly stand behind their products, we also chose to purchase the BM paint for the cabinets/trim/doors.
I may receive a tiny commission if you click on my affiliates/products/advertisers links. P.S. The products that I share are the ones I believe in.
The Paint
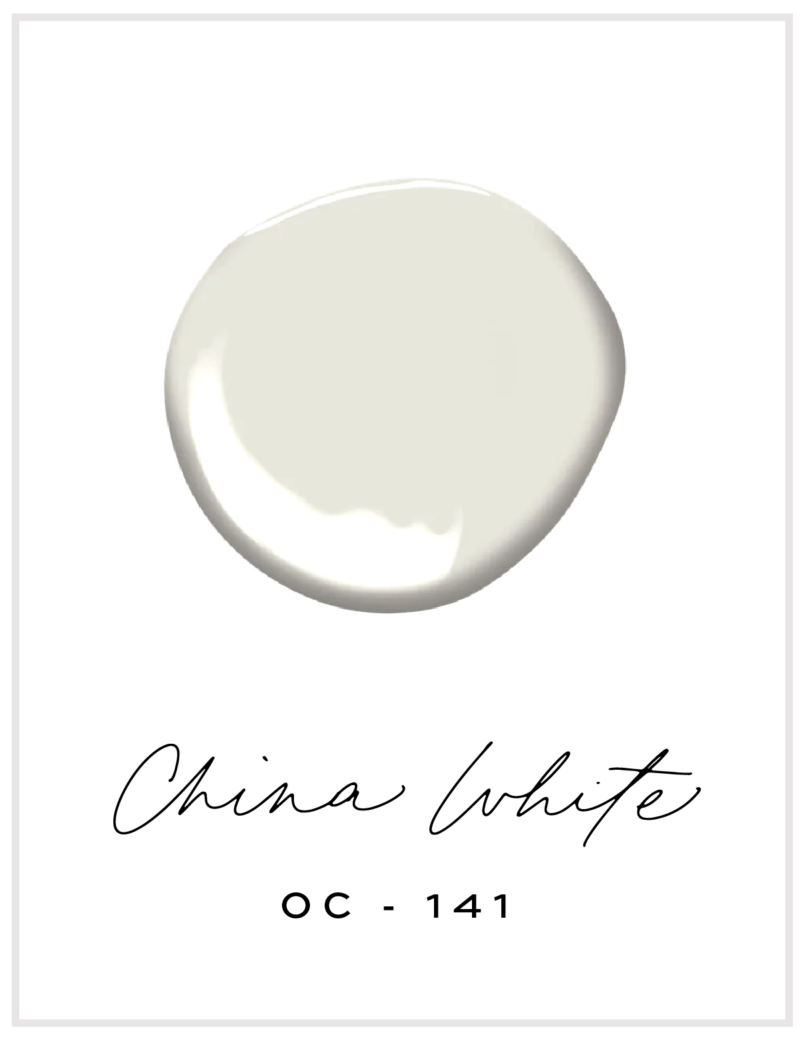
China White by Benjamin Moore
I shared this in a previous post, but I was SO nervous trying a new color…a warmer color! I was between this and Classic Gray and I am SO HAPPY I chose China White! It’s the perfect cozy color. It’s not too warm, it’s not too dark, and it feels welcoming and chic.
So, the deets: China White OC-141 in Aura Eggshell because it COVERS so well..it was awesome covering those turquoise walls :)
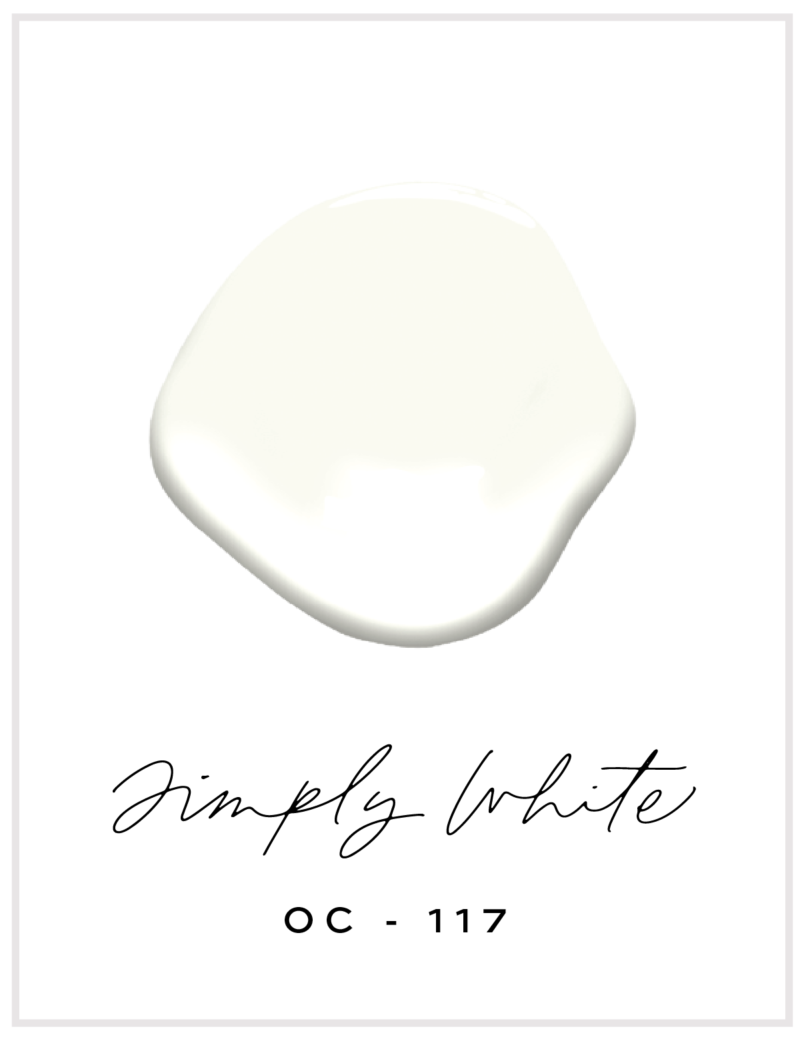
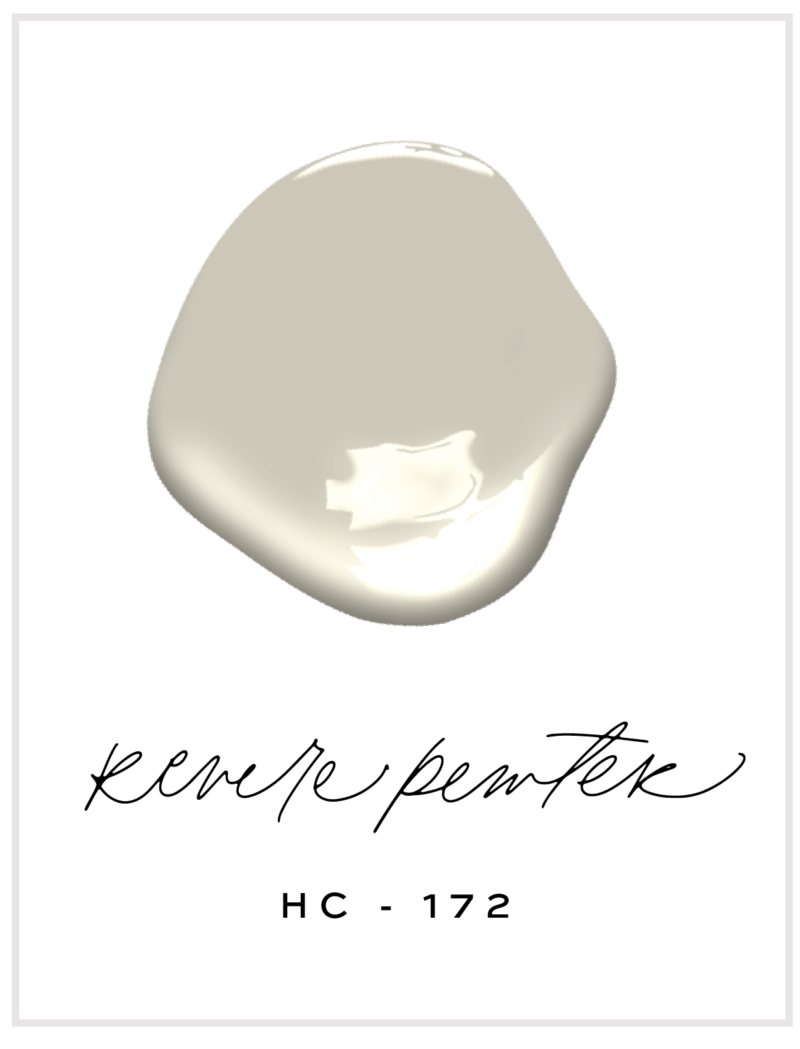
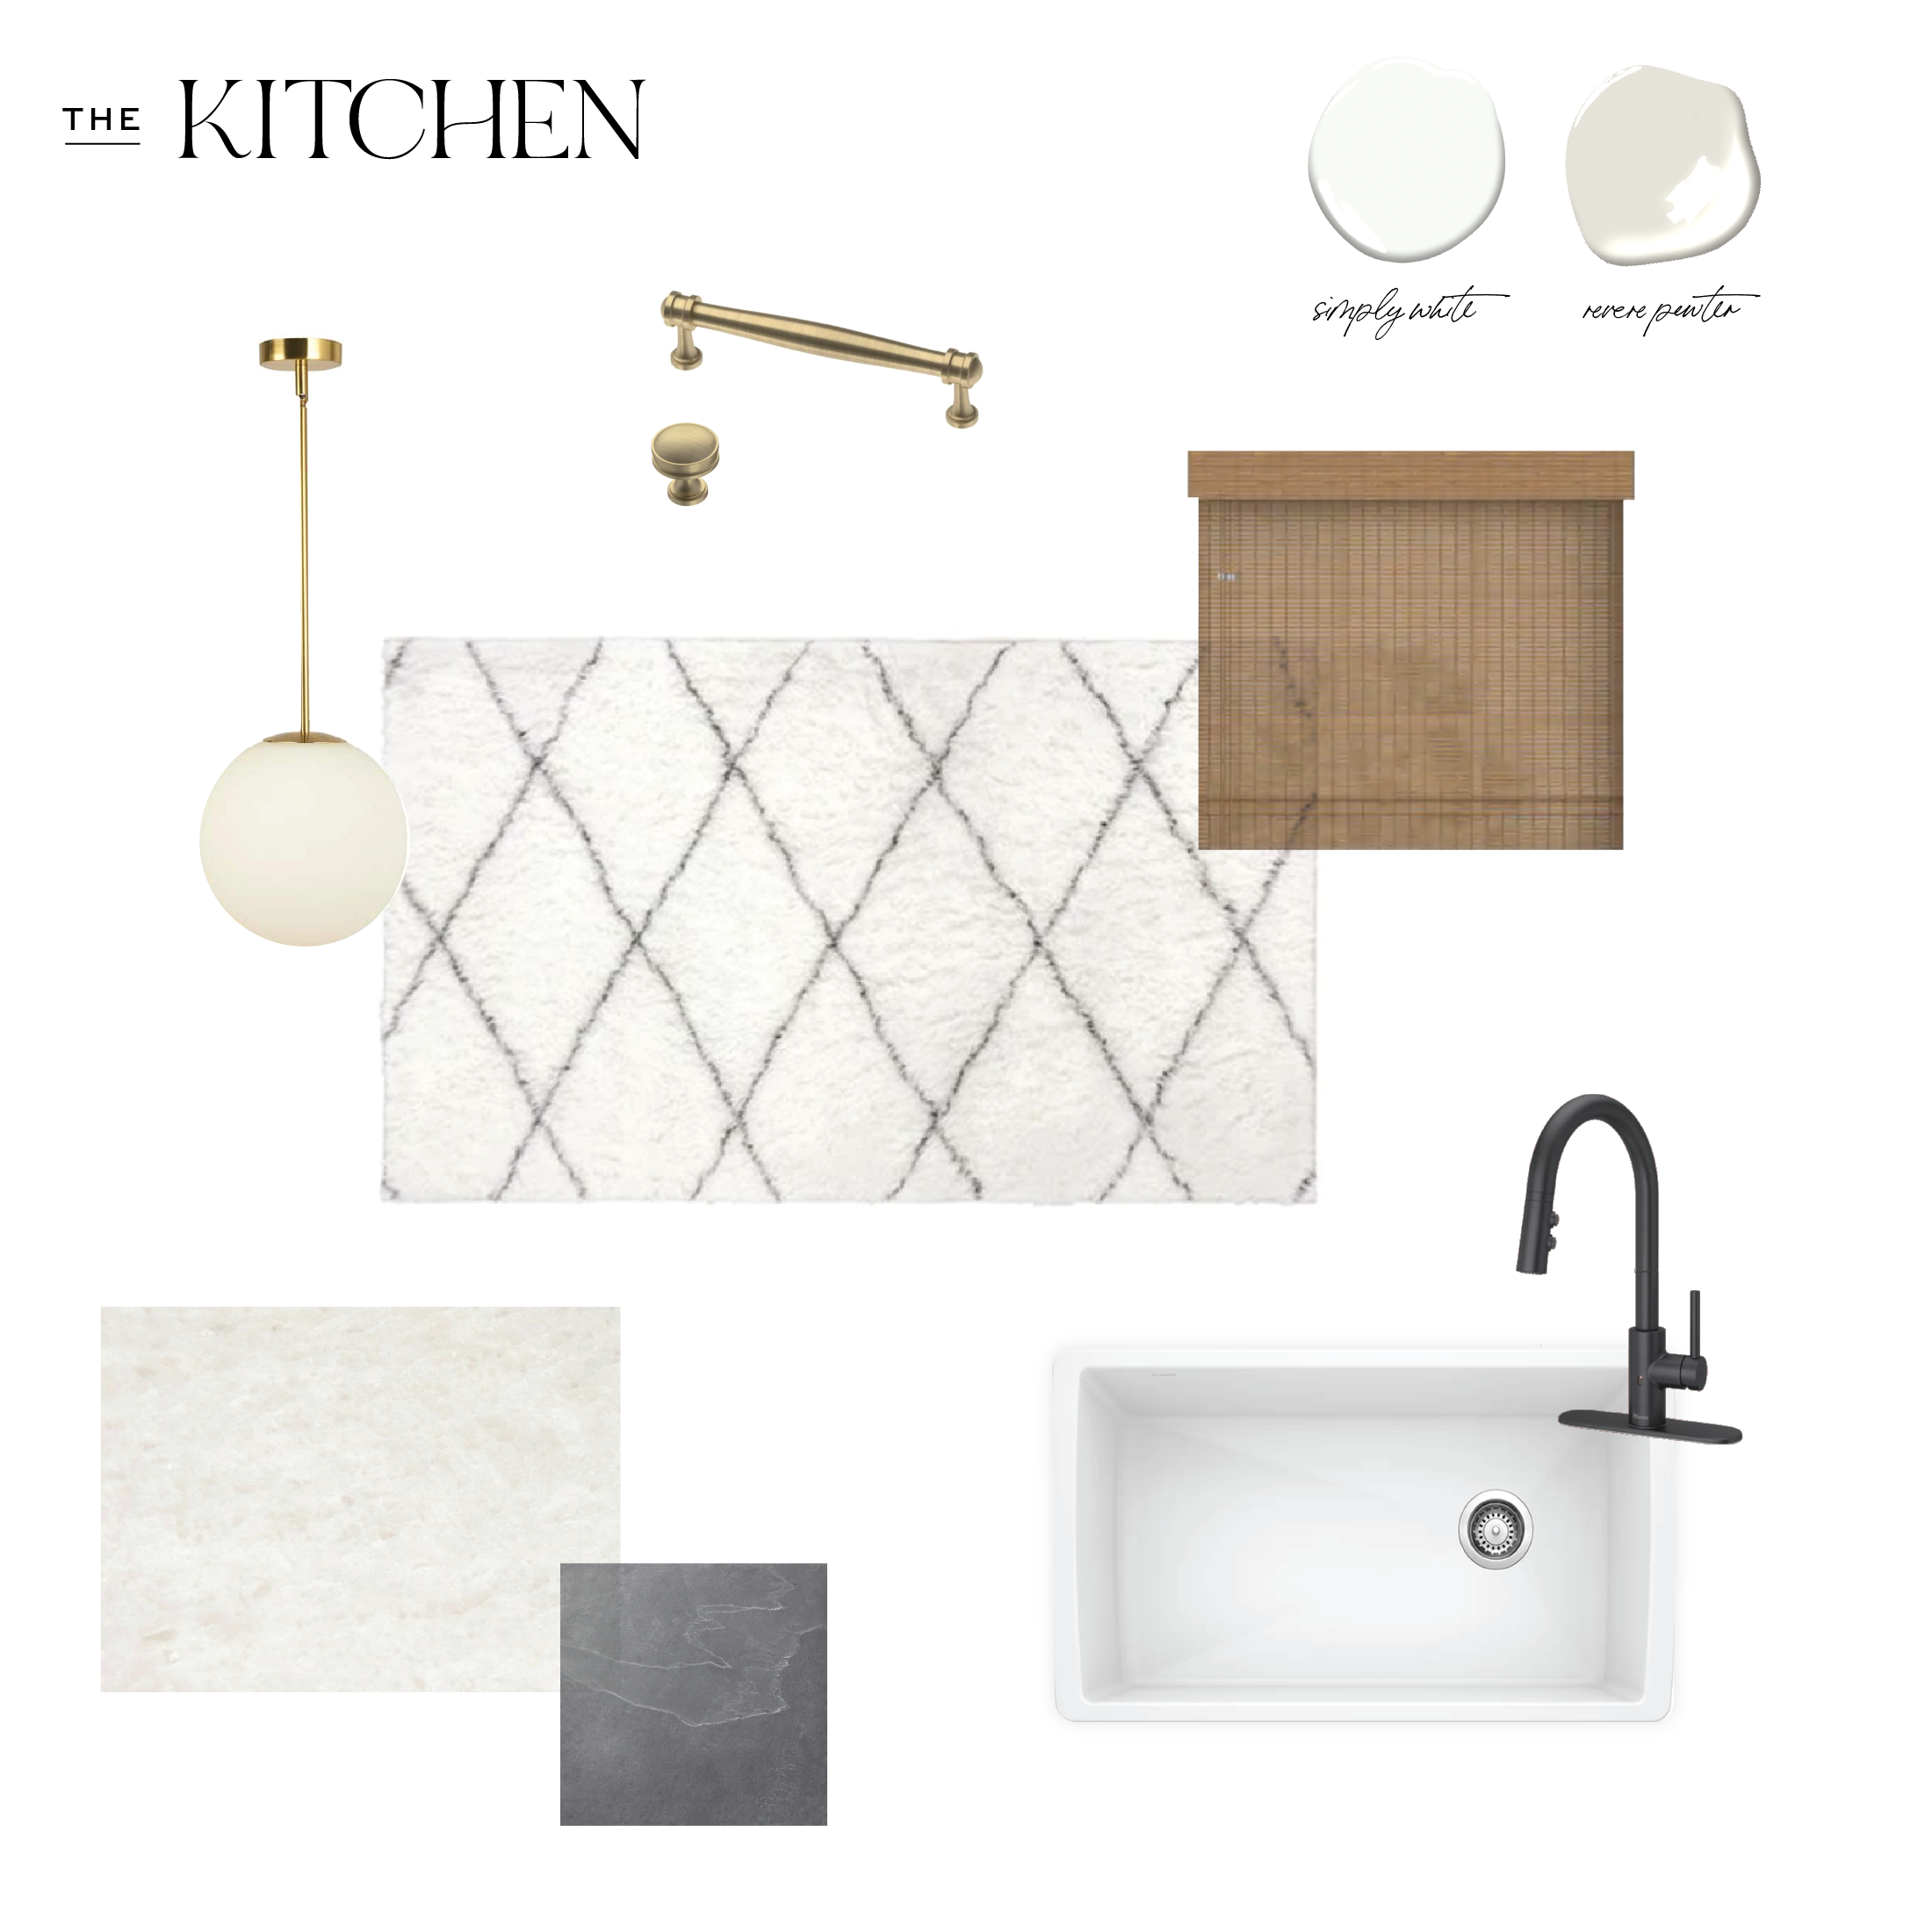
Simply White and Revere Pewter
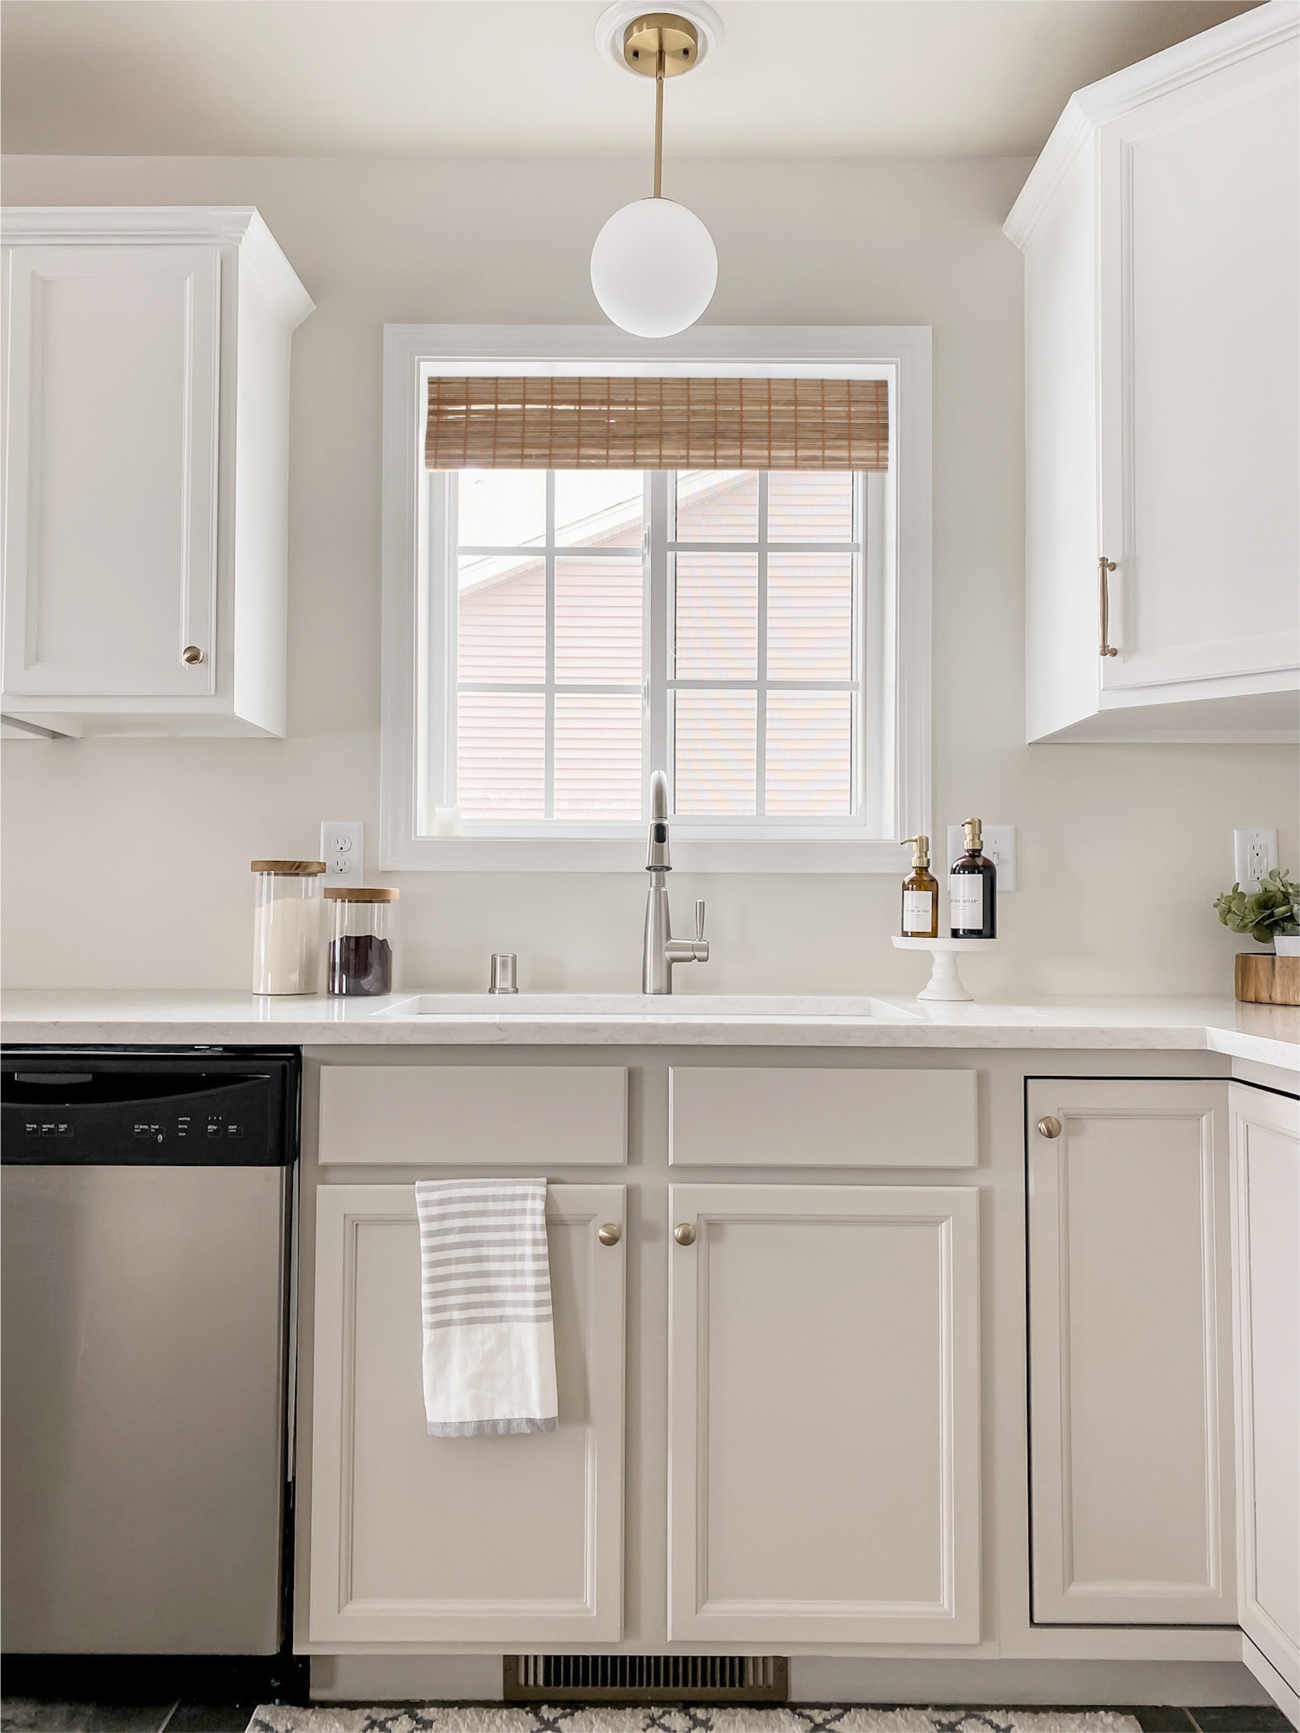
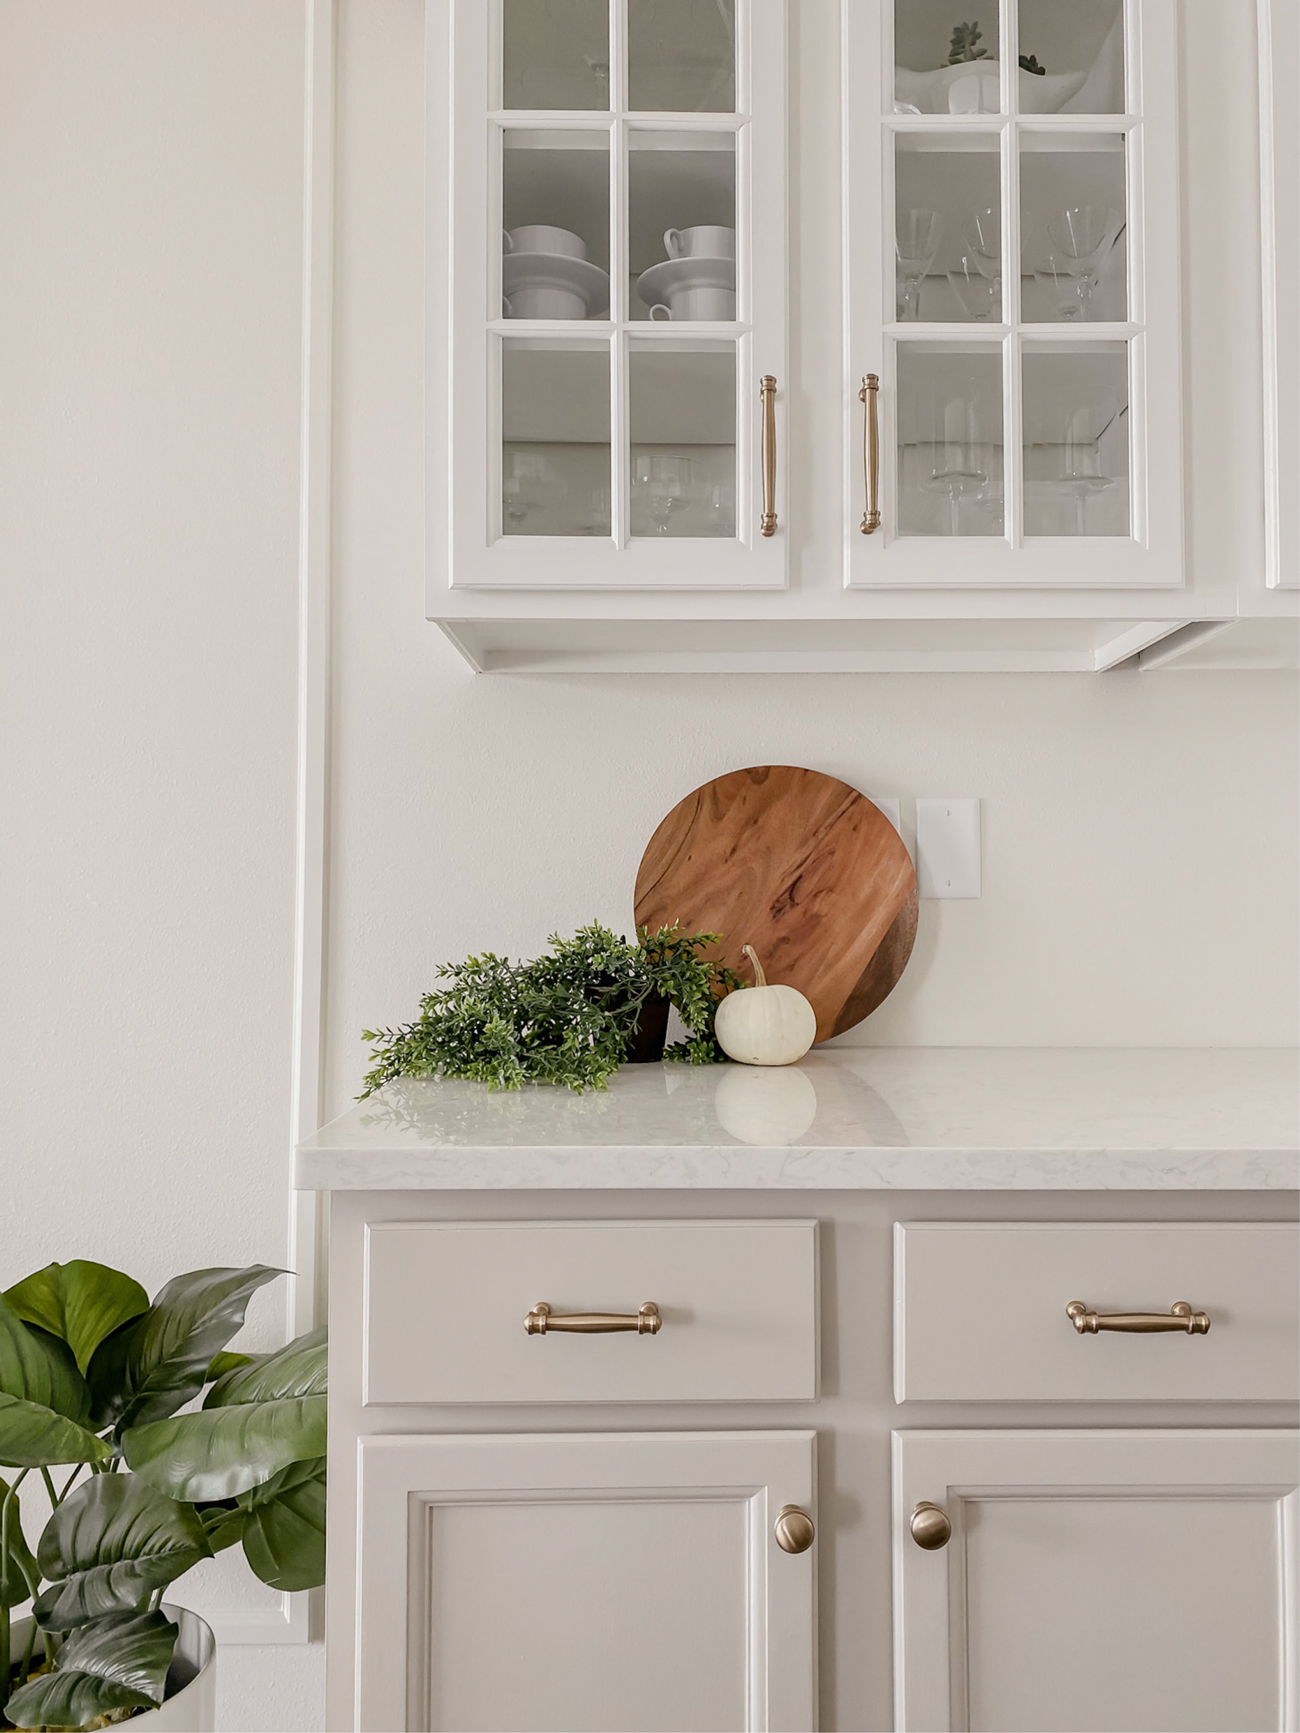
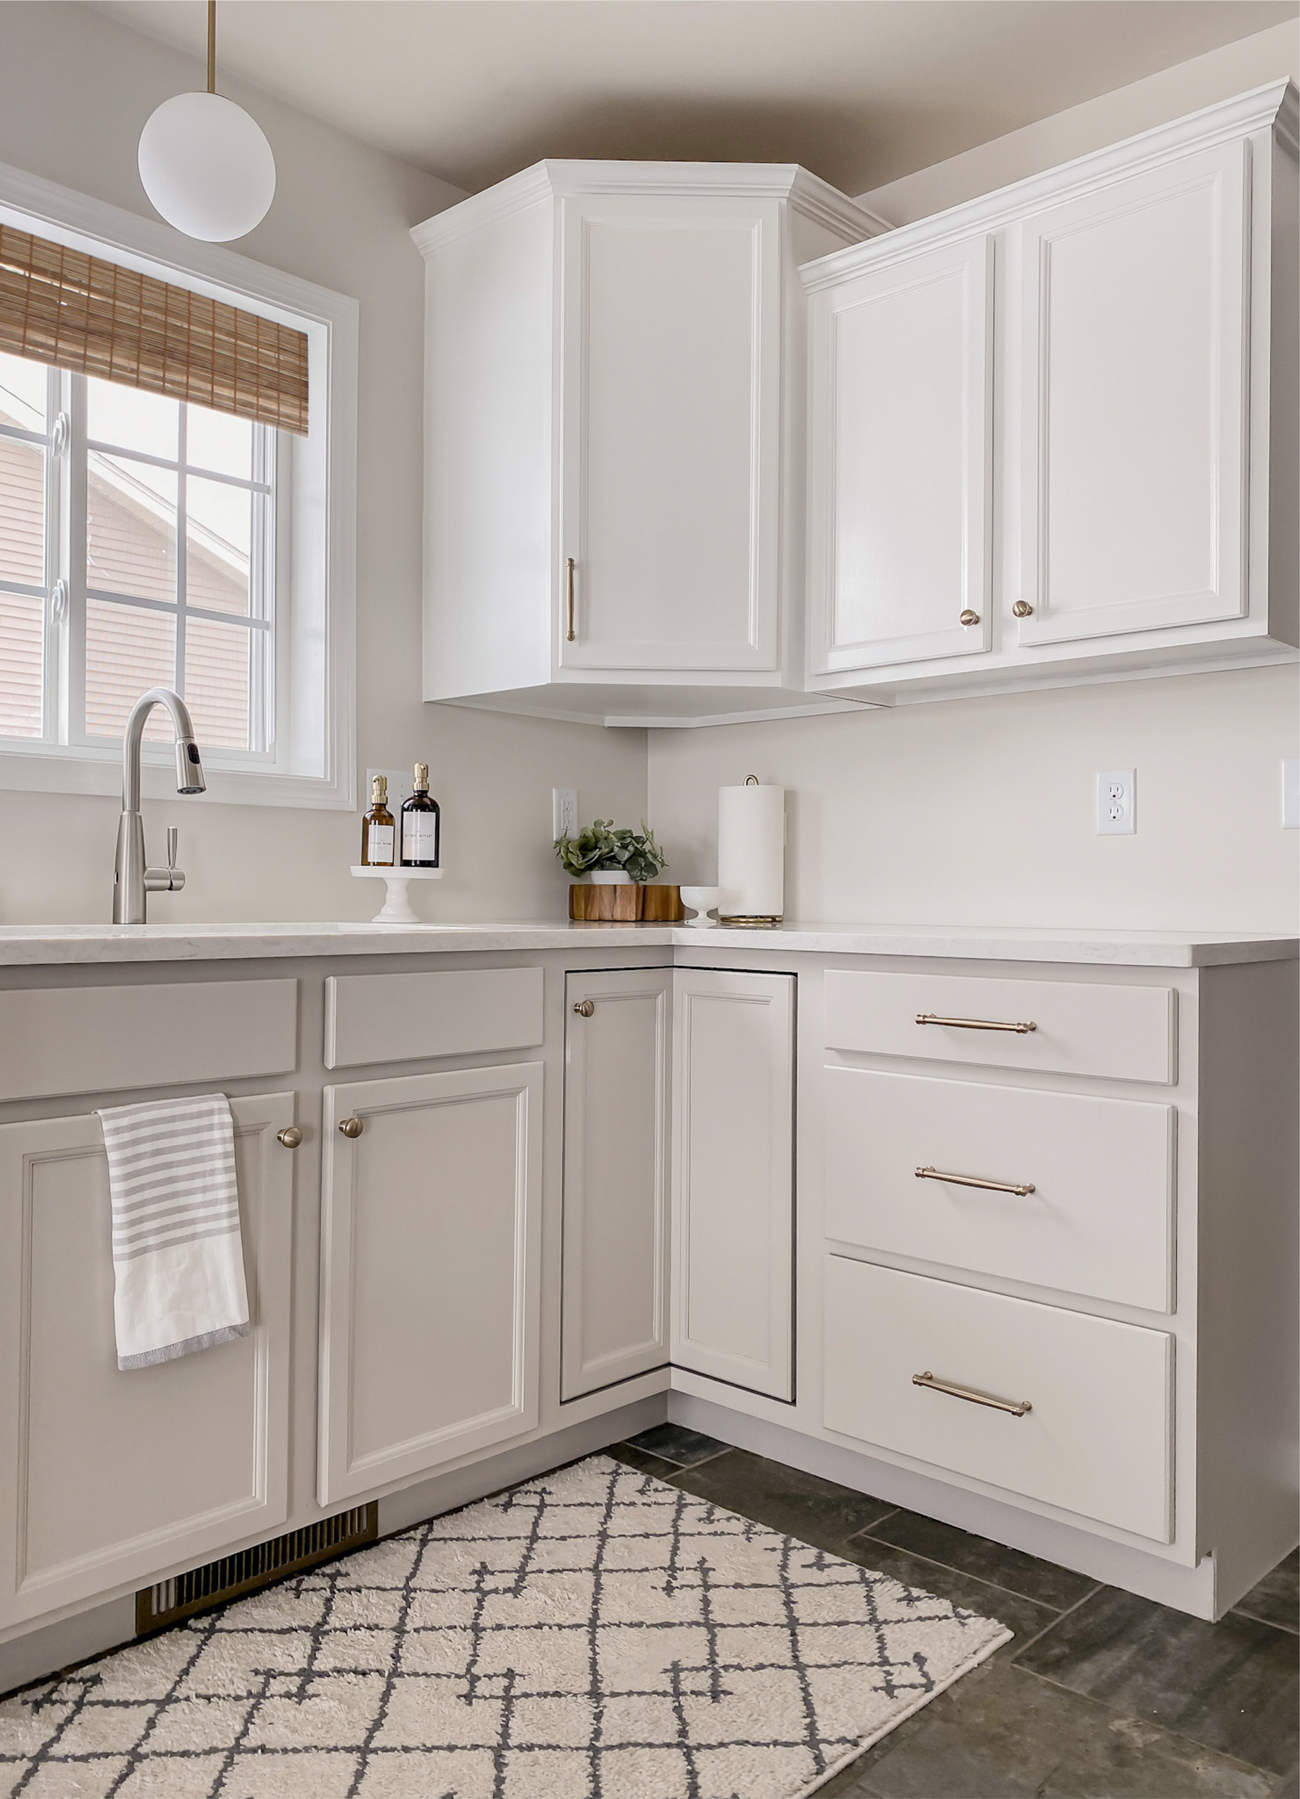
Because we had an all white kitchen in the last home, I knew I wanted to try something new (and loved seeing Revere Pewter cabinets). Since we knew the trim would be Simply White I decided to do the upper cabinets in the white and the lower cabinets in Revere Pewter..and OBSESSED.
The Deets: Simply White OC-117 – Advance Satin | Revere Pewter HC-172 – Advance Satin
The Details
One of the BIGGEST things we did (and have ever done in a home) was new countertops. And friends, I cannot believe I didn’t do these in our old home! I’m so obsessed and they truly make the biggest difference. We got TabQuartz in Bianco Neve by Amsum & Ash
P.S. Some links below are affiliate links, which means I may receive a small percentage of commission if someone purchases it :)
Hardware Pulls / Pendant / White Sink / Bamboo Shade / Rug
Dining Room DIY
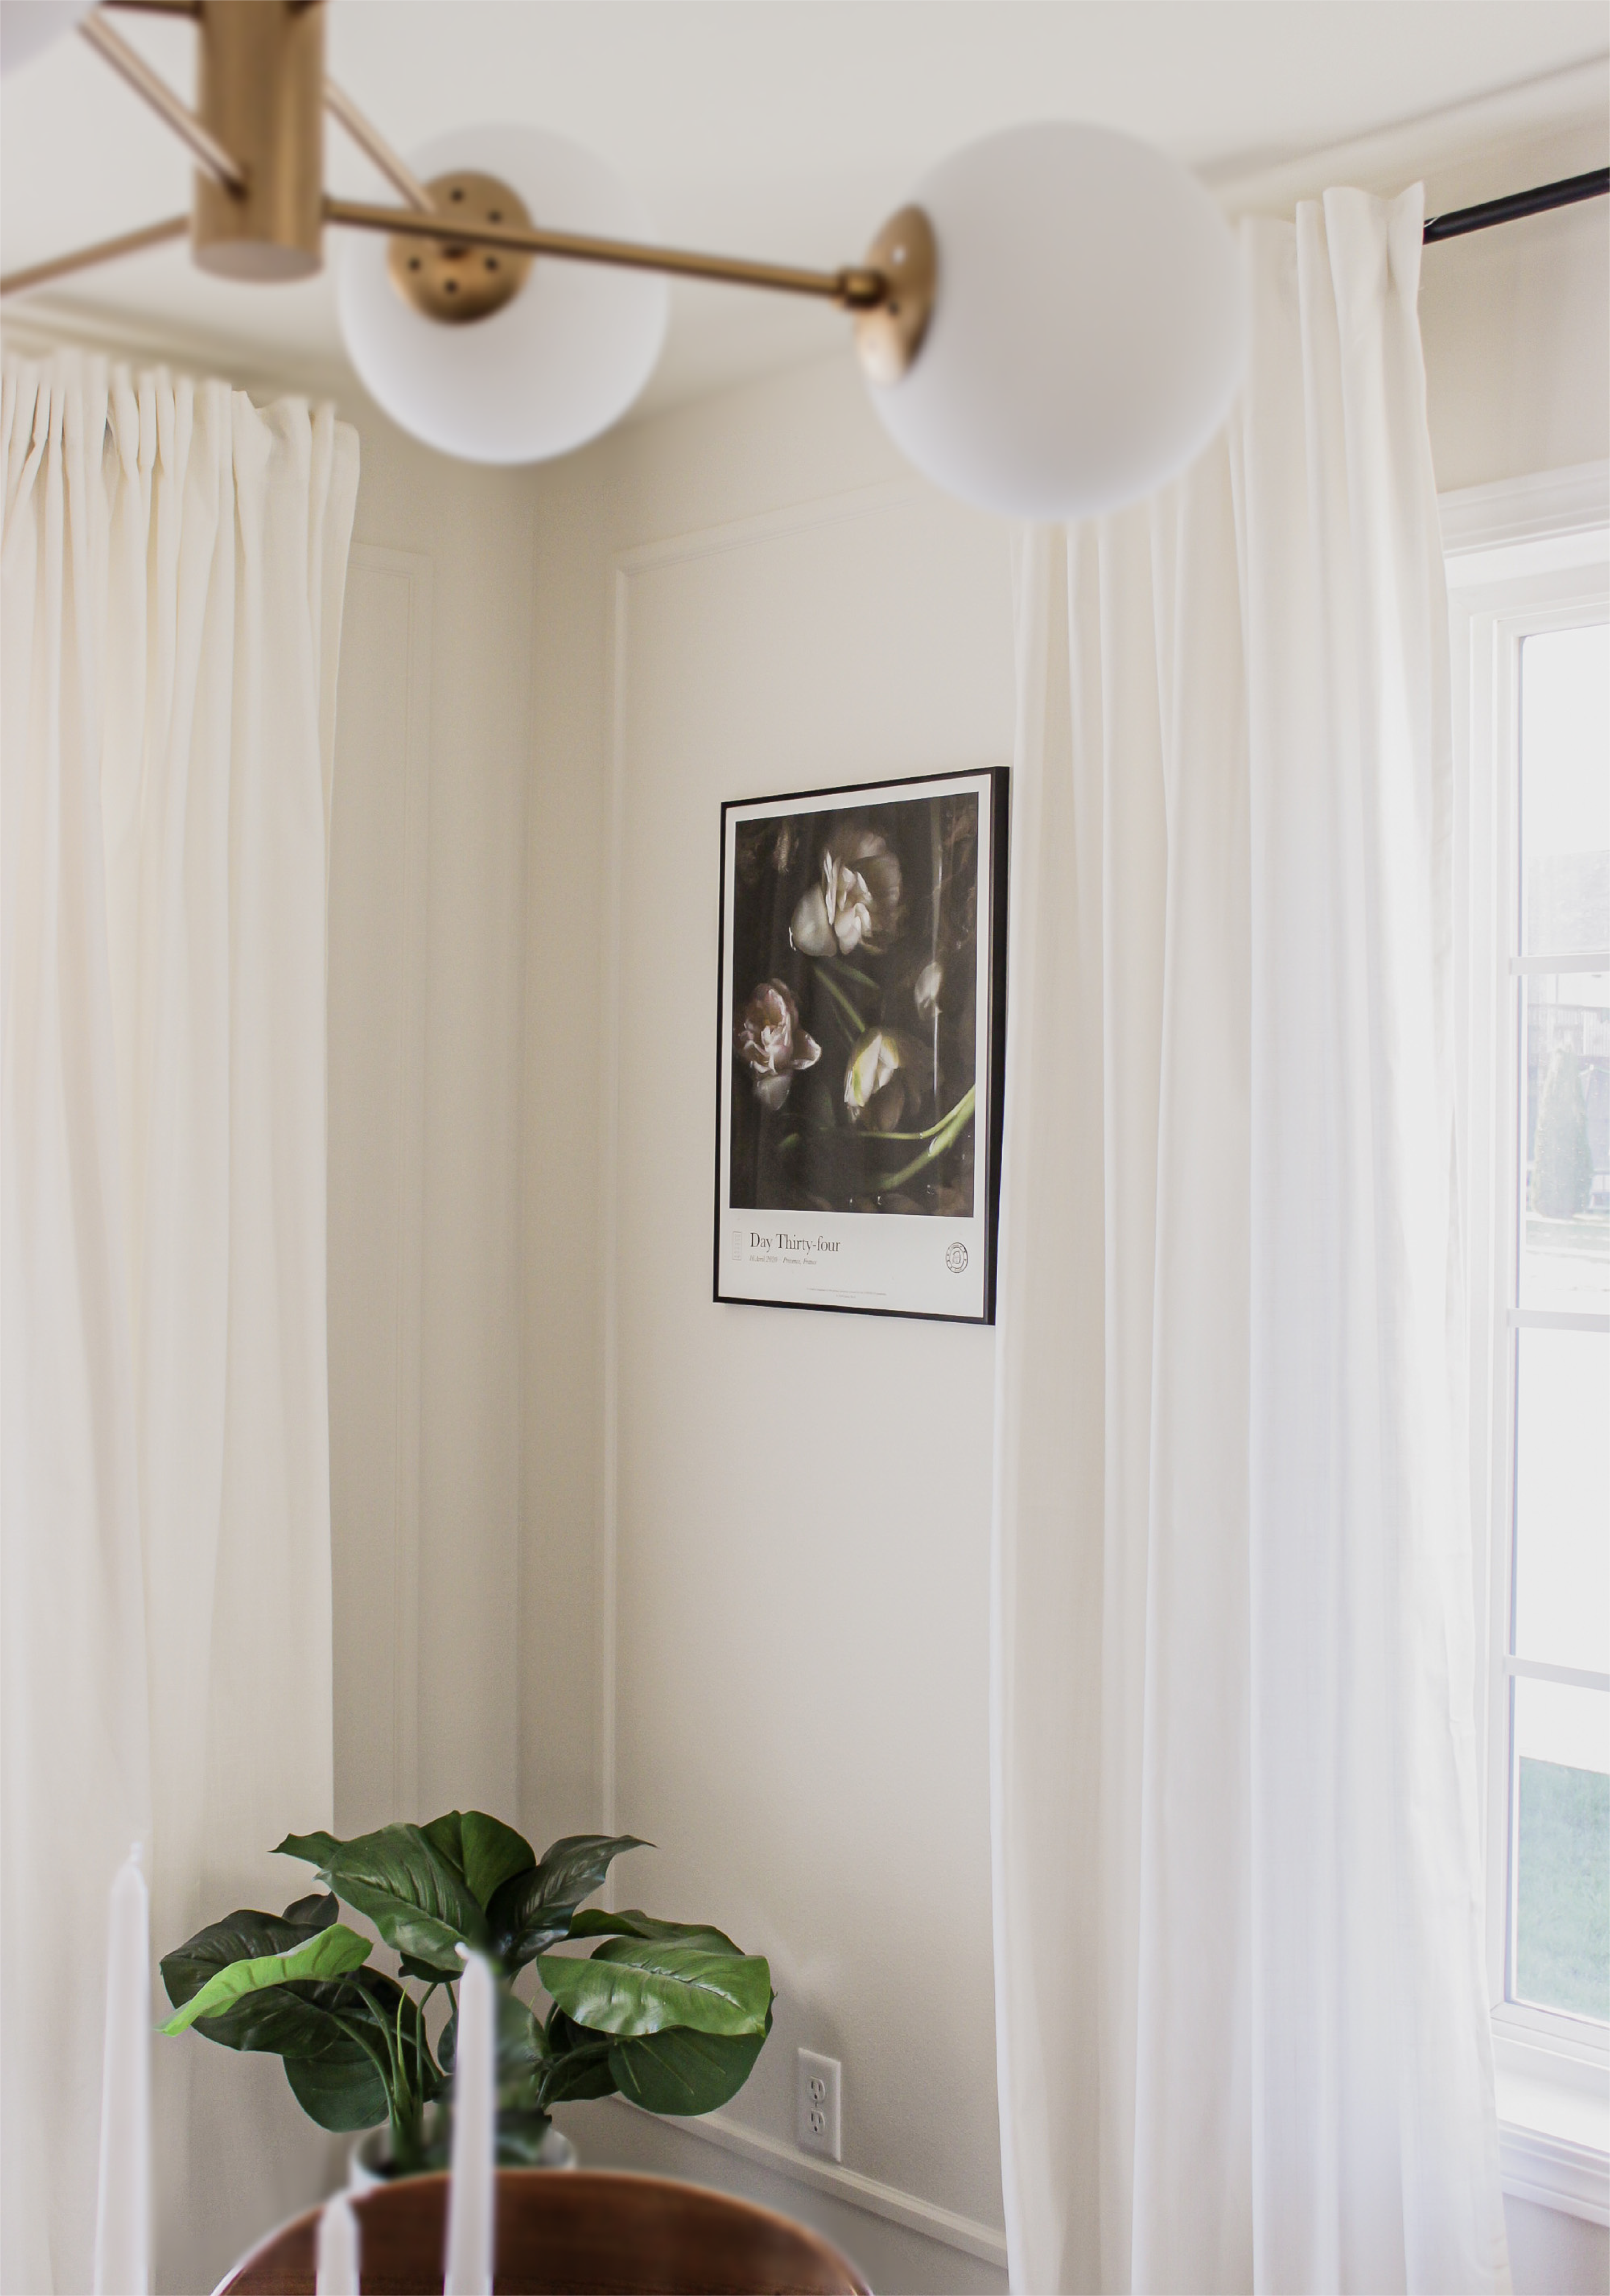
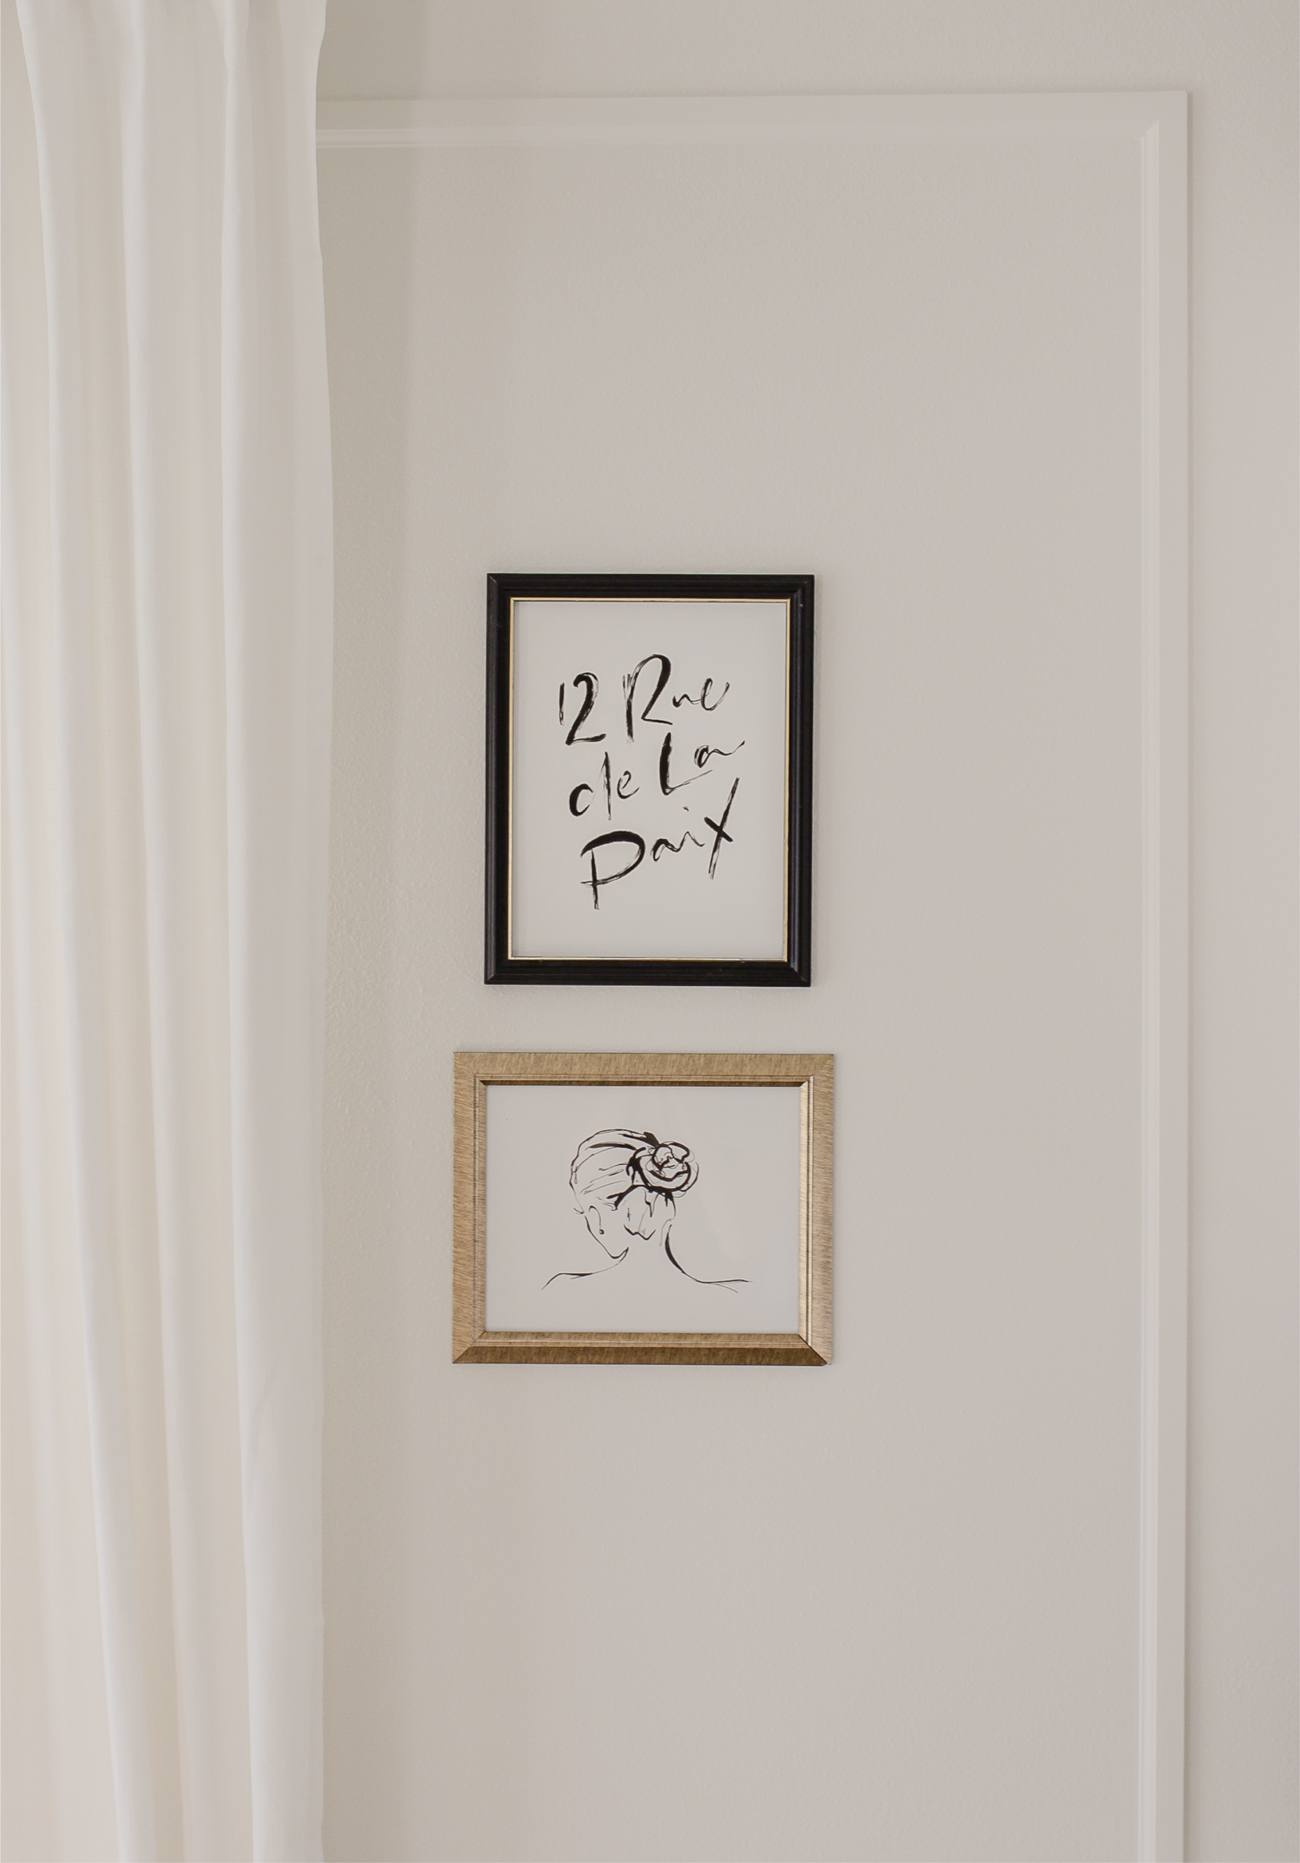
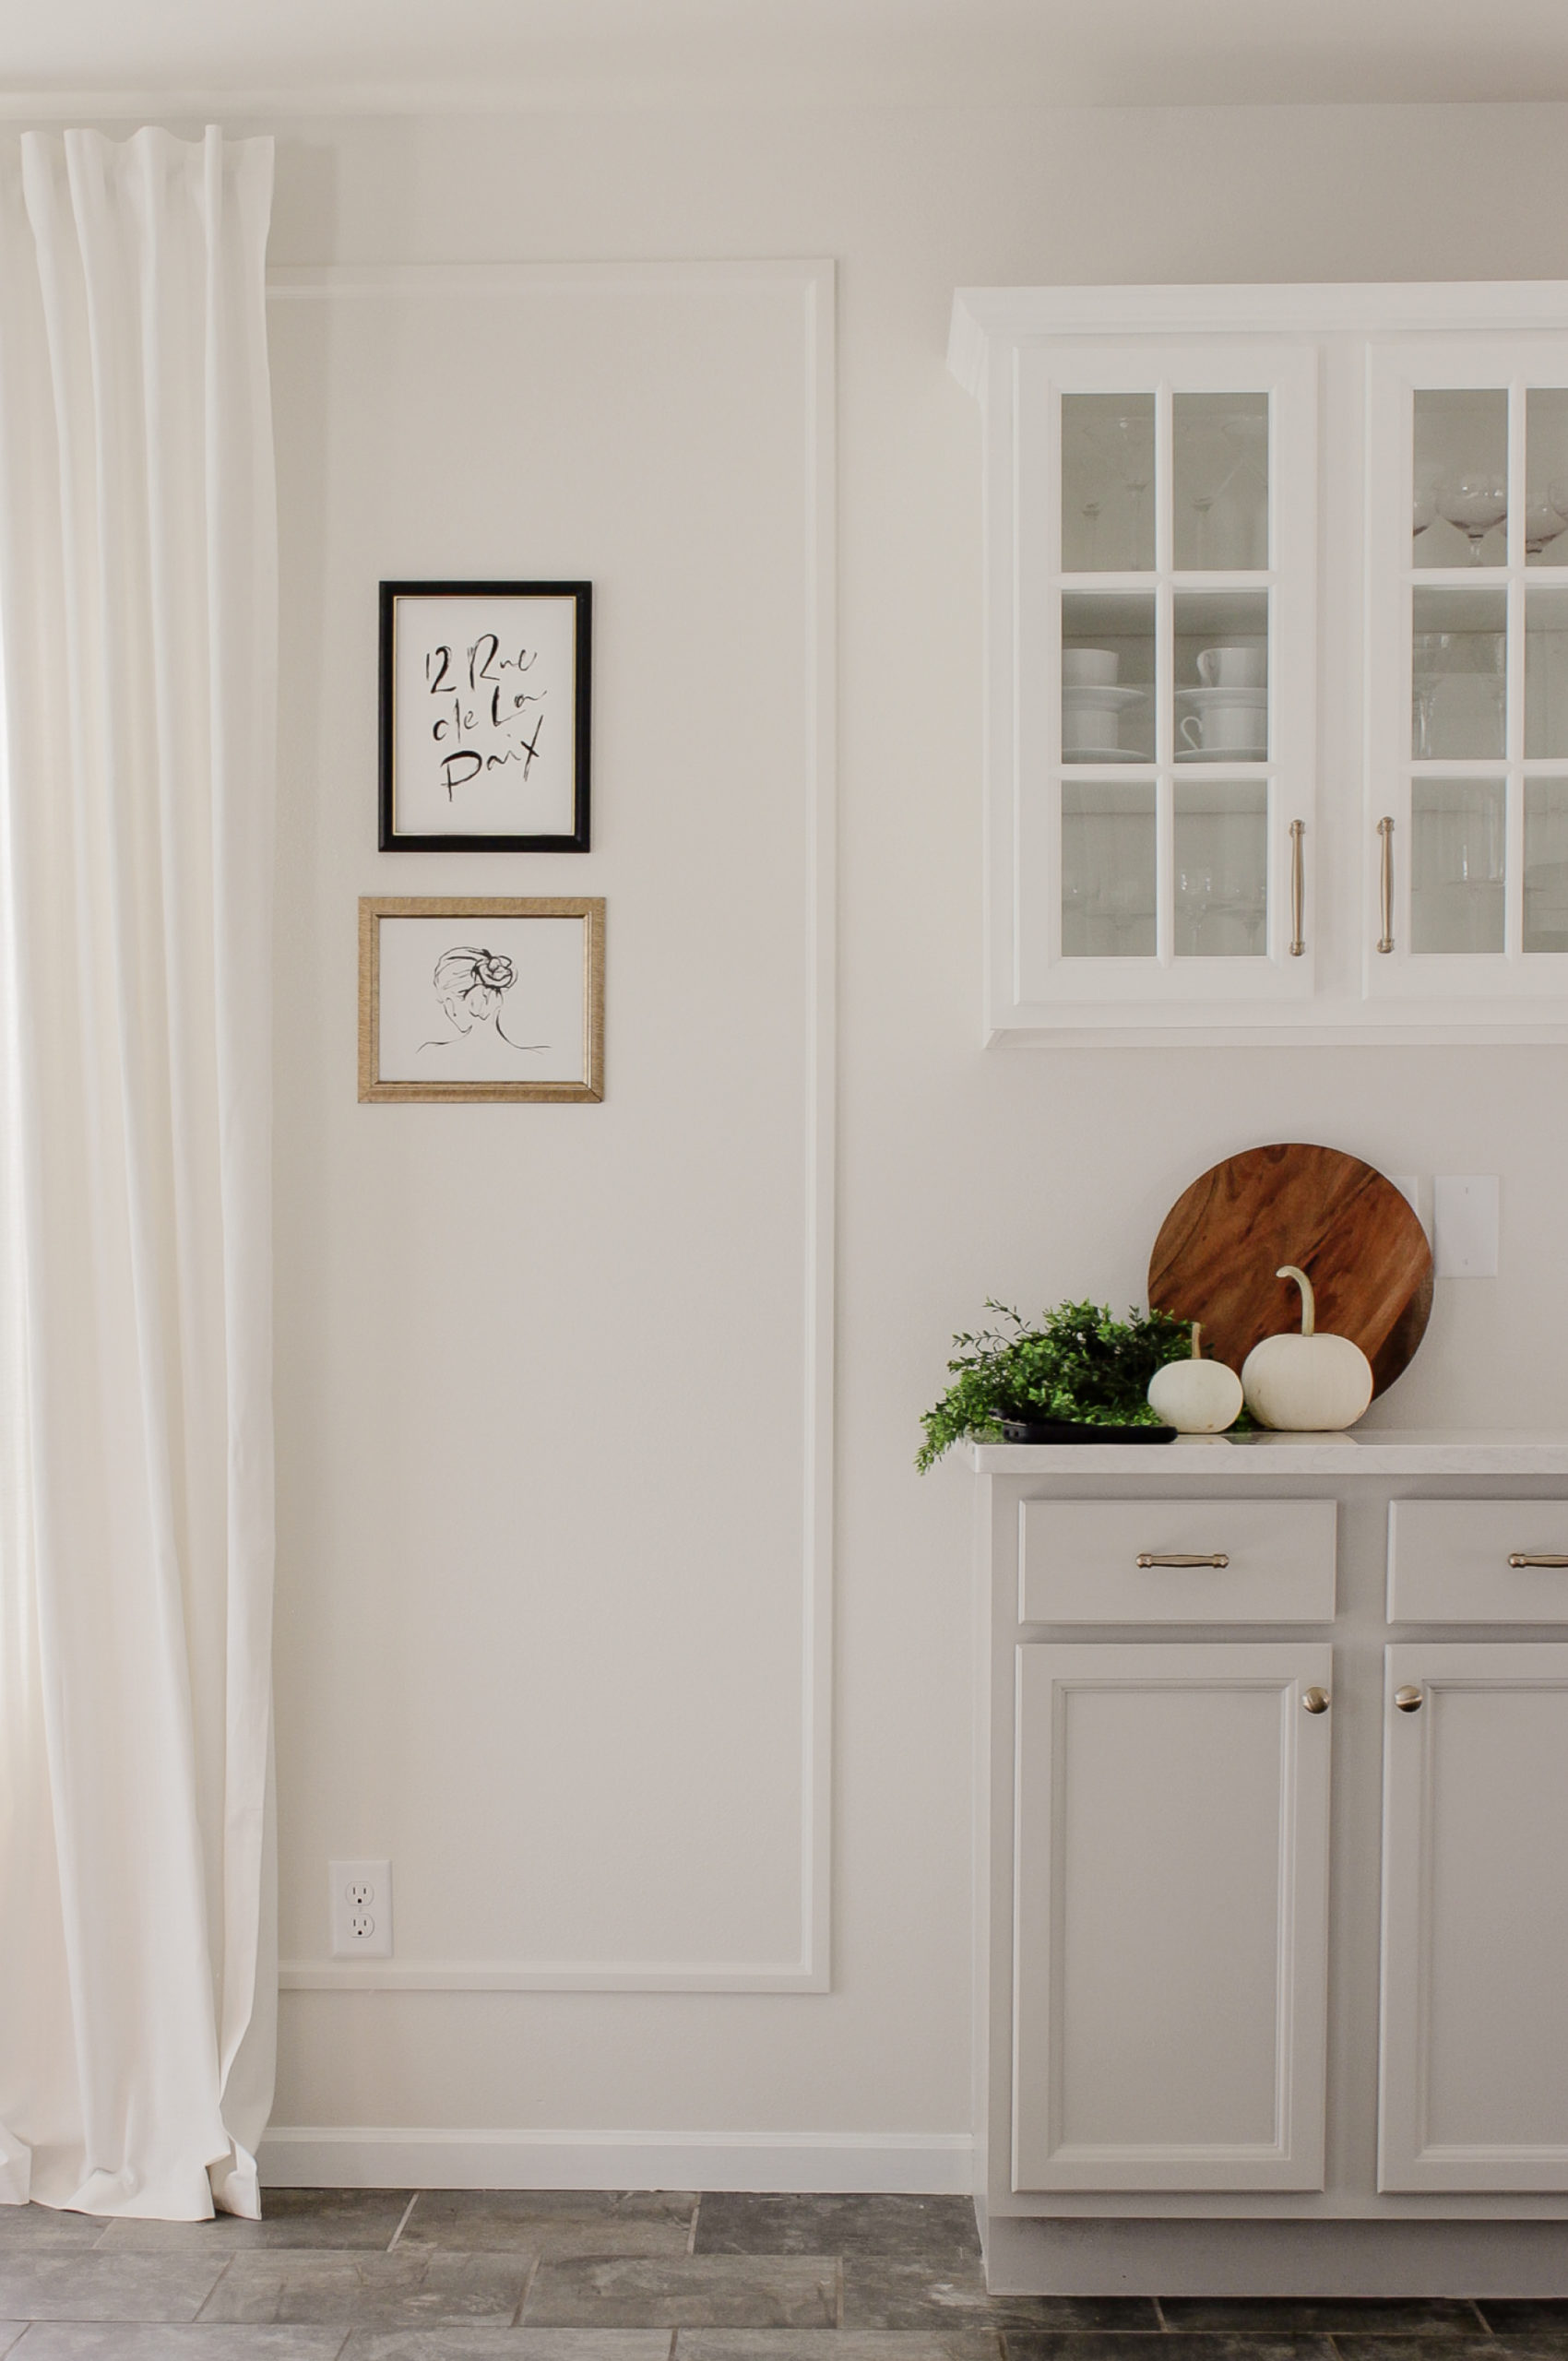
The first thing I knew I wanted in this house was some wall molding/trim. I had this in my old office and thinks it give the most beautiful yet subtle classic touch. If I explained my style it would be mid-century modern meets neoclassical/Parisian. Hence the mix of both classic/traditional elements with the retro MCM.
The Wall Framing
We used 1-1/4″ PVC trim molding from Menards. The best part of PVC like this is that you just need trim clippers to cut the angle. So, the hardest part is honestly just figuring out how big your ‘frames’ are and the measurements. From there you just find your lengths and widths, cut, nail, caulk and paint!

The Window Panes
I LOVE colonial/french window frames, especially when sun beams through them and casts the shadow. I found New Panes Creations and was SOLD. I’ll share a little video on Instagram, but again, once you do your math/measurements it’s crazy easy to put together and pop into your window! — p.s. they are super friendly and helped with figuring out what I needed.
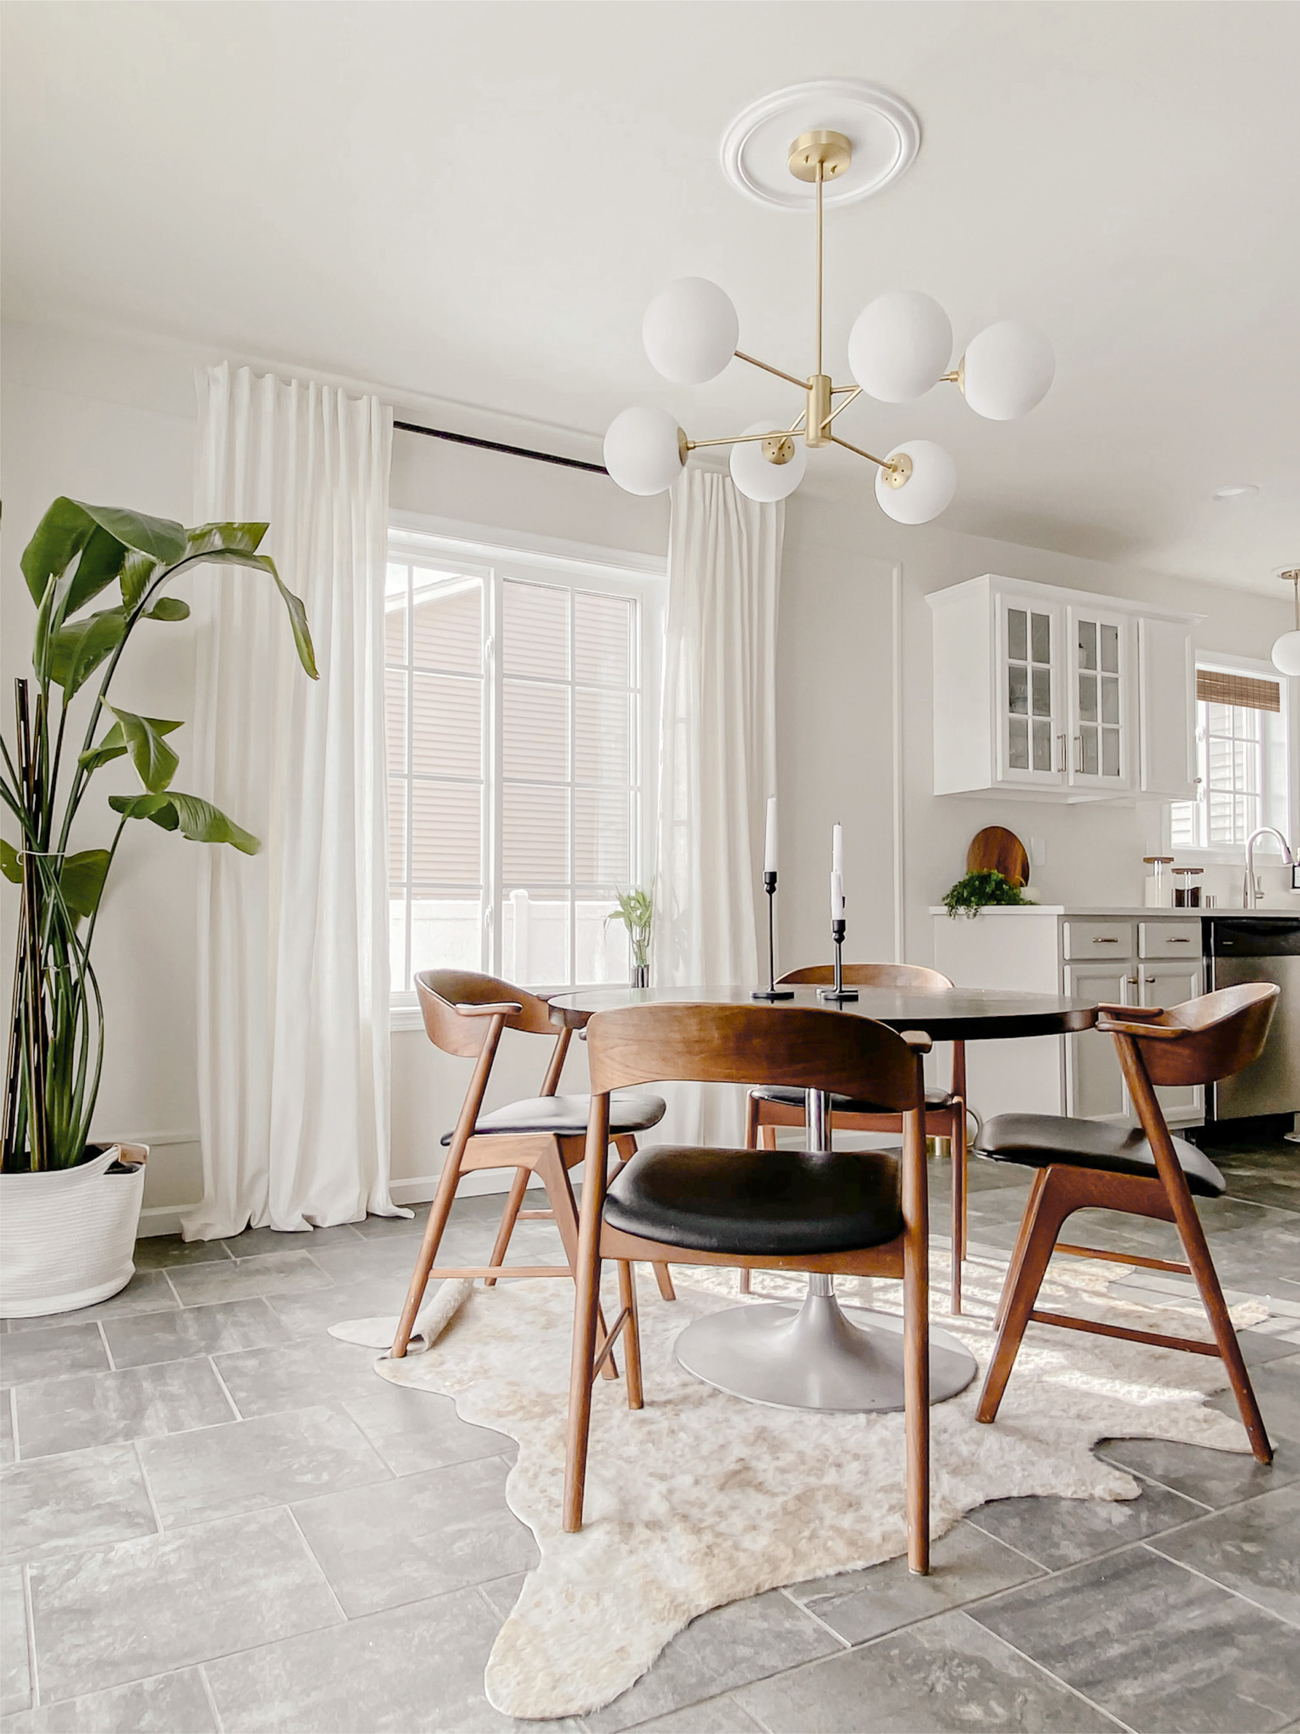
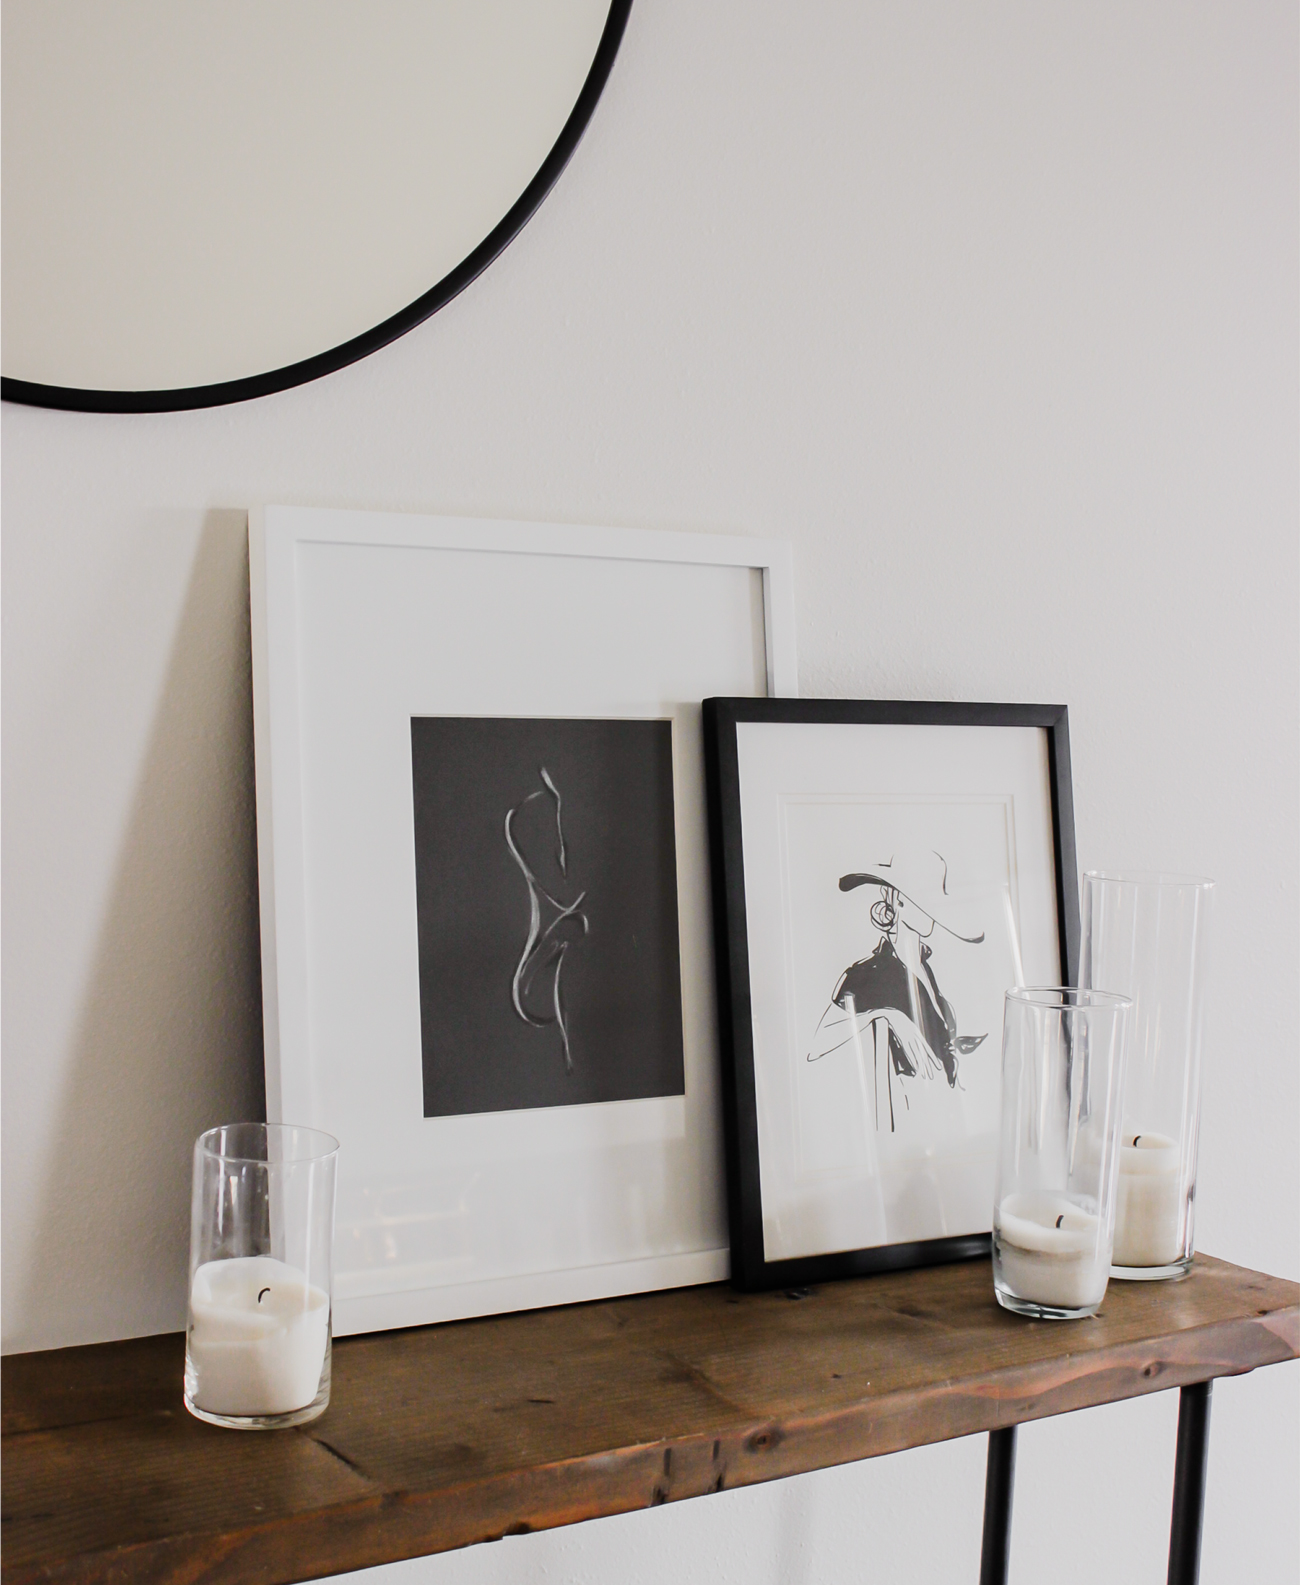
My Rug / Curtains / Curtain Rods / Panes / Ceiling Medallion / Chandelier (p.s. I used rub ‘n buff on it to make it less green gold). My Table & Chairs: The table was thrifted by my sister were from a friend about 10 years ago that was trying to get rid of them since they sat in their garage!

If you click on my affiliates/products/advertisers links, I may receive a tiny commission. P.S. the products that I share are the ones I believe in.
It’s so beautiful and I love it so much.
Wonderful how you changed everything, it seems like somewhere else. *FIVE STAR* 😍
Congrats 👏🏻
Awww, I appreciate that so much, THANK YOU!!
Hi! That was a beautiful makeover! My fave part is the new wood detail framing the walls.
I was wondering which software you used for your mockup?? Thanks!
Stephanie
Thank you so much, it’s a fav of mine too! And you can peek at my Instagram story highlight ‘mockup tutorial’ :)
Gorgeous! I have a similar situation as you except intead of simply white and revere pewter, i have chantilly lace and colonnade gray. I love the china white that ties everything together. Some of your links no longer work. I can’t tell if your hardware pulls/knobs are silver or gold. Can you tell me what color you used for hardward pulls/knobs? Or if you can link it for me that would be great too!
This is Gorgeous! I have a similar situation as you except intead of simply white and revere pewter, i have chantilly lace and colonnade gray. I love the china white that ties everything together. Some of your links no longer work. I can’t tell if your hardware pulls/knobs are silver or gold. Can you tell me what color you used for hardward pulls/knobs? Or if you can link it for me that would be great too!
I love that! This was the style: https://www.wayfair.com/home-improvement/pdp/franklin-brass-charmaine-bar-pull-w000362751.html?