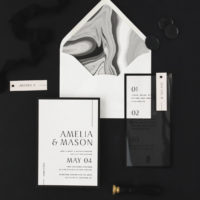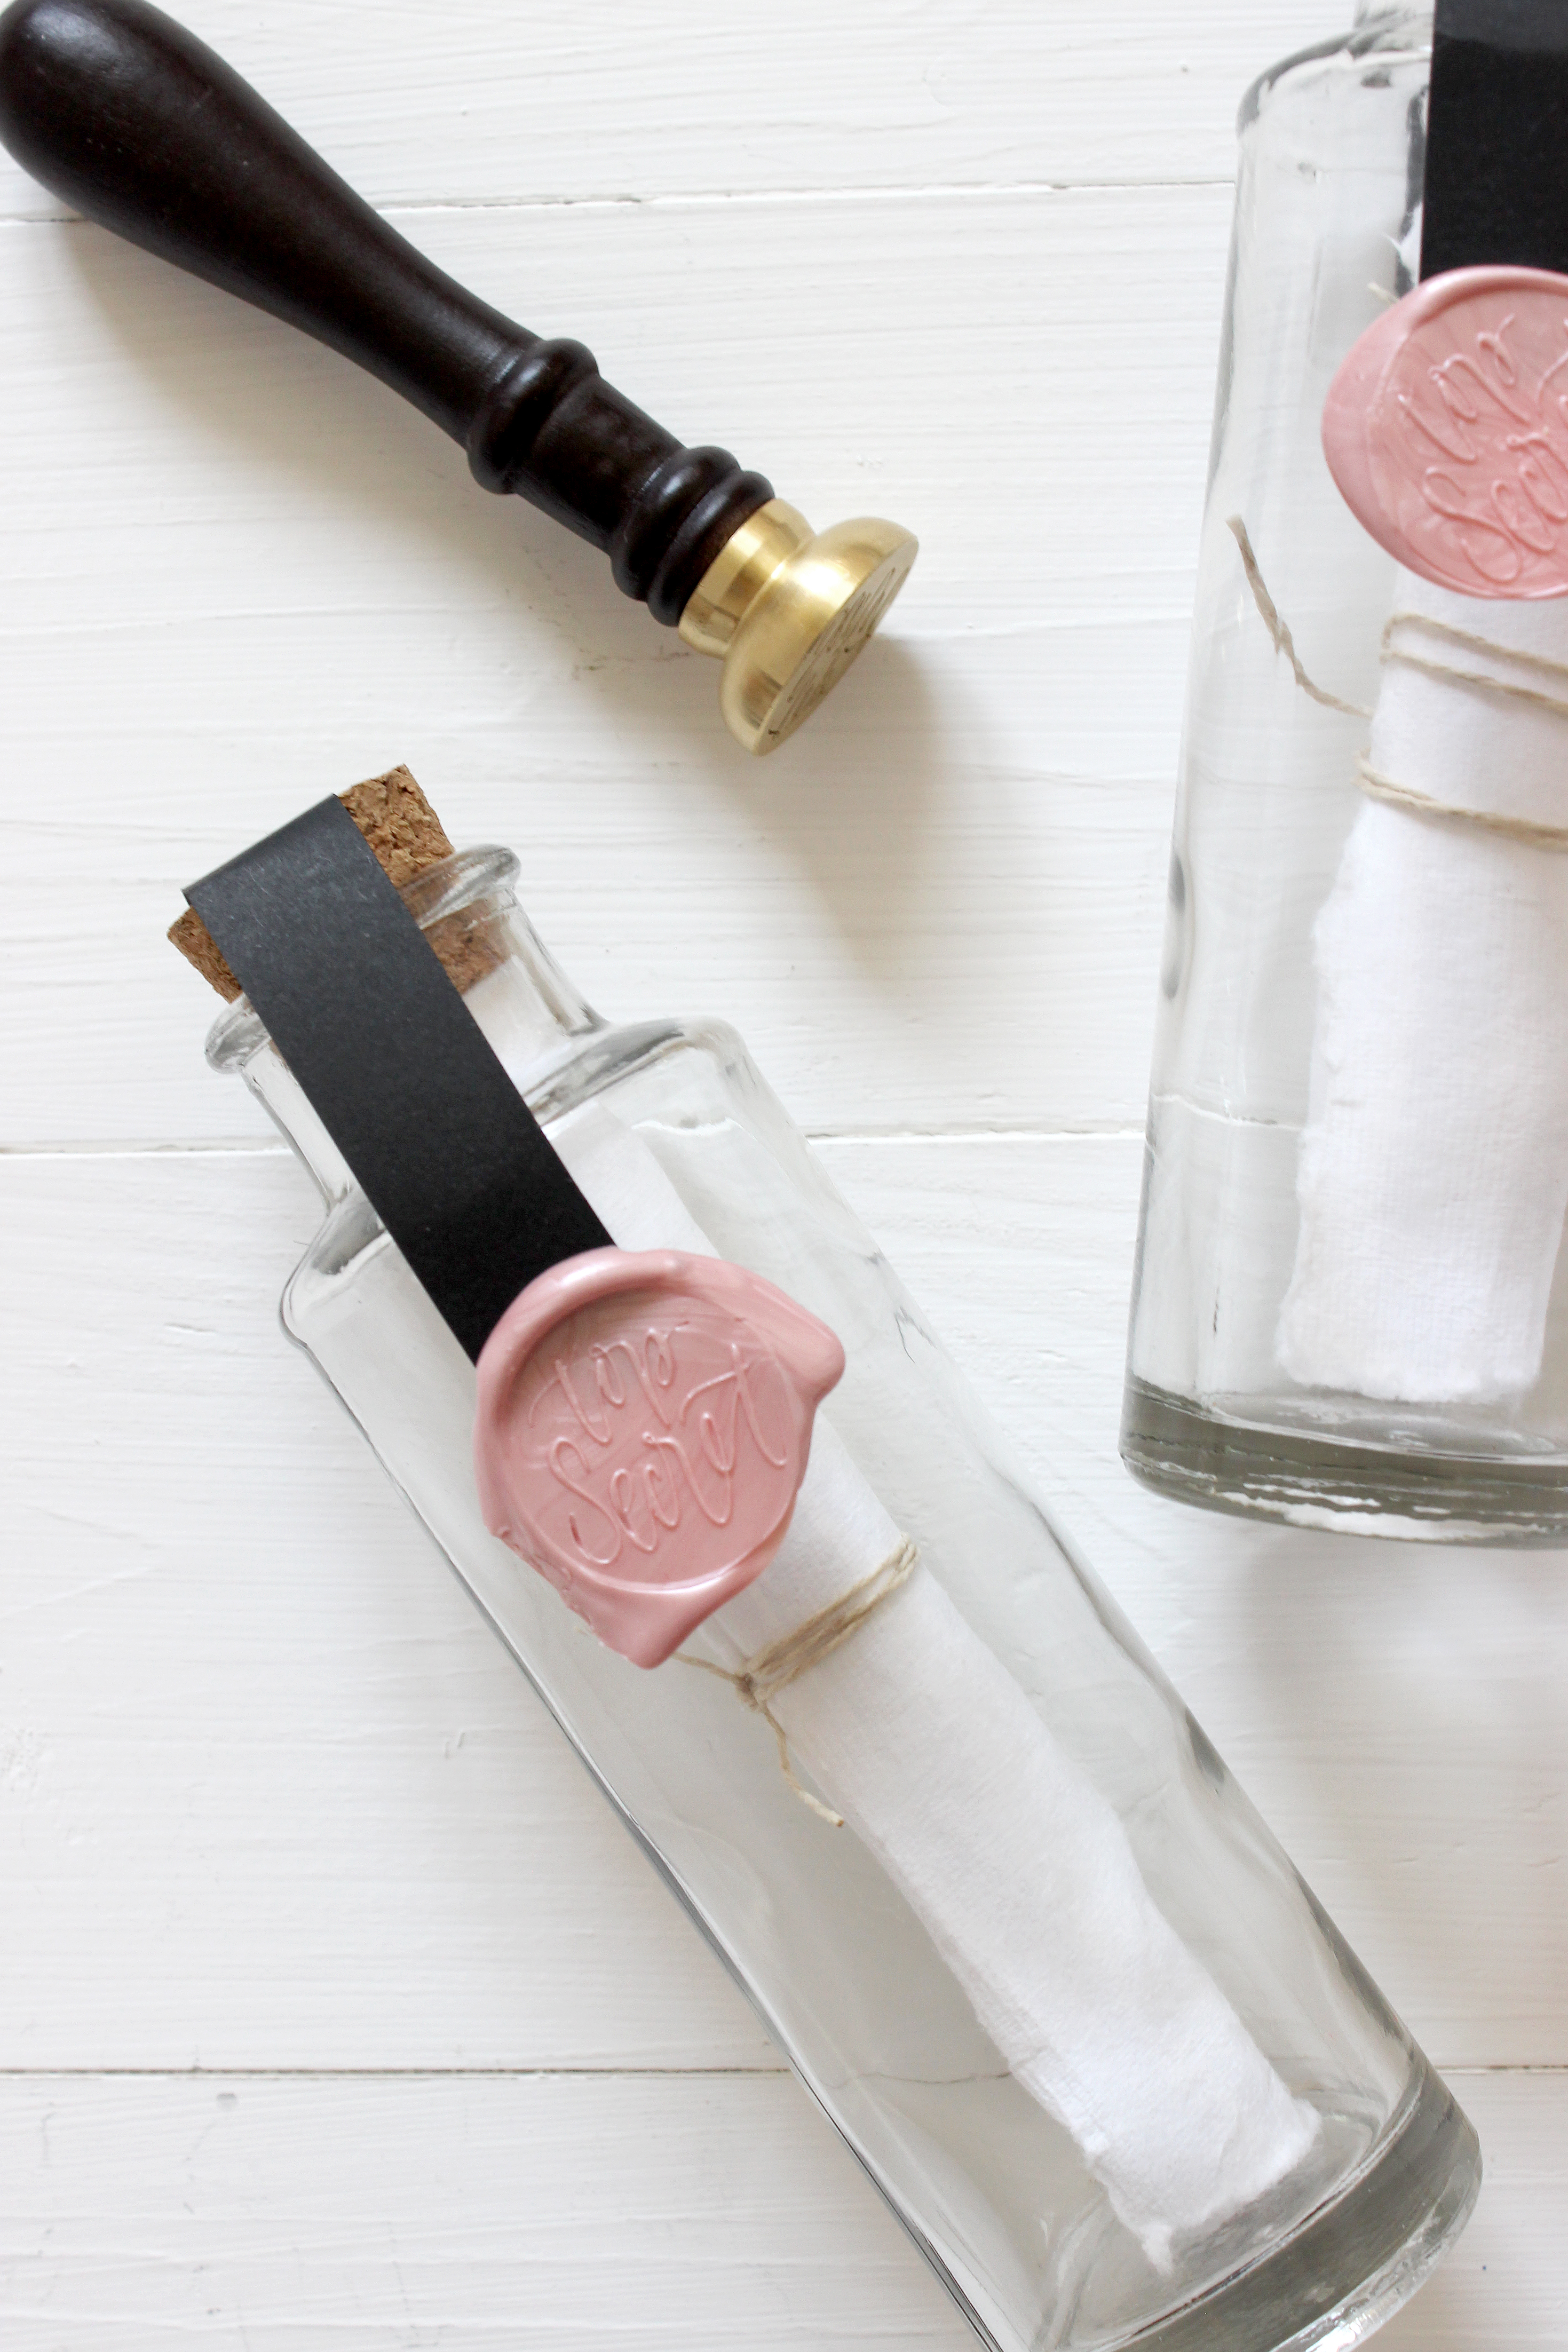
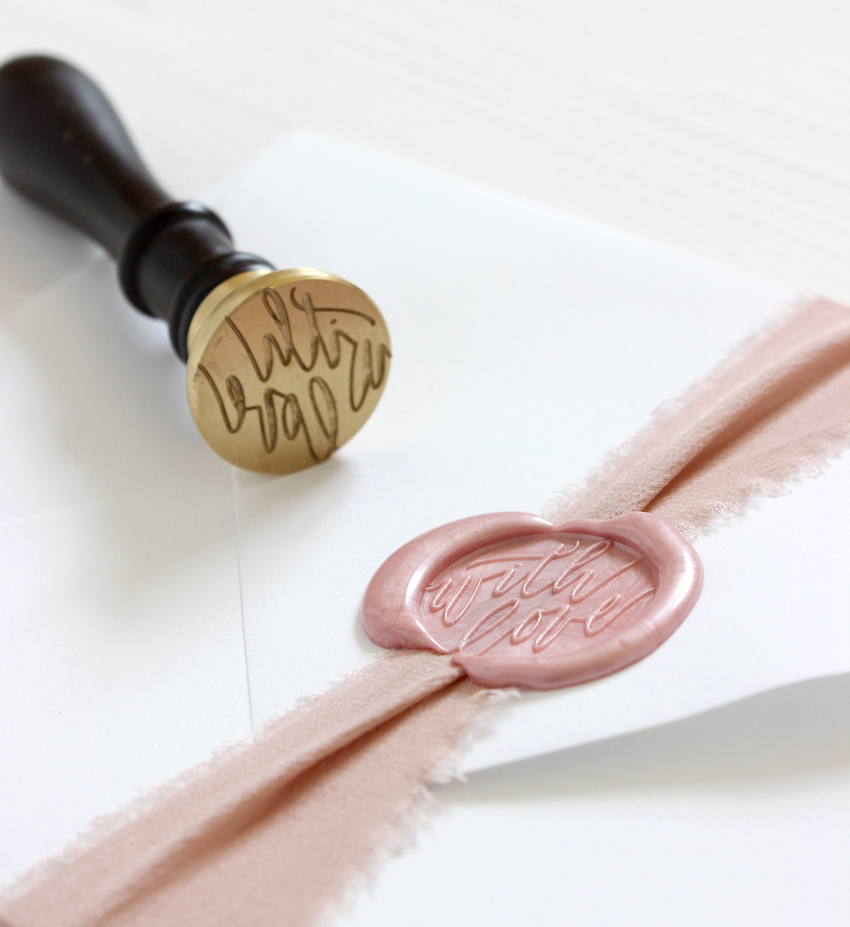
Thank you all so much for the love and support of my Wax Seals Collection!! With that being said, I thought I should share with you my wax seals step-by-step guide on how to make the best of it! Over time I’ve learned a few tips and tricks that I thought I should note as well as a few ideas when applying it to various pieces at once! See below image or check out the FULL COLLECTION here!
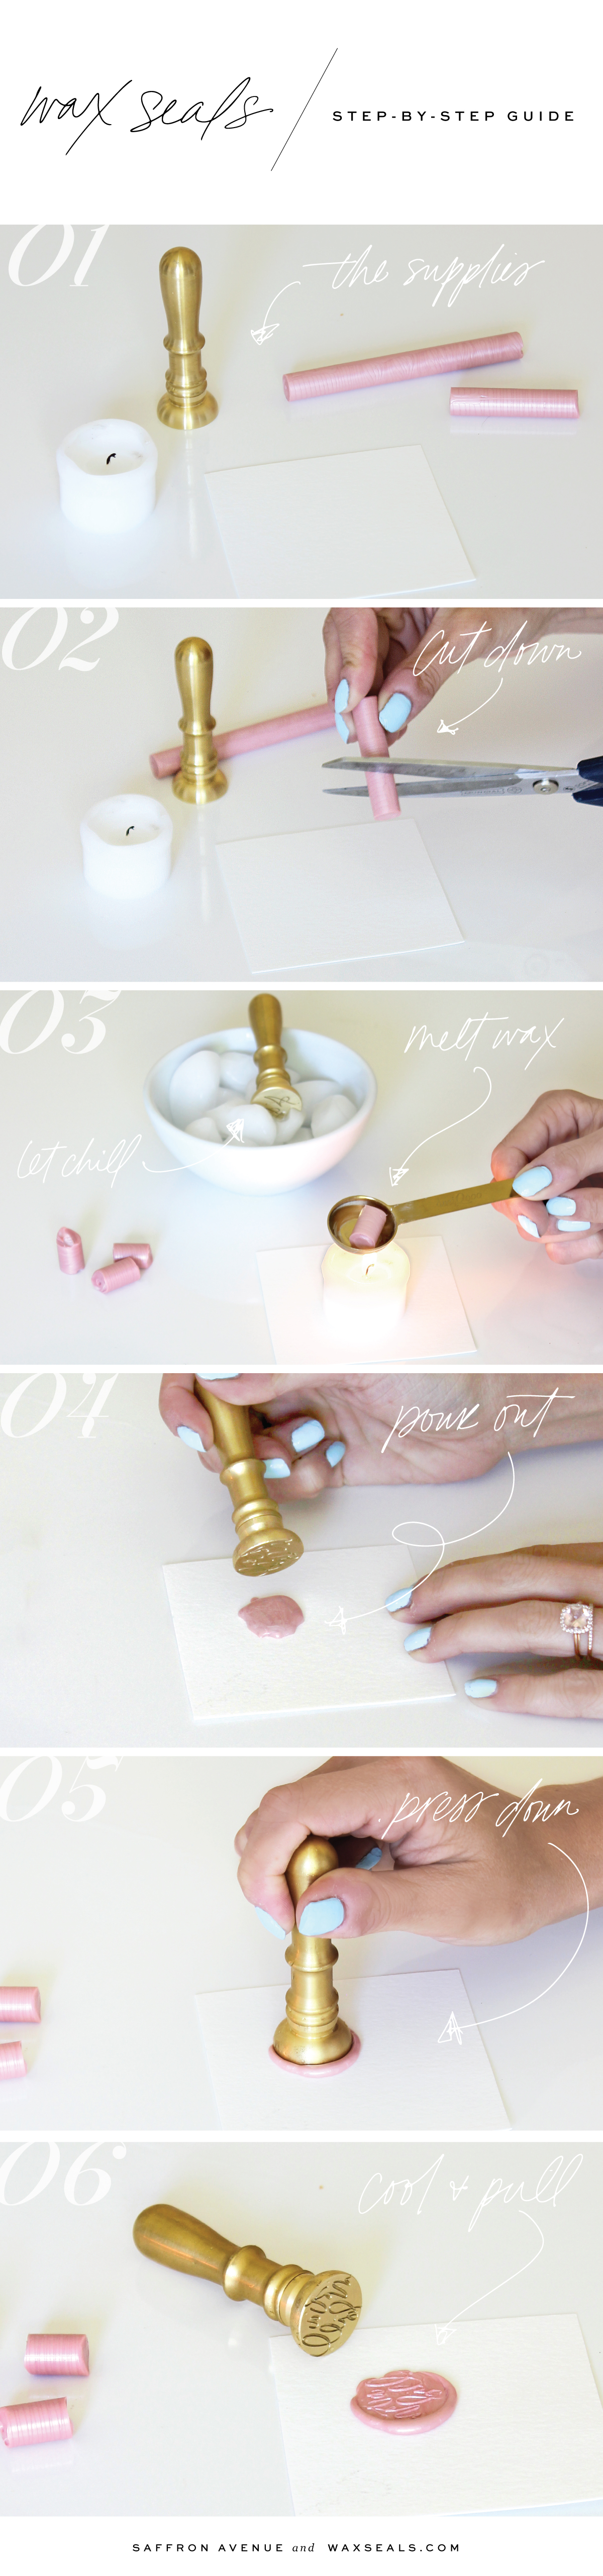
01. THE SUPPLIES: Gather your stamp, wax sticks, a small candle, scissors, a toothpick and even a small bowl of ice (optional).
02. CUT WAX: If using the wax sticks, cut into pieces around 3/4″ long. If doing more than one, use the longest piece first, as the remnants from that will help fill the next spoon.
03. MELT + CHILL: Put the small cut piece into your spoon (my favorite here) and hold over the flame about 1.5″. I use a small tool or toothpick to actually stir the wax while in the spoon to speed the process and create an even melt. While melting, feel free to chill the stamp in the ice bowl, this does help quicken the process.
04. POUR WAX: When the wax is runny + liquified (but not boiling) pour onto your paper in a small circle about .75-1″ in circumference. If you want a more ‘organic’ shape, make a messy star shape to help create messy edges.
05. PRESS DOWN: Place the seal directly down from above and press down firmly and do not twist or turn.
06. COOL + PULL: If you didn’t chill the seal prior, let it sit for a minute or so before peeling off. Typically I peel if off by rocking it side to side to help create a clean removal.
WAX TIPS
- Putting the seal on ice helps speed up the stamp process
- If using a glue gun to do a number of items at once, feel free to put wax on a few of them items at once, then stamp after one by one (if chilling the seal)
- If you heat up the wax too much in the spoon (boiling) there may be small bubbles in the wax after you pour
- You can stamp on wax paper, let cool, and tear off to use with double-stick adhesive to apply to items.
- Always wipe out your sealing spoon right after stamping, make the clean up process easier
- Feel free to try various wax colors or even mix and match them when melting!
– VIEW COLLECTION HERE –